If your iPhone 11 camera is not working properly, you can save time and money by replacing it yourself. This guide will show you how to safely and effectively replace the camera, keeping your device in good condition. Before you start, make sure your iPhone is powered off, gather the necessary tools, and set up a clean workspace. You’ll need to remove the display assembly to access the internal components. Whether you’re fixing a blurry lens or a malfunctioning module, this guide provides step-by-step instructions to help you through the process. With patience and care, you’ll have your iPhone 11 camera working like new in no time.

Replacing Your iPhone 11 Camera: A Step-by-Step Guide
Tools and Materials Needed
- iPhone 11 Replacement Camera Module: Make sure it’s compatible with your model.
- Pentalobe Screwdriver: To remove the bottom screws.
- Phillips #000 Screwdriver: For internal screws.
- Spudger: A flat-edged tool for prying and disconnecting components.
- Suction Handle (optional): To help lift the display.
- iOpener (or hair dryer): To soften adhesive.
- Isopropyl Alcohol: To clean surfaces.
- Tweezers: For handling small parts.
Step-by-Step Instructions

- Power Off: Turn off your iPhone 11 completely before starting.
- Remove Screws: Remove the two pentalobe screws at the bottom edge of the iPhone.
- Open the iPhone: Use an iOpener or hair dryer to heat the bottom edge of the screen to soften the adhesive. Gently insert a spudger into the gap and carefully pry open the display.
- Disconnect the Battery: Locate the battery connector and disconnect it using a spudger.
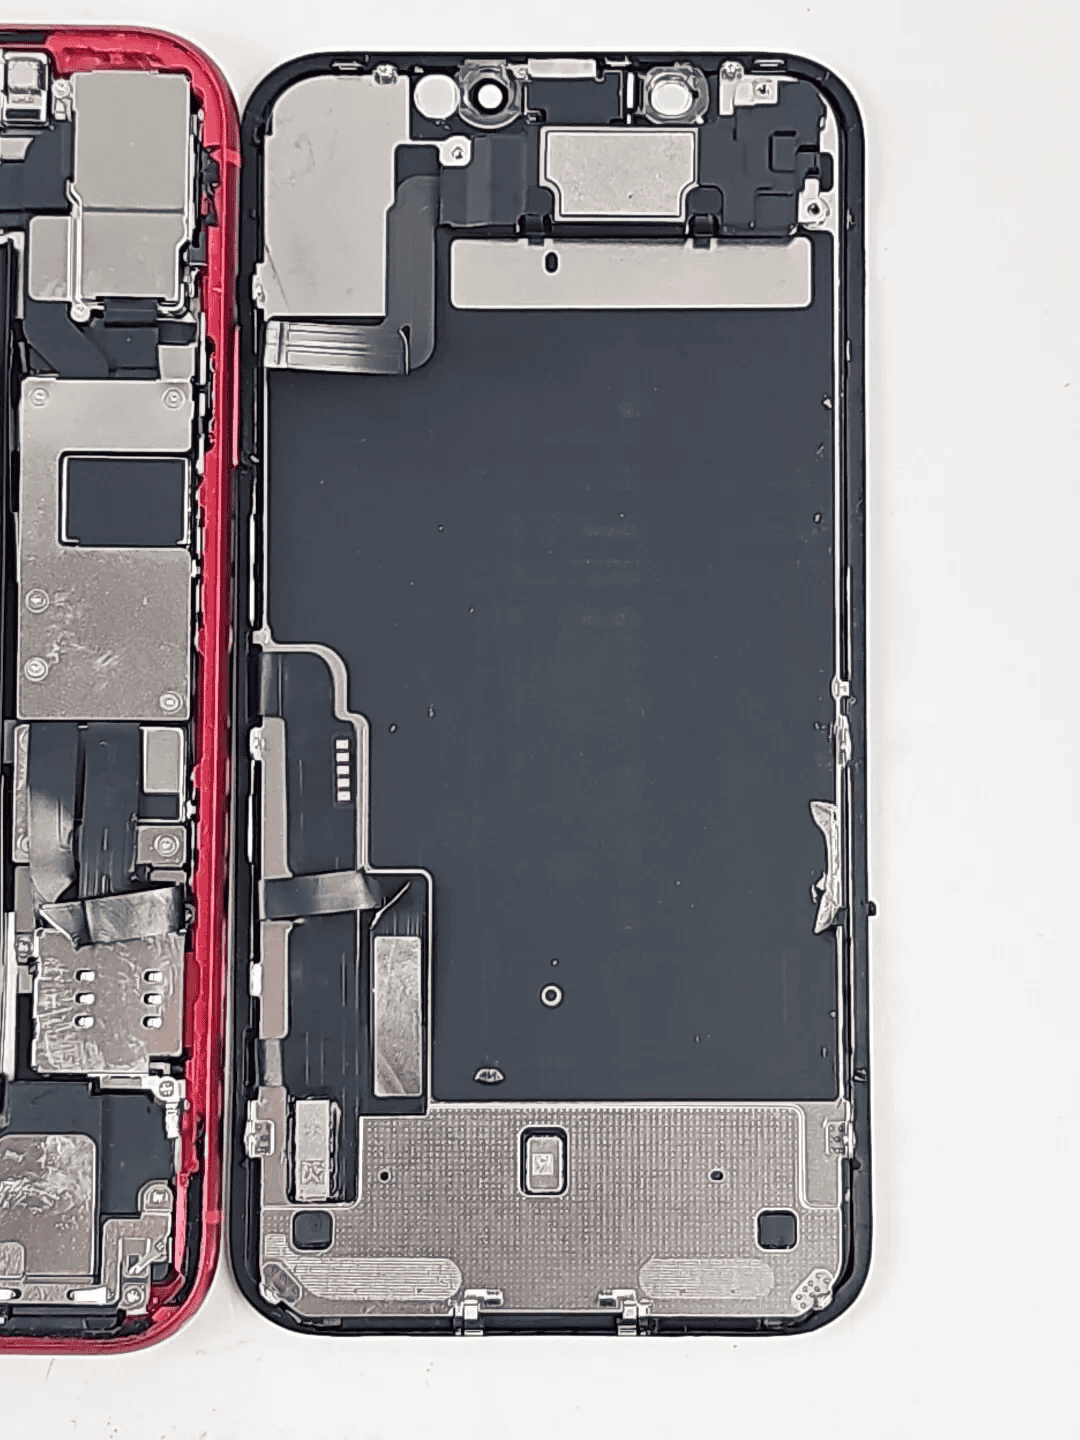
- Disconnect Display Cables: Carefully disconnect the display cables and any other cables connected to the logic board.
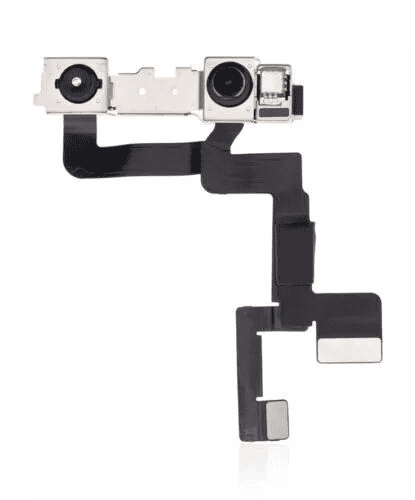
- Remove the Camera Module: Unscrew the screws holding the camera module in place. Gently lift and remove the module.
- Install the New Camera Module: Place the new camera module in position and screw it securely.
- Reconnect Cables and Battery: Reconnect all the cables you disconnected, including the battery connector.
- Close the iPhone: Carefully align the display and press it down to seal it.
- Reinstall Screws: Put the two pentalobe screws back in place at the bottom edge.
Additional Tips
- Refer to a Guide: Follow along with a detailed guide (like the one on iFixit) to ensure you don’t miss any steps or damage any components.
- Take Your Time: Be patient and work slowly to avoid causing damage.
- Test the Camera: Before closing the iPhone, turn it on and test the new camera to make sure it’s working properly.
Remember, replacing an iPhone camera requires technical skills and careful handling. If you’re not confident doing it yourself, it’s best to seek help from a professional repair service.
Key Takeaways
- Begin by powering off your iPhone and gathering necessary tools.
- Follow the steps carefully to remove and replace the camera assembly.
- A successful replacement restores your iPhone 11 camera’s functionality.
Camera Replacement Procedure
When replacing the camera on an iPhone 11, it’s essential to work carefully and follow steps exactly. Incorrect handling can damage the device or void the warranty.
Preparation and Safety
First, ensure the iPhone is powered off and unplugged. This prevents electrical hazards and accidental shorts. Gather necessary tools: P2 Pentalobe Screwdriver, suction cups, iOpener, iFixit Opening Picks, tweezers, spudger, and Tri-point Y000 screwdrivers. Each tool plays a crucial role in safely opening and managing the device components.
Lay out all parts in a neat workspace. Use a static-free mat to avoid static electricity discharge, which can harm the inner electronics. Understand that opening the device can void manufacturer warranties, so it might be wise to consult the warranty terms before proceeding.
Opening the Device
Start by removing the two P2 pentalobe screws near the lightning connector. Apply a suction cup to the screen to create a small gap. Insert an iFixit Opening Pick to pry up the display gently. Work around the edges to cut through the adhesive holding the screen in place.
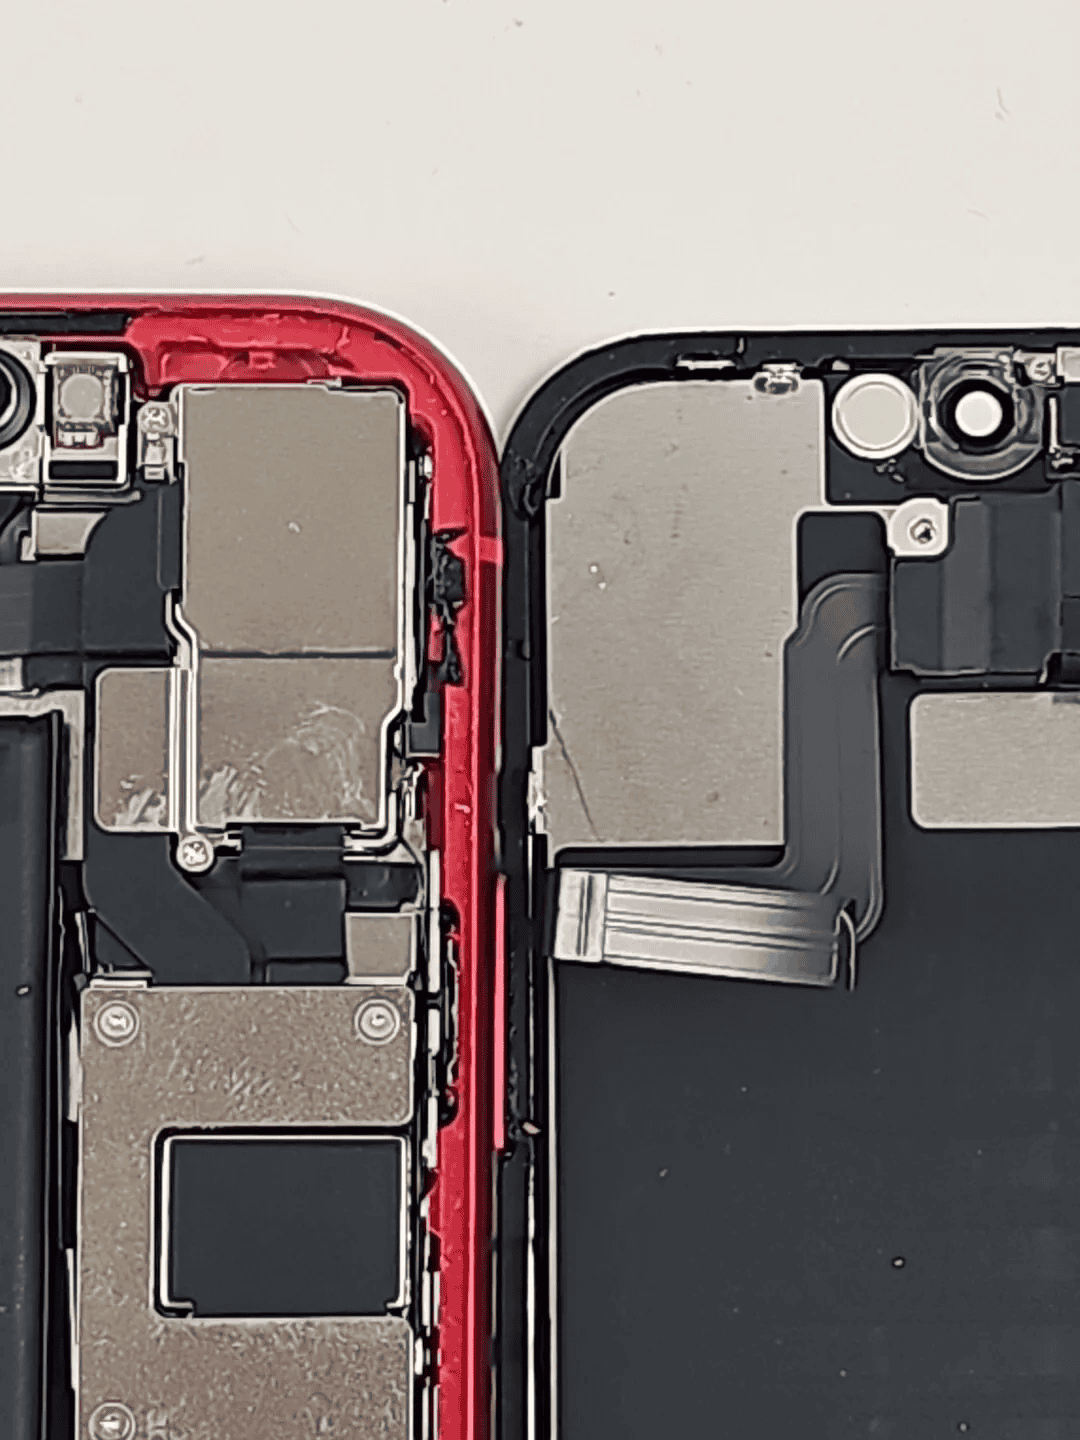
Once the adhesive is loosened, lift the screen to access the internal components. Disconnect the battery first to ensure no power runs through the device as you work. Carefully detach the display cables using a spudger. Remove the camera cover, following screw and tab alignment closely. Always refer to images or diagrams if unsure about placements or directions.
Frequently Asked Questions
This section addresses common questions related to replacing the camera on an iPhone 11, including costs, processes, and where to find service.
How much does it typically cost to replace the camera on an iPhone 11?
The cost to replace the camera on an iPhone 11 generally ranges from $60 to $100 if done by a third-party repair service. DIY repair kits cost less but include the risk of damage during the replacement process.
Can the rear camera of an iPhone 11 be replaced, and how?
The rear camera of an iPhone 11 can be replaced. Following a step-by-step guide is vital. Tools, like pentalobe screwdrivers and opening tools, will be needed to access and replace the camera assembly.
Where can I find a service to replace my iPhone 11’s camera?
Authorized Apple service providers and third-party repair shops offer camera replacement services. Websites like iFixit provide DIY guides and sell the required parts for those comfortable with self-repair.
What is the cost to replace an iPhone 11 Pro Max camera?
The replacement cost for an iPhone 11 Pro Max camera is slightly higher. It usually ranges from $80 to $150, depending on whether the service is from an authorized provider or a third-party repair shop.
How is the camera lens on the iPhone 11 back replaced?
Replacing the camera lens on the iPhone 11 involves removing the rear camera assembly and installing a new lens. This process requires careful handling of the device to avoid damaging other components.
What is the duration of the camera replacement process for an iPhone 11?
The camera replacement process for an iPhone 11 typically takes about 30 minutes to an hour. The time can vary depending on the technician’s experience and the tools available.