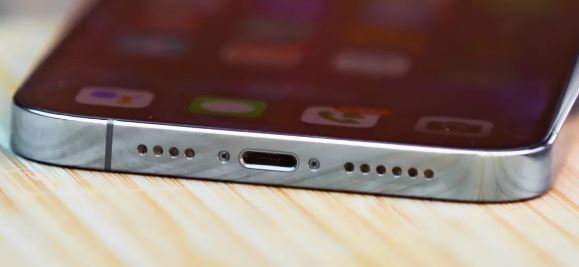
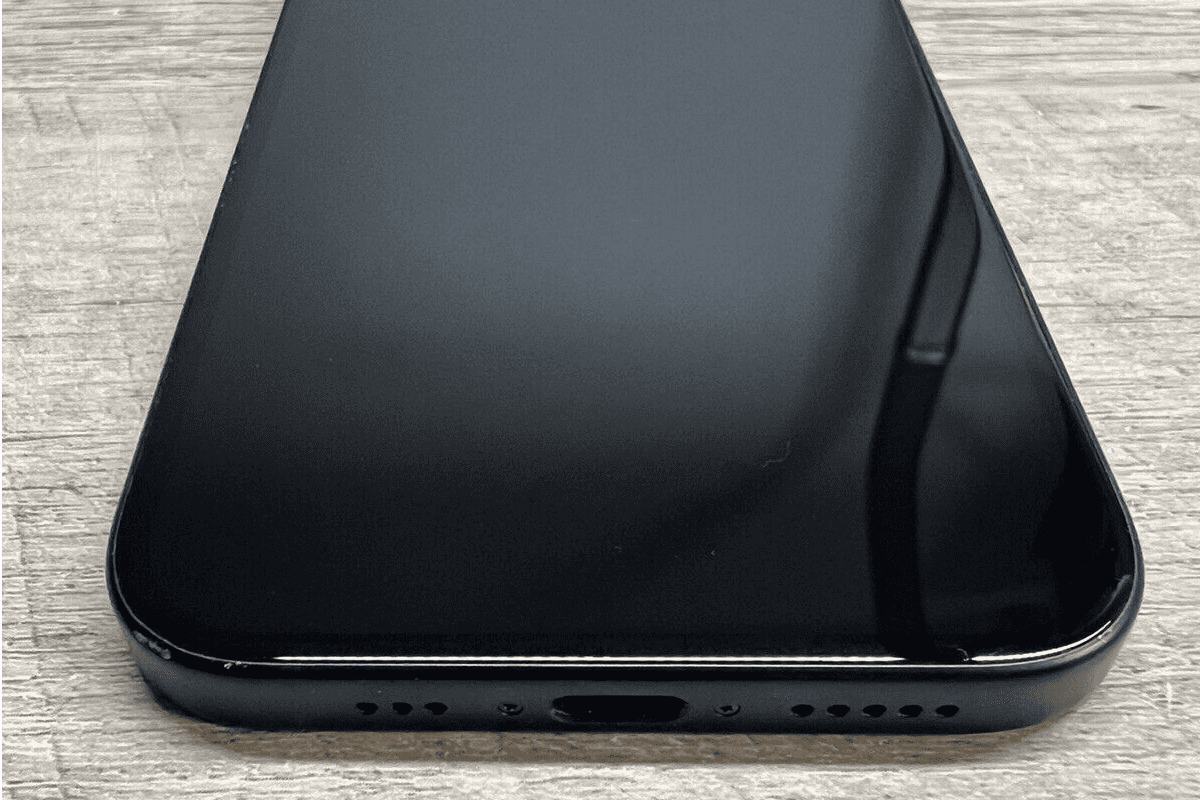
Water and electronics don’t mix, and even a little water in your phone’s microphone can cause major sound issues. If this happens, there are simple things you can do to remove the water and fix your phone’s audio. Time is important, so act fast to prevent long-term damage. Just be patient and your phone’s microphone will possibly work properly again.
If water gets into your phone’s microphone, it can cause muffled sound and harm the internal parts. Quick action is needed to prevent damage. Wiping gently and using absorbent materials can help remove moisture and increase the chances of your phone recovering fully.
Rescue Your Mic: Removing Water from Your Phone
Shake It Out
Gently but firmly shake your phone with the microphone facing downwards. This can help dislodge water droplets trapped inside.
Blow Air
Use a can of compressed air or gently blow into the microphone port. Be careful not to blow too hard, as this could push water further in.
Silica Gel
Place your phone in a sealed container with silica gel packets. These packets absorb moisture and can help dry out your phone’s internals, including the microphone.
Sound Waves
Some apps or websites generate specific frequencies that can help vibrate water out of the microphone. Search for “water eject” apps or websites and follow the instructions.
Patience
Sometimes, the best solution is simply time. Leave your phone in a dry, warm place with the microphone facing down to allow the water to evaporate naturally.
Avoid These Mistakes
- Don’t use heat: Avoid using hair dryers or other heat sources, as this can damage your phone’s components.
- Don’t charge your phone: Charging a wet phone can cause further damage. Wait until it’s completely dry before plugging it in.
- Don’t stick anything in the microphone port: Avoid using cotton swabs or other objects to try and clean the microphone, as this can push water deeper or damage the delicate components.
When to Seek Professional Help
If none of these methods work, or if you suspect more extensive water damage, it’s best to consult a professional repair service.
Tips at a Glance:
| Method | Effectiveness | Ease of Use |
|---|---|---|
| Shake it Out | Moderate | Easy |
| Blow Air | Moderate | Easy |
| Silica Gel | High | Easy |
| Sound Waves | Varies | Easy |
| Patience | High for minor cases | Requires waiting |
Ways To Remove Water From Your Phone Mic
| Method | Description | Considerations |
|---|---|---|
| Gravity & Gentle Shaking | Hold the phone so the microphone hole faces down. Gently shake to encourage water to drain out. | May not expel all water, best as a first step. |
| Absorbents | Place the phone in a container of uncooked rice or silica gel packets. These absorb moisture. | Not a guaranteed fix. May take 24-48 hours for results. |
| Software Ejection | Apps or websites play specific tones intended to vibrate water out of the speaker. | Effectiveness varies, but worth trying. |
| Vacuum Cleaner | Use with caution! Hold a vacuum nozzle near (not directly touching) the microphone hole. Suction may help. | Risk of further damage if done incorrectly. |
Important Notes:
- Act quickly: The longer water sits, the higher the risk of damage.
- Turn the phone off: Prevent short circuits.
- Avoid compressed air: This can push water deeper into the phone.
- Hair dryers are risky: Heat can damage components.
In situations where a phone’s microphone has been exposed to water, resorting to time-honored techniques and a bit of patience could prove to be beneficial. Silica gel packs, known for their moisture-absorbing properties, can be an excellent ally. However, avoidance of heat sources and the decision against charging the phone immediately after exposure to water are critical to prevent further damage.

Key Takeaways
- Quick action is crucial for preventing water damage to phone microphones.
- Silica gel packs are effective in drawing out moisture.
- Avoid charging the phone after exposure to water to reduce the risk of damage.
Immediate Response Tactics
When dealing with a wet phone microphone, swift and careful steps are essential to prevent lasting damage and restore sound quality.
Power Off and Disconnect
Before you start any drying process, the first step is to turn off the device immediately. This reduces the risk of electrical damage. Disconnect all cables, headphones, or charging cords from your phone to ensure no power is running through the device.
Remove Excess Water
Gently pat the phone with a soft, absorbent cloth to remove excess water. Pay special attention to the microphone area but remember to avoid pushing water further into the openings.
Drying Methods
Several methods exist for drawing moisture out of a phone’s microphone:
- Air Dry: Simply leaving the phone in a well-ventilated space can contribute to the drying process.
- Silica Gel Packets: Placing the phone in a sealed container with silica gel packets can effectively absorb moisture.
- Use Compressed Air: A small burst of air can help remove water droplets from the microphone. Ensure the air flow is gentle to prevent damage.
- Uncooked Rice: Despite mixed opinions, a bowl of uncooked rice can sometimes absorb humidity from the phone. However, finer particles may get into the phone, risking further damage.
- Vacuum Cleaner: Gently using a vacuum cleaner near the microphone area may pull out trapped water. Do not let the nozzle touch the phone.
Important: Avoid using a hairdryer or oven as they can cause overheating and further damage.
Professional Assistance
If water damage is extensive or the above methods don’t improve the microphone’s muffled sound, it might be time for professional help. Technicians can assess and address any internal damage or corrosion, which is not easily fixed at home.
Preventive Measures
To minimize future incidents, consider using a waterproof case or applying a pop filter to protect the microphone from water and humidity. These barriers can significantly lower the chance of water getting into the microphone.
Long-Term Maintenance
Keeping your phone’s microphone in top condition requires attention and care. Proper maintenance can prevent issues like muffled voice quality and long-term damage from exposure to moisture like sweat and soft drinks.
Regular Cleaning
To maintain your microphone, regular cleaning is vital. Gently wipe the exterior of your iPhone or headset microphone with a soft, lint-free cloth slightly dampened with distilled water. For a deeper clean, lightly dip a soft-bristled brush in isopropyl alcohol and brush around the microphone ports to remove any hidden debris.
Routine Checks
Incorporate routine checks into your maintenance schedule to catch any potential problems early. Listen to the quality of the voice during calls or recordings to detect any irregularities. An iPhone user can also download specific apps that test the microphone’s functionality. If the microphone’s performance has declined, it may be time for a thorough cleaning or other corrective measures.
Protective Accessories
Accessories like microphone covers and phone cases can protect against dust, lint, and spills from everyday use. Opt for products designed specifically for your device model to ensure they don’t block or muffle the sound. Change these covers with some frequency to maintain their effectiveness. If you frequently use a headset or headphone microphone, detachable covers can be washed with a mild detergent solution for repeated use.
Frequently Asked Questions
When a phone’s microphone comes into contact with water, quick action can help prevent lasting damage. Each brand and model may have specific instructions, so always check the manufacturer’s recommendations first.
What are the steps to remove water from an iPhone microphone?
To address water in an iPhone microphone, first, turn off the device and wipe it down with a soft cloth. Avoid charging it and place it in a bowl of uncooked rice or surround it with silica gel packets for 24 hours which can absorb moisture.
How can I fix a wet microphone on my Samsung phone?
If a Samsung phone microphone gets wet, power off the phone and remove any cases or accessories. Pat the phone with a dry cloth to remove surface moisture. Avoid using heat or a vacuum, as these can damage the phone. Allow the phone to air dry or use desiccants like silica gel.
What should I do if my Android phone’s microphone has water in it?
For Android phones, immediately turn off the device to reduce the risk of damage. Gently shake the phone to dislodge water from the microphone and use a dry cloth to blot away moisture. Let the phone air dry or place it in a container with uncooked rice to help draw out the water.
Can water damage in a phone speaker be reversed, and how?
Reversing water damage in a phone speaker depends on the severity. Quick action might save it. Turn the phone off, remove excess water with a lint-free cloth, and try using desiccants like silica gel. If the sound remains distorted after drying, have it inspected by a professional.
What are effective methods to dry out a wet microphone on a mobile device?
To dry a wet microphone, the focus should be on absorbing moisture without causing further harm. Desiccants like silica gel are excellent for this. Alternatively, leave the device in a dry, warm area with good airflow. Avoid using direct heat sources as they can be damaging.
What are the consequences of water entering a phone’s microphone, and can it be fixed?
When water enters a phone’s microphone, it may cause muffled audio or complete loss of function. In some cases, drying out the microphone properly can restore functionality. If the microphone remains faulty despite drying, professional repair services might be necessary.


