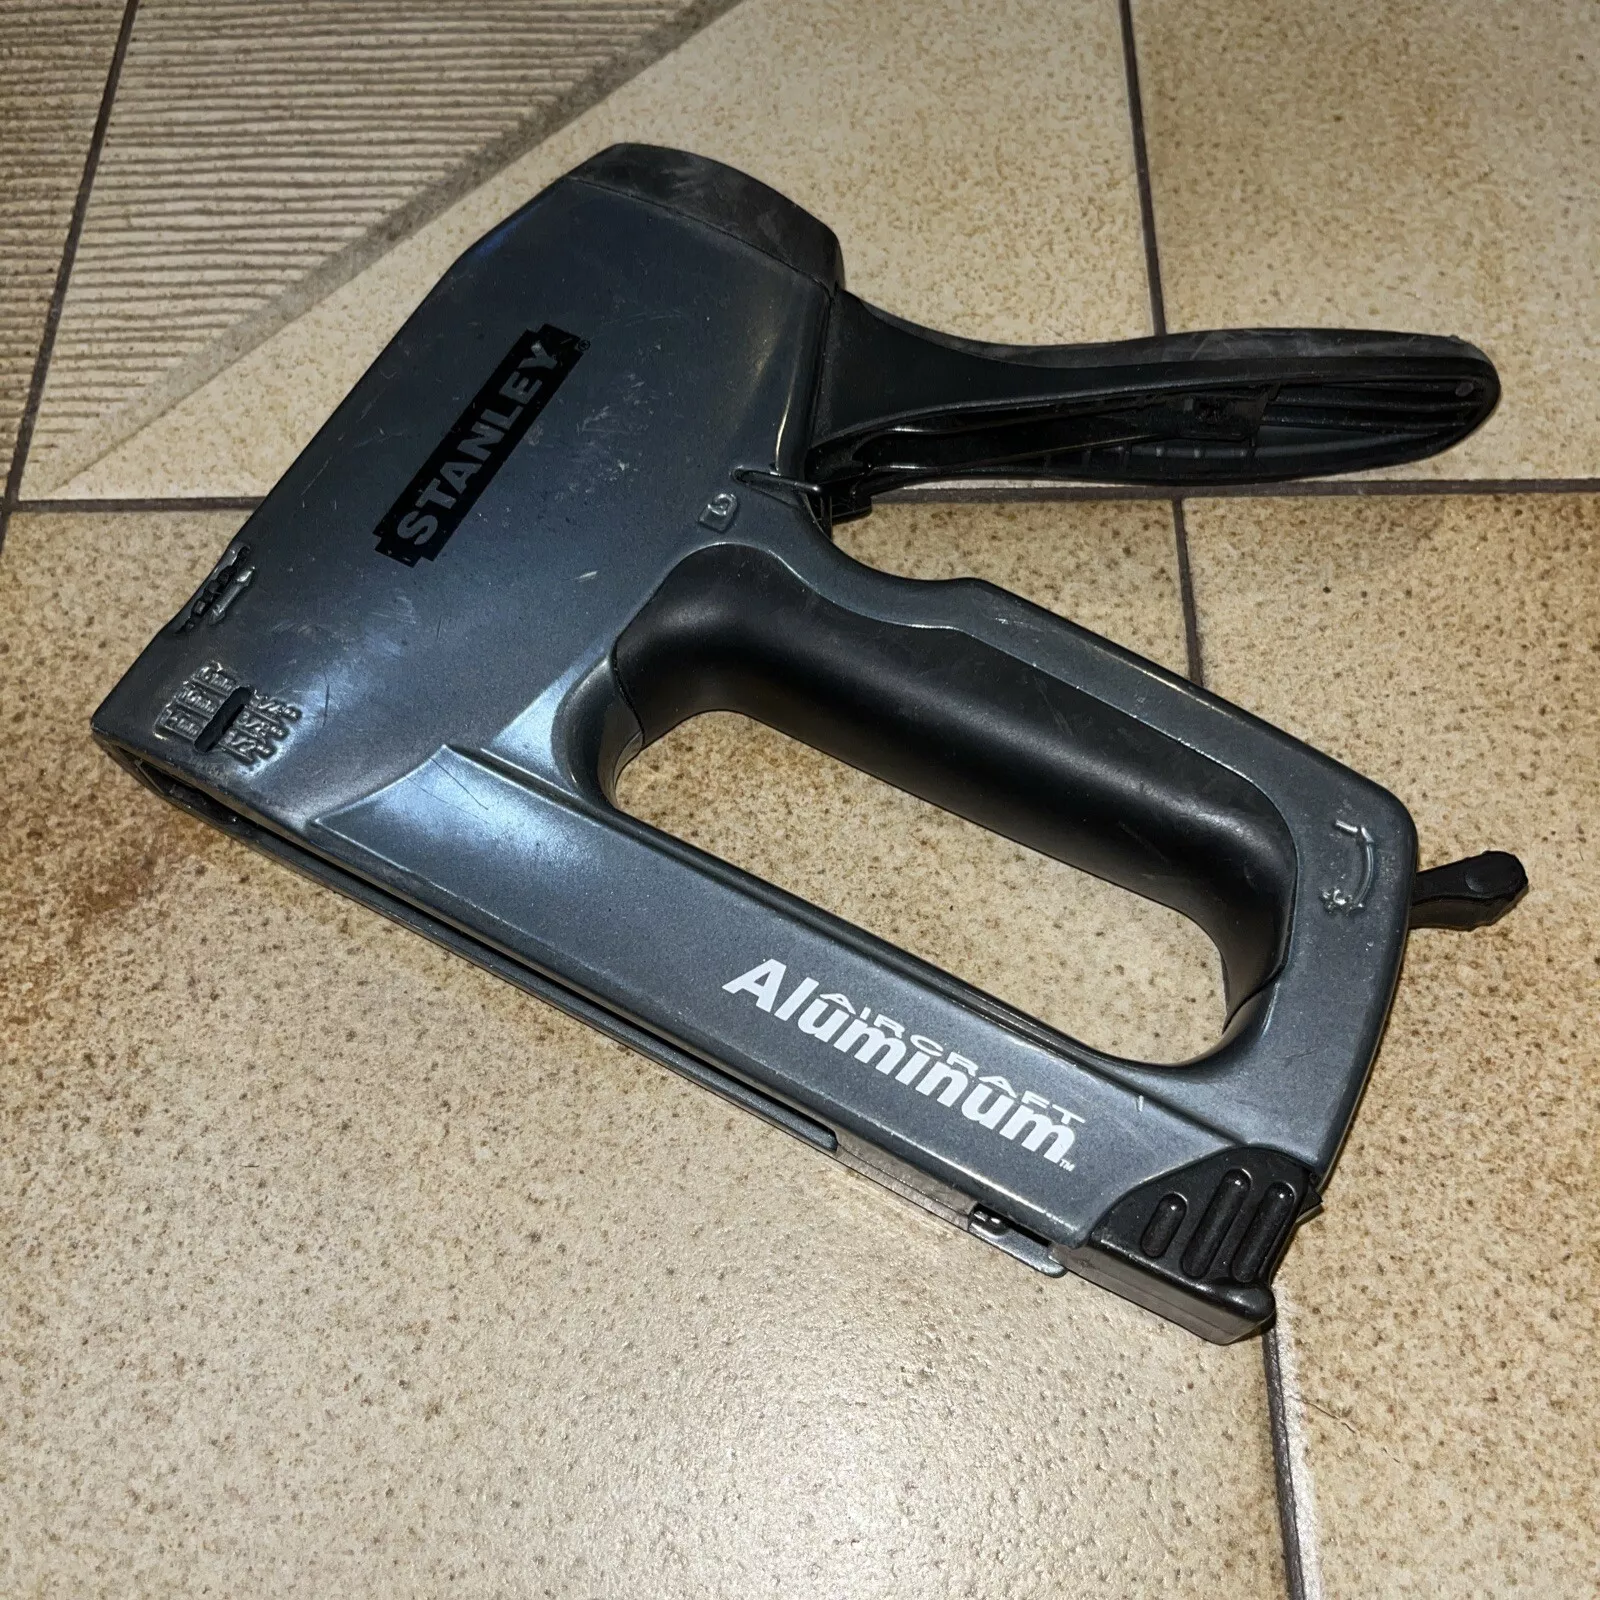
A staple gun is a handy tool for DIY projects, but a faulty spring can render it useless. To fix a staple gun spring, you’ll need to open the gun, check for damage, and either repair or replace the spring. This process is simpler than you might think and can save you money on buying a new tool.
Many common staple gun issues stem from spring problems. A broken or worn-out spring can cause misfires, jams, or weak stapling. By learning how to fix the spring, you can troubleshoot these issues and extend the life of your staple gun.
Before you start repairs, gather some basic tools like screwdrivers and pliers. You may also need a replacement spring if the old one is beyond repair. With the right approach, you can get your staple gun back in working order quickly.
| Common Staple Gun Issues | Possible Spring-Related Cause |
|---|---|
| Weak stapling | Worn-out spring |
| Misfires | Broken spring |
| Jams | Misaligned spring |
Staple Gun Spring Snapped? Quick Repair Guide
A broken spring can bring your stapling projects to a screeching halt. But before you toss out your staple gun, try these quick fixes to get it back in action.
Assess the Damage
- Safety First: Disconnect the staple gun from any power source (if electric) or remove any remaining staples.
- Identify the Problem: Examine the spring closely. Is it completely broken, or just dislodged? Note how the spring was originally positioned.
Quick Fixes
- Reattach the Spring: If the spring is simply dislodged, carefully reattach it to its original position. Use pliers for better grip and leverage.
- Bend a Replacement: If the spring is broken, you might be able to fashion a temporary replacement using a sturdy wire or a paperclip. Bend it into a similar shape as the original spring and attach it securely.
- Replace the Spring: For a more permanent solution, order a replacement spring that matches your staple gun model. Many hardware stores or online retailers carry replacement parts.
Installation Tips
- Tension: Ensure the new or repaired spring has the correct tension. It should be strong enough to drive staples but not so strong that it jams the gun.
- Alignment: Make sure the spring is properly aligned within the staple gun mechanism.
- Testing: Test the staple gun on a scrap piece of wood to ensure it’s working correctly before tackling your project.
Preventing Future Breaks
- Proper Usage: Avoid over-extending or forcing the staple gun.
- Maintenance: Keep the staple gun clean and lubricated to prevent jams and reduce stress on the spring.
- Storage: Store the staple gun in a dry place to prevent rust and corrosion.
| Problem | Solution |
|---|---|
| Spring dislodged | Reattach to original position |
| Spring broken | Bend a temporary replacement or order a new spring |
Safety Precautions
- Eye Protection: Always wear safety glasses when working with a staple gun.
- Hand Placement: Keep your hands clear of the firing path.
- Secure Workpiece: Secure the workpiece to prevent it from moving while stapling.
Choosing the Right Staple Gun
Different staple guns are designed for different purposes. Consider these factors:
- Power Source: Manual, electric, or pneumatic.
- Staple Size: Choose the appropriate staple size for your project.
- Ergonomics: Select a staple gun that is comfortable to hold and use.
By following these tips, you can repair your staple gun spring and get back to your projects safely and efficiently.
Understanding Staple Gun Mechanism
Staple guns are essential tools for many tasks. They use springs and moving parts to drive staples into various materials. Knowing how they work helps with maintenance and repairs.
Types of Staple Guns
Manual staple guns are common and easy to use. You squeeze the handle to drive staples. They’re good for light tasks and don’t need power.
Pneumatic staple guns use compressed air. They’re faster and more powerful than manual ones. These are ideal for heavy-duty jobs or long work sessions.
Electric staple guns plug into an outlet. They offer a balance of power and ease of use. You’ll find them useful for medium to large projects.
| Type | Power Source | Best For |
|---|---|---|
| Manual | Hand strength | Light tasks |
| Pneumatic | Compressed air | Heavy-duty jobs |
| Electric | Electricity | Medium to large projects |
Anatomy of a Staple Gun
The main parts of a staple gun include the body, magazine, and firing mechanism. The body houses all components and provides grip.
The magazine holds staples and feeds them into position. It’s usually spring-loaded to push staples forward.
The firing mechanism includes the stapler spring and striker. When activated, it drives the staple out.
A safety lock prevents accidental firing. It’s an important feature for your protection.
The nose is where staples exit. It guides staples into the material you’re working with.
Routine Maintenance and Safety
Proper maintenance and regular safety checks are crucial for keeping your staple gun in top condition. These practices prevent malfunctions and extend the tool’s lifespan.
Cleaning and Lubrication
Clean your staple gun after each use. Remove any debris or dust with a soft brush or compressed air. Pay special attention to the hammer and spring mechanism. These parts can accumulate dirt and affect performance.
Lubricate moving parts regularly. Use a light machine oil or silicone spray. Apply a small amount to the trigger, spring, and other moving components. This reduces friction and prevents rust.
Create a cleaning schedule. Weekly cleaning is ideal for frequent users. Monthly maintenance suffices for occasional use.
| Maintenance Task | Frequency |
|---|---|
| Basic cleaning | After each use |
| Deep cleaning | Weekly/Monthly |
| Lubrication | Monthly |
Regular Inspection
Check your staple gun before each use. Look for signs of wear or damage. Inspect the spring for stretching or weakness. A worn-out spring can cause misfires or weak staple penetration.
Examine the hammer for any deformation or cracks. A damaged hammer can lead to jamming or inconsistent stapling. If you notice any issues, replace the part promptly.
Test the trigger mechanism. It should move smoothly without sticking. If it feels rough or stiff, clean and lubricate it.
Check for loose screws or fasteners. Tighten them if necessary. Loose parts can affect accuracy and safety.
Inspect the magazine and feeding mechanism. Clear any jammed staples or debris. A clogged hammer can prevent proper firing.
Troubleshooting Common Issues
Staple gun problems often stem from jams, spring damage, or improper loading. Quickly identifying and addressing these issues will keep your tool in top shape.
Identifying Jam Causes
Jams in staple guns typically occur due to incorrect staple size or type. Check the manufacturer’s recommendations for compatible staples. Overloading the magazine can also cause jams.
Fill the magazine to about 80% capacity to prevent this issue. Dirt and debris buildup is another common culprit. Clean your staple gun regularly with compressed air or a soft brush.
Bent or damaged staples can lead to jams and misfiring. Inspect staples before loading and discard any that look irregular. Using the wrong staple depth setting may cause staples to jam. Adjust the depth setting to match your project’s requirements.
Clearing Jammed Staples
When faced with a jam, safety comes first. Unplug electric staple guns or remove batteries from cordless models. Open the magazine carefully to avoid injury from loose staples.
Use needle-nose pliers to remove stuck staples gently. Don’t force jammed staples out as this may damage internal components. A flathead screwdriver can help pry out stubborn staples.
After clearing the jam, inspect the gun for any remaining staple fragments. Clean the firing mechanism thoroughly before reloading. Test the gun on scrap material to ensure proper function.
Fixing a Damaged Spring
A faulty spring often causes weak firing or complete failure. To fix this, disassemble the staple gun carefully. Keep track of all parts and their positions.
Locate the damaged spring and remove it using pliers. Measure the spring’s length and diameter to find a suitable replacement. Install the new spring, ensuring proper tension and alignment.
If the spring appears intact but weak, try adjusting the tension. Some models have a tension knob for easy adjustment. Turn it clockwise to increase tension or counterclockwise to decrease it.
| Issue | Possible Cause | Solution |
|---|---|---|
| Jammed staples | Wrong size/type | Use recommended staples |
| Weak firing | Damaged spring | Replace or adjust spring |
| Misfiring | Dirt buildup | Clean firing mechanism |
| Overloading | Too many staples | Fill to 80% capacity |
Replacing Staple Gun Springs
Restoring your staple gun’s functionality often comes down to addressing spring issues. A properly functioning spring ensures consistent stapling performance.
Assessing Spring Damage
Examine your staple gun closely to identify spring problems. Look for visible wear, stretching, or breakage. Test the gun’s action. If it feels weak or inconsistent, the spring likely needs replacement.
Common signs of a faulty spring include:
- Misfires or jams
- Weak staple penetration
- Inconsistent stapling force
Disassemble the staple gun carefully to inspect the spring directly. Note any rust, deformation, or breaks.
Step-by-Step Replacement
- Gather tools: screwdriver, pliers, replacement spring
- Open the staple gun housing
- Locate and remove the old spring
- Clean the spring compartment
- Insert the new spring
- Reassemble the staple gun
| Step | Action | Tips |
|---|---|---|
| 1 | Gather tools | Ensure correct spring size |
| 2 | Open housing | Note screw locations |
| 3 | Remove old spring | Use pliers if stuck |
| 4 | Clean compartment | Remove debris |
| 5 | Insert new spring | Match orientation |
| 6 | Reassemble | Test functionality |
Insert one end of the new spring into its designated slot. Carefully attach the other end. Ensure proper tension and alignment.
Test the staple gun after reassembly. The action should feel smooth and powerful. If issues persist, double-check your installation or consider professional repair.
Frequently Asked Questions
Staple gun issues can often be resolved with proper troubleshooting and maintenance. Here are answers to common questions about fixing staple gun problems.
What steps are involved in reassembling a staple gun after it has fallen apart?
To reassemble a staple gun, start by identifying all the parts. Place the spring in its correct position. Align the two halves of the gun. Secure them with screws or clips. Test the mechanism before use.
How can I troubleshoot a heavy-duty staple gun that is not functioning despite no visible jams?
Check the tension knob and adjust it if needed. Inspect the spring for damage. Clean the internal components. Lubricate moving parts. If problems persist, consult the manufacturer’s guide.
What should I check if my new manual staple gun is not working at all?
Ensure staples are loaded correctly. Verify the staple size matches the gun’s specifications. Check for any shipping locks or safety mechanisms. Inspect the spring and pusher assembly for proper installation.
What could be the reason my staple gun is not dispensing staples during use?
This issue often stems from a faulty spring. Check if the spring is broken or misaligned. Inspect the pusher mechanism. Clear any jams in the staple channel. Ensure staples are the correct size and type.
How do I properly place the spring inside a staple gun?
To place the spring correctly, note its original orientation. Insert one end into the designated hook or hole. Carefully stretch the spring to its proper position. Secure the other end in place. Test the mechanism to ensure proper tension.
Where can I find a troubleshooting manual for an Arrow T50 staple gun?
Check the Arrow Tools official website for downloadable manuals. Contact Arrow customer support for specific troubleshooting guides. Online DIY forums often have user-created guides for common T50 issues.
| Issue | Possible Cause | Solution |
|---|---|---|
| No staples dispensed | Broken spring | Replace spring |
| Jammed staples | Wrong size staples | Use correct staple size |
| Weak stapling | Low tension | Adjust tension knob |
| Gun won’t close | Misaligned parts | Reassemble correctly |


