A car’s alternator is a key part of its electrical system. It charges the battery and keeps the engine running. If your car’s battery warning light comes on, it might mean the alternator is failing. This can stop your car from charging and leave you stranded.
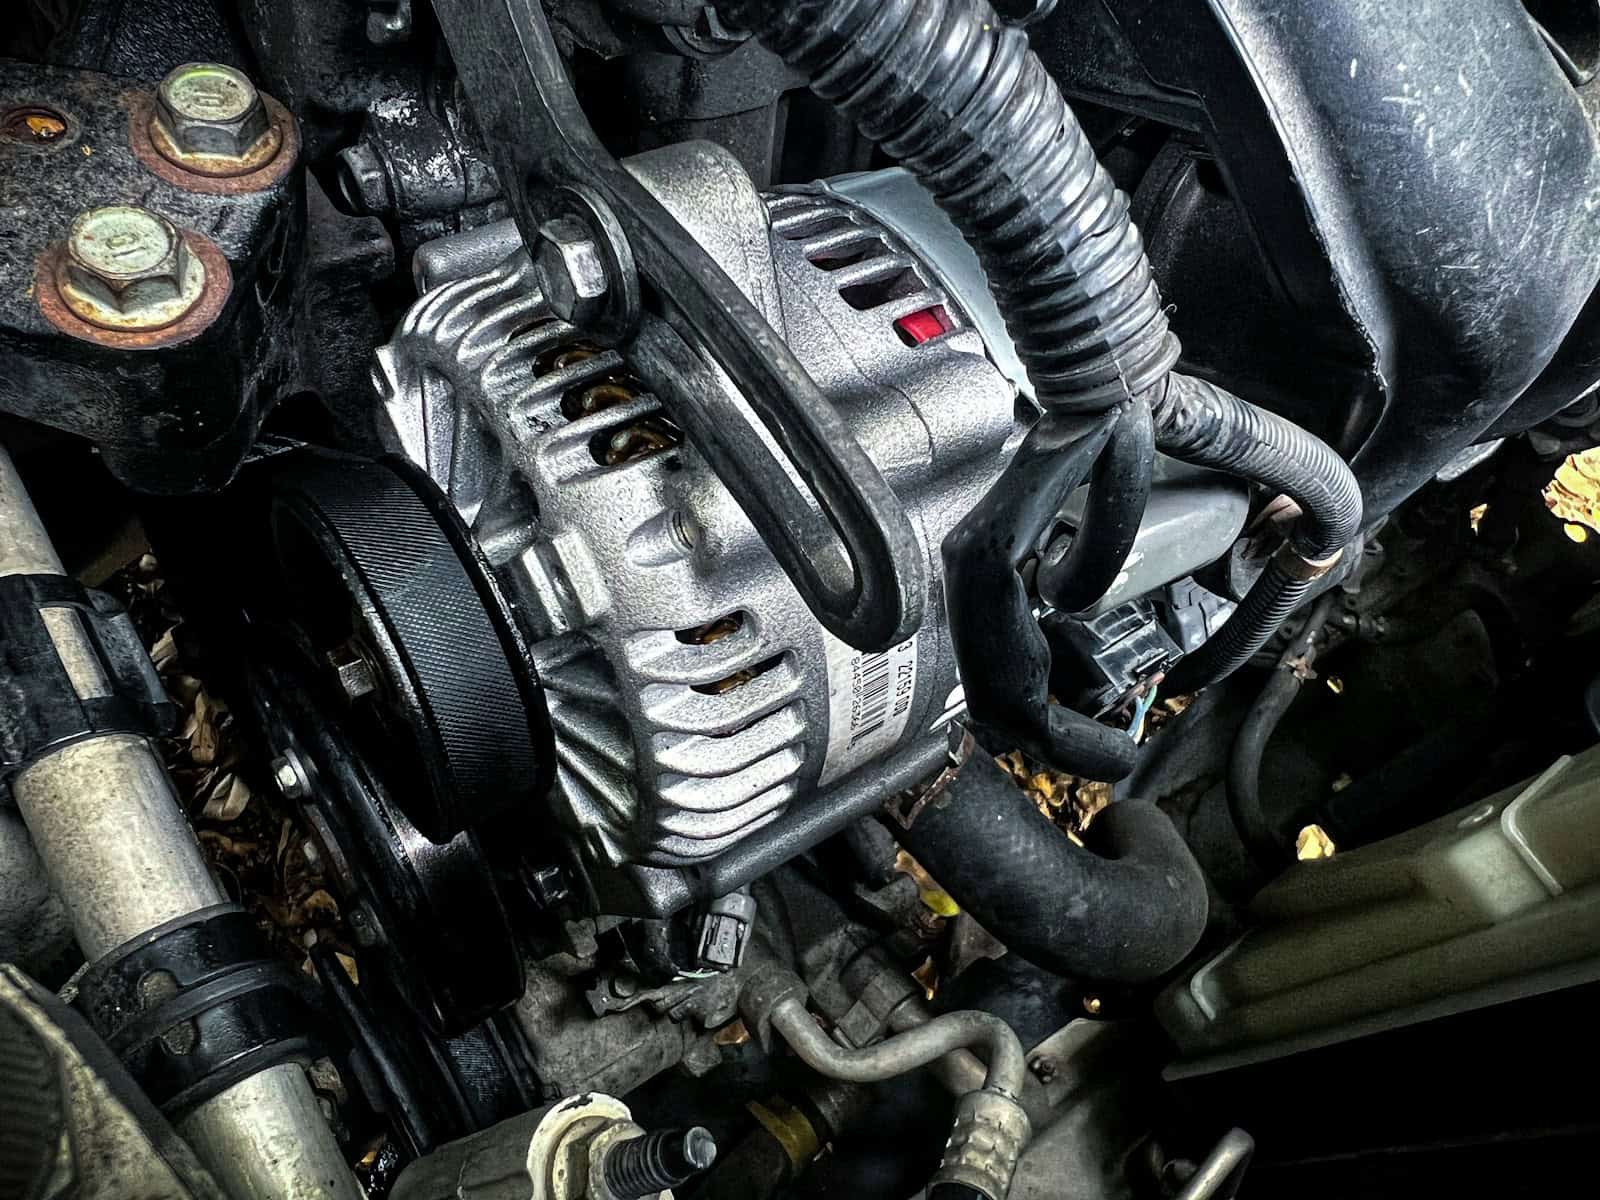
Repairing an alternator can save you money. Simple tools like wrenches and screwdrivers are often enough. You need to first remove the air cleaner for easy access. Then, label and disconnect the electrical leads. Next, take off the serpentine belt to get to the alternator itself.
Once the alternator is out, check it for damage. Look for worn-out parts or broken wires. If these parts are bad, you can replace them. After fixing or replacing, put everything back in place, making sure all bolts are tight. Connect the electrical leads back, and your alternator should be as good as new.
Diagnosing Alternator Issues
When diagnosing alternator issues, it is important to identify symptoms, conduct tests, and understand warning signs. This helps pinpoint the exact problem and leads to effective repair.
Identifying Symptoms of a Faulty Alternator
A faulty alternator can show various symptoms. Dim headlights or other dim lights are common signs. They may get brighter when the engine revs up. If the battery keeps dying even after charging, it might be the alternator. Look for a battery warning light on the dashboard. Strange sounds like grinding or whining can also indicate a problem.
Bad electrical connections or loose belts can sometimes cause these issues. Always inspect the battery cables and connections. They should be clean and tight.
Testing the Alternator
Testing the alternator requires a multimeter. First, set the multimeter to measure voltage. Turn off the engine. The battery should read between 12.6 and 12.8 volts. Start the engine and measure again. A healthy alternator should produce between 13.7 and 14.7 volts. If it reads lower, the alternator may be failing.
Check the voltage at different engine speeds. The reading should stay fairly stable. If it swings widely, the voltage regulator may be faulty. Test electrical connections to make sure they are secure. Any loose or corroded connections need to be fixed.
Understanding Warning Signs and Dashboard Indicators
The dashboard can provide vital clues. The most obvious is the battery warning light. If it stays on after starting or comes on while driving, this suggests a charging problem.
Dim or flickering lights are another sign. If turning on electrical accessories causes the lights to dim, check the alternator. Also, pay attention to signs like strange sounds. Whining sounds can suggest a worn-out pulley or bearing.
Additionally, make sure the voltage regulator is working. If it fails, it can cause incorrect voltage levels, leading to various electrical problems. Keep an eye on all these indicators to catch alternator issues early.
Performing Alternator Repairs
Fixing an alternator involves steps like preparation, removing the old part, installing a new one, and checking the electrical systems. Each step requires attention to detail to ensure everything works well.
Preparing for Alternator Replacement
Before starting, wear gloves and gather tools like wrenches, a belt tensioner tool, and the owner’s manual. First, disconnect the negative battery cable to avoid shocks. Next, locate the alternator in the engine compartment. The exact location can vary by make and model.
Check the condition of the serpentine belt. Ensure it is in good shape because a worn belt can affect the new alternator. Also, have a fully charged battery ready.
Disconnecting and Removing the Old Alternator
Start by loosening the tensioner with a belt tensioner tool. This allows you to remove the serpentine belt from the alternator. Next, disconnect any electrical leads and make sure to label them for reinstallation.
After disconnecting the electrical components, remove the mounting bolts with the appropriate wrenches. Carefully lift the old alternator out. Pay attention to the pulleys and make sure they aren’t damaged.
Installing the New Alternator
Place the new alternator in the mounting position and secure it with the bolts. Reconnect the electrical leads to the same positions as the old ones. Make sure the connections are tight and clean.
Install the serpentine belt over the pulleys and adjust the belt tension using the tensioner. Ensure the belt is neither too loose nor too tight, checking for correct deflection.
Reconnecting Electrical Systems and Final Checks
Reconnect the negative battery cable. Start the engine and monitor the starting and charging system. Check the battery voltage; it should read between 13.7 to 14.7 volts when the engine is running.
Look for any wear and tear on the connections or belts. Ensure there are no unusual noises indicating a misaligned belt. Consult the owner’s manual for any specific instructions related to your car’s make and model.
Frequently Asked Questions
This section answers common questions about fixing an alternator.
Can an alternator be repaired?
Yes, an alternator can often be repaired. Minor issues like worn-out connections or bearings can be fixed.
Can you fix an alternator on your own?
You can repair an alternator if you have the right tools and follow instructions. Many DIY enthusiasts do it.
What are the steps to fix an alternator without replacing it?
- Check connections: Ensure all electrical connections are clean and tight.
- Inspect the serpentine belt: Make sure it has the proper tension.
- Test the battery: A strong battery helps the alternator work less.
- Replace damaged parts: Change out worn bearings or electrical components.
When is an alternator beyond repair and needs replacement?
An alternator should be replaced if it has major internal damage, like a failing winding or stator. Sometimes, repairs cost more than a new part.
How to diagnose an alternator that’s not charging?
- Check dashboard warning lights: Look for a red battery light.
- Test battery voltage: Use a multimeter; it should read around 12.6 volts when off and 13.8-14.8 volts when running.
- Listen for strange noises: Grinding or squealing can indicate problems.
What tools are needed for at-home alternator repair?
- Wrenches: To remove bolts.
- Multimeter: To check voltage.
- Screwdrivers: For electrical connections.
- Belt tension gauge: Ensures the serpentine belt has the right tension.