Stucco is a strong material for your home’s walls. It lasts a long time and looks nice. But sometimes it can crack or get damaged. If you see a crack or small hole in your stucco, don’t worry. You can fix it yourself. It’s important to repair stucco to keep your house safe from water and to make it look good again.
To start repairing stucco, you will need some tools and materials. Get a caulk gun, stucco patch mix, and a paintbrush. These will help you fill in the cracks and holes. Before you begin, you should clean the area and remove any loose stucco.
Once the area is clean, use the caulk gun to fill small cracks. For big holes, you will need to apply the stucco patch mix. After the patch dries, you can paint it to match the rest of the wall. Now the stucco on your house should look as good as new.
Revitalizing Your Stucco: A DIY Repair Guide
Assessing the Damage
Start by evaluating the extent of the damage. Small cracks and holes can often be repaired with a simple patch job, while larger areas or structural damage may require professional help.
Gathering the Necessary Tools and Materials
- Hammer and chisel (for removing loose stucco)
- Wire brush
- Masonry trowel
- Mixing bucket
- Stucco mix (pre-mixed or individual components)
- Metal lath or mesh (for larger repairs)
- Water
- Safety glasses and gloves
Repairing Small Cracks and Holes
- Clean the area: Remove any debris or loose stucco around the damaged area using a wire brush.
- Dampen the surface: Lightly spray water on the area to improve adhesion.
- Apply stucco mix: Fill the crack or hole with the stucco mix, pressing it firmly into place.
- Smooth and feather: Use a masonry trowel to smooth the surface and feather the edges for a seamless blend.
- Cure: Allow the patch to dry and cure according to the manufacturer’s instructions.
Repairing Larger Areas
- Remove loose stucco: Use a hammer and chisel to chip away any loose or damaged stucco.
- Install metal lath: Attach metal lath or mesh over the exposed area to provide support for the new stucco.
- Apply scratch coat: Apply a thin, rough layer of stucco to the lath, creating a base for the subsequent layers.
- Apply second coat: Once the scratch coat dries, apply a second coat of stucco, filling in any gaps and leveling the surface.
- Apply finish coat: The final coat provides texture and color. You can match the existing stucco finish or choose a new one.
- Cure: Allow each layer to dry and cure completely before applying the next.
Tips for a Successful Stucco Repair
- Match the existing stucco: Try to match the color and texture of the existing stucco as closely as possible for a seamless repair.
- Work in small sections: For larger repairs, work in manageable sections to prevent the stucco from drying out too quickly.
- Protect from weather: Shield the repaired area from rain or extreme temperatures until it cures completely.
- Seek professional help: If you’re unsure about any part of the process or dealing with extensive damage, consult a professional for assistance.
Understanding Stucco Layers: A Breakdown
| Layer | Purpose |
|---|---|
| Scratch Coat | Provides a rough base for the subsequent layers to adhere to. |
| Base Coat (Brown Coat) | Fills in gaps, levels the surface, and provides structural strength. |
| Finish Coat | Creates the final texture and color of the stucco. |
| Optional Paint | Can be applied for additional protection and aesthetics (not always necessary). |
By following this step-by-step guide and taking the necessary precautions, you can effectively repair your stucco and restore the beauty and integrity of your home’s exterior.
Assessing Stucco Damage and Preparing for Repair
Before starting repairs on stucco exteriors, it is vital to assess the extent of damage. Preparing involves identifying the type of damage, gathering the right tools, and taking safety measures.
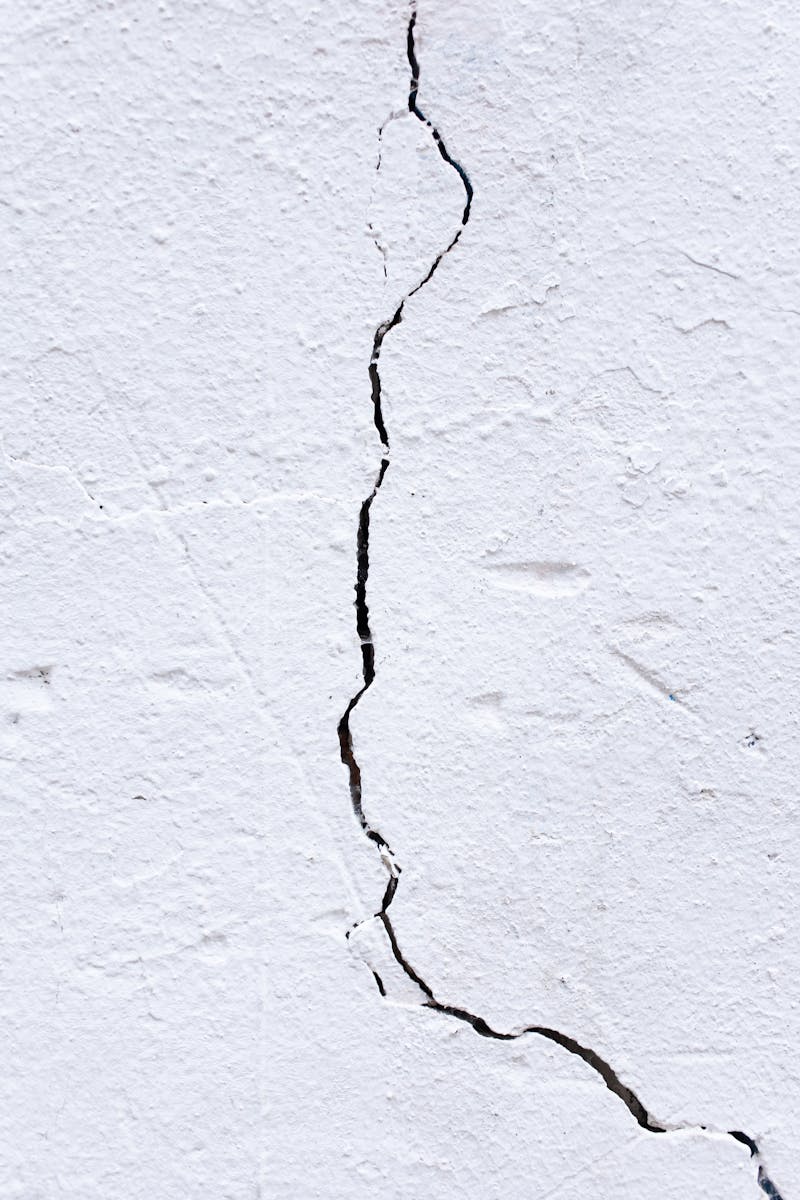
Identifying Types of Stucco Cracks
Cracks in stucco can range from hairline to larger, more serious ones. Small cracks often arise from regular changes in weather. Larger cracks may hint at foundation problems. Use a wire brush to clean the area for a better look. If you see cracks close to doors or windows, or if they are wider than 1/4 inch, there may be deeper issues.
Tools and Materials Required
Here’s what you need for a basic stucco repair project:
| Tools | Materials |
|---|---|
| Hammer | Stucco mix |
| Wire brush | Caulk |
| Trowel | Metal lath |
| Utility knife | Builder’s paper |
| Caulk gun | Galvanized nails |
| Dust mask |
Make sure you have these supplies on hand before starting. They help in cleaning and repairing cracks and patching holes.
Safety Precautions Before Starting
Safety is crucial. Wear eye protection like safety glasses. Gloves will protect your hands. Clear the repair area of any objects. Make sure ladders are stable if you need them. Cover the ground with a drop cloth to catch debris. If you feel uncomfortable at any point, consider hiring a professional.
Remember, a well-maintained stucco exterior can prevent moisture from damaging the house structure, including the plywood and studs hidden beneath.
Executing the Stucco Repair
Repairing stucco involves proper mixing, application, and finishing techniques. This will ensure endurance and visual appeal.
Mixing and Applying Stucco Patch
Start with a mixing bowl and add Portland cement, sand, and water according to package instructions. For larger repairs, include an acrylic bonding agent to improve strength. Mix until you achieve a uniform consistency. Next, chisel out any loose stucco with a cold chisel and hammer. Then, clear the debris using a wire brush. Wet the area slightly before applying the patching mix. Use a brick trowel to press the mix into cracks and holes firmly.
- Scratch coat: Apply the first layer and score it with a trowel to help the next layer stick.
- Brown coat: Add a second layer for proper thickness.
- Finish coat: Apply the last layer for a smooth or textured exterior finish.
Finishing and Curing for Durability
After applying the stucco patch, it must be allowed to cure. Keep it damp by misting the area or cover it with a plastic sheet for 48 hours. This step is crucial because it helps prevent cracking and ensures the stucco siding gains the right durability and strength.
Painting and Texturing for Aesthetic Match
Lastly, match the new stucco to your home’s exterior. Choose the exterior paint carefully for a good match. Apply using a brush or roller. If you have a textured surface, use a putty knife or trowel to add texture as the finish coat cures. Once the area is dry, paint to complete the aesthetic match with the surrounding areas.
Remember, proper repair and finishing techniques are what make the stucco durable and visually appealing.
Frequently Asked Questions
In this section, you’ll get answers to common questions when fixing stucco. These tips will help with cracks, holes and other stucco issues.
What are the essential steps for repairing stucco cracks?
To fix stucco cracks, first clean the area. Then, apply stucco patching compound. After that, smooth with a tool.
How can one effectively repair large holes in stucco?
For large holes, you need to put on new mesh. Then cover it with a base coat of stucco. Add a finish coat to match the wall.
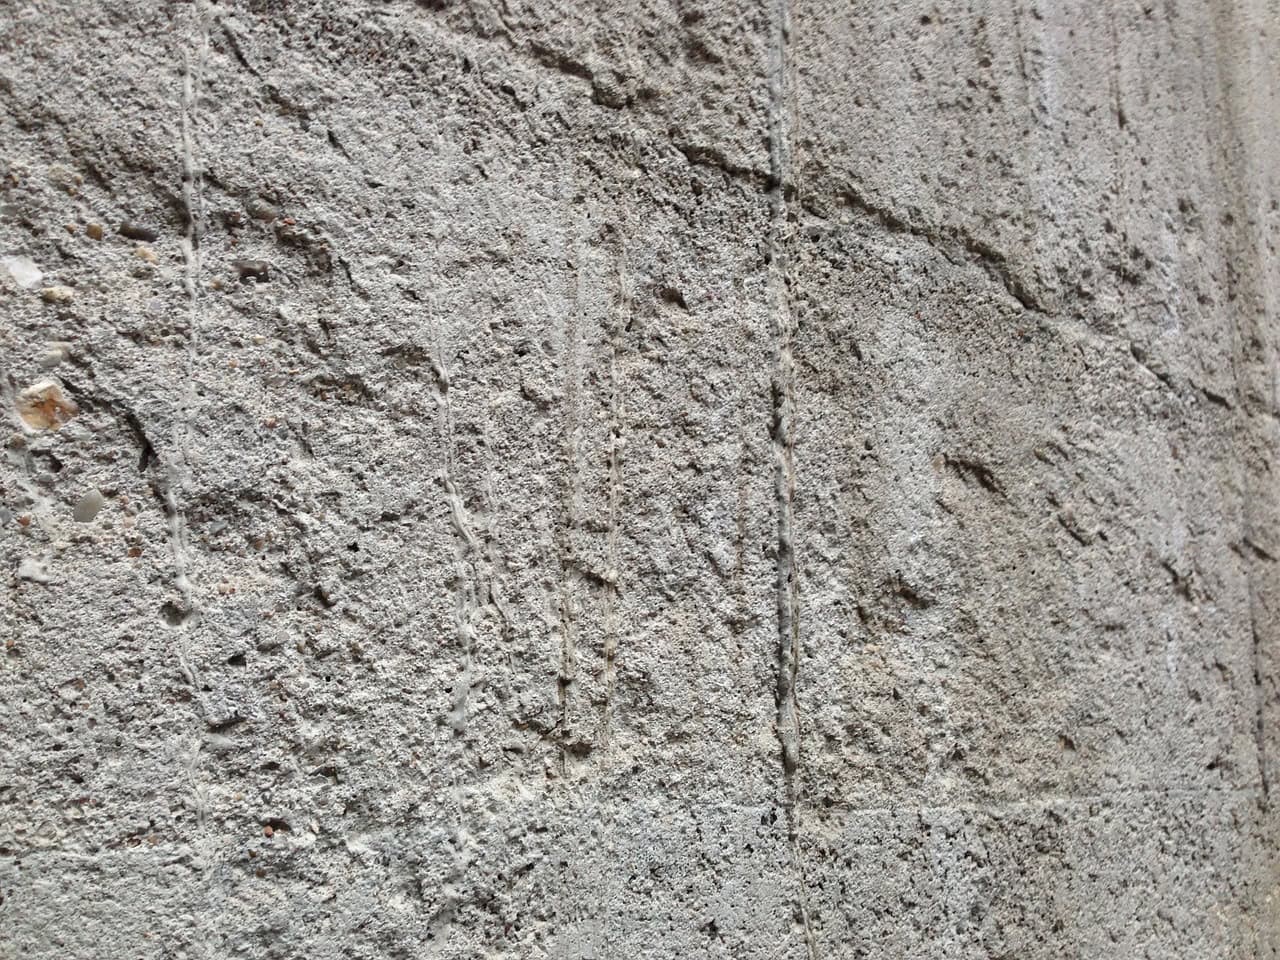
What is the best approach to repair stucco on a block wall?
To fix stucco on a block wall, first clear any loose stucco. Apply a bonding agent. Finish with a stucco mix.
What preparatory work is needed before painting over stucco repairs?
Before painting, make sure the stucco repair is dry. Cover it with a primer made for stucco.
Can you describe the process of applying new stucco over old stucco?
To apply new stucco, clean the old surface. Then, put on a bonding agent and apply the new stucco layer.
Should damaged stucco be repaired or completely replaced for best results?
Repair small stucco damage for quick fixes. Replace it if the damage is deep or widespread. This ensures a long-lasting repair.