Building a fence can be a great way to add privacy and safety to your home. To start, you need to plan and design your fence carefully. Think about where you want the fence to go and what type of materials to use. Make sure to mark and square the corners using stakes and string.
Next, it’s important to know your property lines. This will help you avoid building on someone else’s land. You can check this with a map or by hiring a professional surveyor. Once you have your plan and know your property lines, you can start digging holes for the posts.
Choose materials that match your landscape. Wood, vinyl, and metal are popular choices. Attach rails or panels to the posts, ensuring everything is level and secure. Adding a gate can also be a useful feature for easy access.
For more details on constructing your fence, you can visit these helpful guides or this comprehensive tutorial.
Planning Your Fence
Before building a fence, it is crucial to plan carefully. This includes understanding local building codes, defining the fence’s purpose, selecting the right type, and marking property lines accurately.
Research Local Building Codes
It’s important to understand local building codes before starting construction. Local rules often dictate the height and type of fences allowed. Some areas also require a building permit, so make sure to check if you need one. These codes help ensure your fence will be safe and not block sightlines for drivers.
Zoning laws might limit where you can build. For example, fences can’t always be placed near sidewalks or roads. Ignoring these rules can lead to costly fines and having to remove the fence.
Determine the Purpose of the Fence
Knowing the purpose of your fence will influence many decisions. Some people build fences for privacy, while others want security. If the goal is privacy, a solid fence like wood could be best. For those seeking security, chain-link might work well.
Think about whether the fence needs to block noise, wind, or views. You may also want it to keep pets or kids inside the yard. Identifying your main need will guide you toward the right design and materials.
Select the Type of Fence
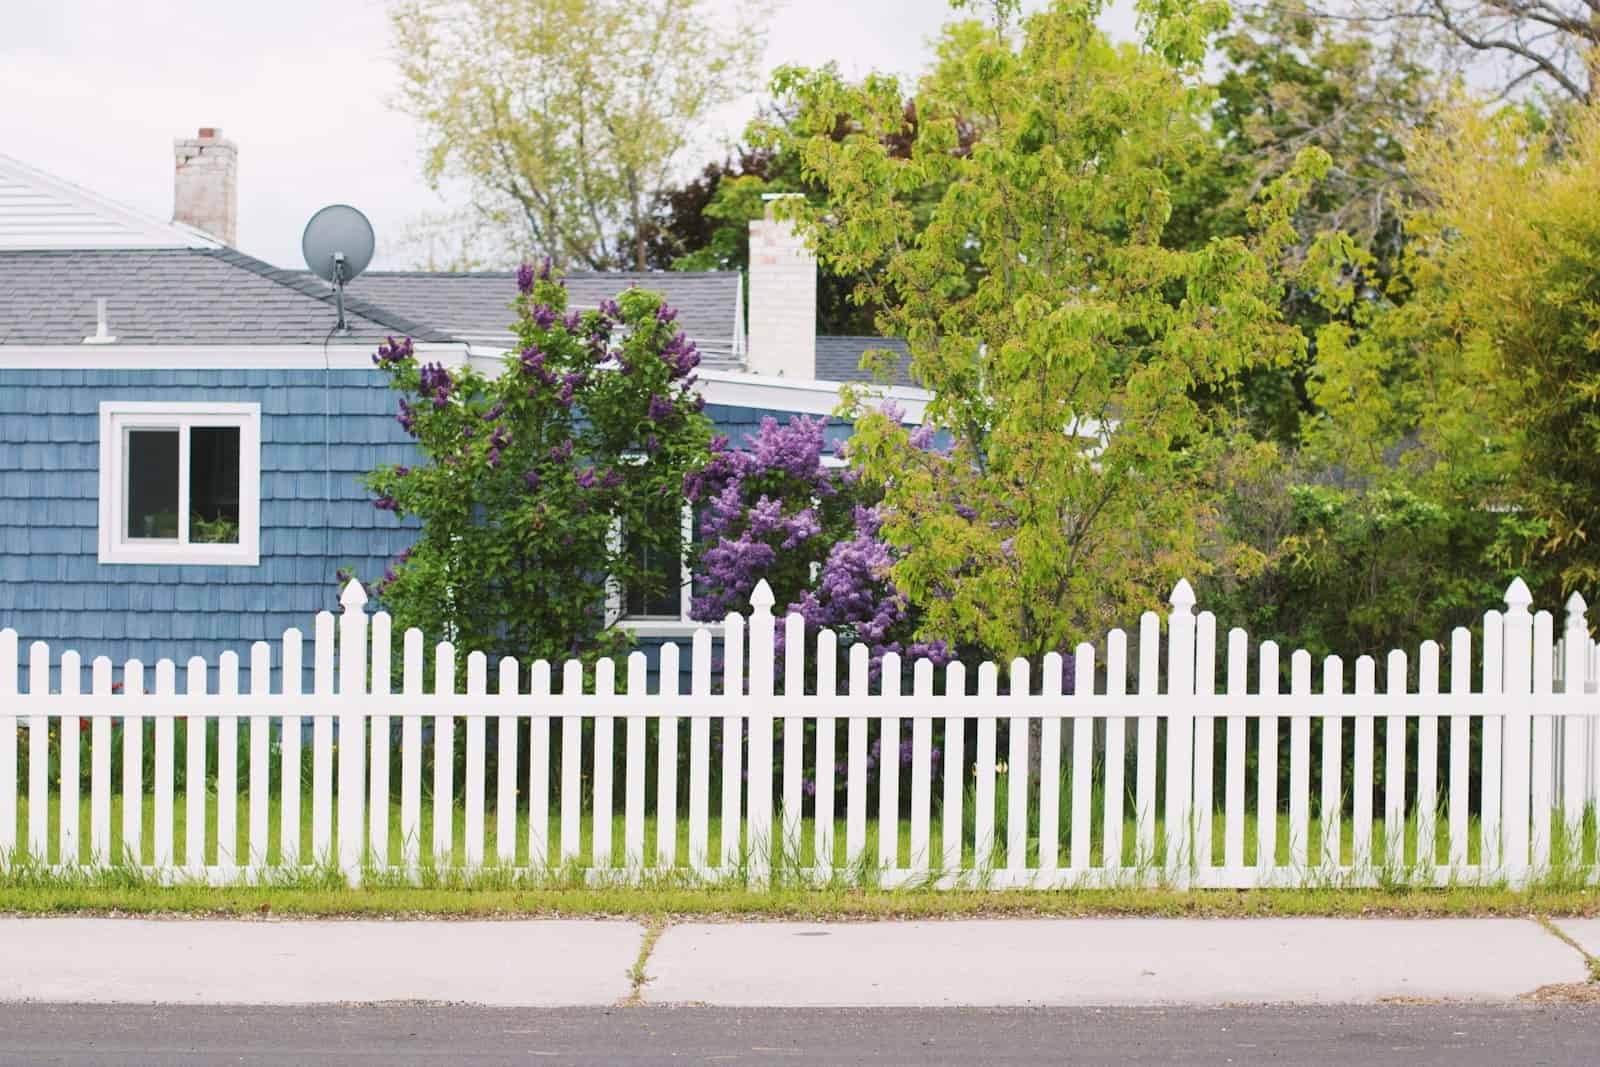
Choosing the right type of fence depends on your needs and budget. Wooden fences are popular for privacy and have a classic look. Vinyl fences are durable and require less upkeep. Chain-link fences are cost-effective but offer less privacy.
Consider materials that suit your climate. For wet areas, vinyl is a good choice since wood can warp. In cold climates, metal fences may be more durable. Evaluate the pros and cons of each type to pick the best one.
Mark Property Lines
It is vital to know where your property ends before building. Misplacing a fence can lead to disputes with neighbors. Use a map of your property to ensure accuracy. A property survey might be necessary if lines are unclear.
Walk around your yard and place stakes to mark where the fence will go. This helps visualize the project and ensures you stay within your property. Double-check measurements to avoid problems later.
Materials and Tools
Before starting a fence project, it is crucial to gather the right materials and tools to ensure a strong and long-lasting fence. This guide breaks down what you need to get started.
Choosing the Right Materials
The type of material you choose for your fence will determine its look and durability. Wood options like cedar and pine are popular. Cedar resists rot and insects. Pine is less costly but may need treatment. Treated (lumber) wood is good for areas with wet weather.
For a low-maintenance option, consider vinyl. It doesn’t rot or need painting. Chain link is strong and often used for security purposes. Bamboo is eco-friendly and looks unique but may not be as strong.
Depending on the design, you might need fence pickets, rails, and fence panels. Be sure that your posts are sturdy since they support the entire structure. Choose materials that match the climate and your budget.
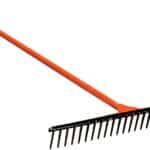
Essential Tools for Fence Building
Having the right tools makes the job easier and faster. Use a post hole digger or an auger to dig holes for the fence posts. You’ll need a level to make sure the posts and panels are straight.
A saw, either manual or power, is important for cutting fence boards and rails to size. Use a tape measure to ensure accuracy. Have a rubber mallet on hand to tap parts into place without damaging them.
For fixing the posts, a wheelbarrow and a shovel help mix and pour concrete mix around the posts. A drill and screwdriver are crucial for attaching screws, nails, and brackets. Safety gear like gloves, goggles, and ear protection are also important to protect yourself.
Selecting Fasteners and Adhesives
Fasteners like screws and nails keep the fence parts together. Galvanized nails are recommended because they resist rust. Use different sizes for pickets, rails, and posts.
Wood screws are ideal for wood fences because they hold better. For vinyl and chain link fences, use appropriate hardware. Brackets are needed to attach rails to posts.
Adhesives may also be required for extra support. Choose ones that are weather-resistant and suitable for outdoor use. This ensures that the fence stays intact through different weather conditions.
By gathering these materials and tools, you’re well-prepared to build a sturdy and attractive fence.
Building the Fence
Building a fence involves setting posts securely, installing rails and panels for support, and finally adding pickets or boards for the fence’s body. Proper tools and measurements ensure a straight, durable fence.
Setting the Posts
Set the posts first to give the fence its framework. Measure the spaces for each post. They should be about 8 feet apart. Use a tape measure to make sure the distance is accurate.
Next, use a post hole digger to make holes for the posts. Dig each hole about one-third of the post’s length deep. This depth helps the post stand tall and stay strong.
Put the post in the hole. Pour in a mix of concrete and water. Use a level to check if the post is straight. Hold the post in place until the concrete sets. Do this for each post.
Installing Rails and Panels
Install fence rails between the posts to support the panels or boards. Start from one end of the fence to the other. Use a power drill to secure the rails with deck screws.
First, attach the bottom rail. This rail should be a few inches from the ground. Next, attach the top rail. This rail should be near the top of the posts. If the fence is tall, install a middle rail for extra support.
Make sure each rail is level. Secure them tightly to avoid sagging. This structure helps make the fence sturdy.
Adding Pickets or Fence Boards
Now add the pickets or fence boards to create the actual fencing. Start by attaching the first picket at one corner of the fence. Keep it flush with the rail ends.
Use nails or screws to secure each picket. Place the pickets close together for more privacy. If using wood, leave a small gap between each picket to allow for expansion in wet weather.
Continue adding pickets until you reach the end. Check that each picket is vertical using a level. This step holds the fence together and adds the finishing touch.
Building a fence correctly ensures it lasts long and looks good. Use the right tools to make the job easier and more accurate.
Finishing and Maintenance
Proper finishing and maintaining of a fence can extend its life and keep it looking good. These steps help protect the wood and keep it strong against weather and damage.
Weatherproofing and Treating
Weatherproofing helps your wooden fence stand up to rain, snow, and sun. Start by sealing the wood with a weather-resistant sealant. This creates a barrier that keeps water from soaking into the wood.
Use pressure-treated wood for extra durability. This type of wood resists rot and insects better than untreated wood. Make sure to apply a new coat of sealant every couple of years to keep the fence protected.
Treat any cracks or holes with wood filler to prevent water damage. It’s also a good idea to check the fence regularly for any signs of wear and tear.
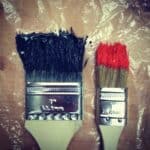
Painting and Staining
Painting and staining not only make your wooden fence look better but also add a layer of protection. Before painting or staining, clean the fence thoroughly and let it dry completely.
For painting, use exterior paint that is designed for wood. Apply at least two coats for good coverage and protection. Be sure to paint in dry conditions to avoid any moisture problems.
If you choose to stain, pick one that offers UV protection. This helps prevent the wood from fading in the sun. Like with paint, apply at least two coats of stain for the best results.
Regular Fence Maintenance
Maintaining a fence is key to its long life. Start with regular inspections. Check for any loose boards, nails, or screws and fix them right away.
Clean the fence once a year. Use a simple solution of water and mild detergent. Wash off any dirt, mold, or algae. Use a soft brush to avoid scratching the wood.
Trim back any plants or bushes that are close to the fence. Overgrown landscaping can trap moisture against the wood, causing it to rot faster. Keep the area around the base of the fence clear to prevent this.
Inspect the bottom of the fence for any signs of decay or damage and repair as needed. This consistent care will keep your wooden fence in top shape.
Frequently Asked Questions
Building a fence involves planning, budgeting, and execution. This section provides clear answers for common questions regarding steps, costs, and methods for constructing various types of fences.
What are the steps to constructing a wooden fence?
- Plan and Purchase: Mark your property line and decide where the fence will go. Choose materials like wood or vinyl.
- Prepare and Dig: Use stakes and string to outline the fence. Dig post holes about 6-8 feet apart.
- Set Posts: Place posts in the holes and fill with concrete. Ensure they are level.
- Install Rails: Attach horizontal rails between the posts using screws or nails.
- Attach Pickets: Nail or screw pickets to the rails, leaving a small gap between each one for wood expansion.
How can I build a fence on a limited budget?
- Use Inexpensive Materials: Opt for chain link or wood, both are cheaper than vinyl or metal.
- DIY: Doing the labor yourself saves money.
- Repurpose Materials: Use recycled or second-hand materials where possible.
- Skip Extras: Avoid fancy post caps or paint if on a tight budget.
What is the procedure for installing a fence panel?
- Measure the Area: Determine the number of panels needed by measuring the full length of your fence line.
- Set the Posts: Install posts at measured intervals (usually 6-8 feet apart).
- Attach Panels: Align panels to the posts and secure them with brackets or screws. Ensure panels are level.
How do I construct a gate as part of my fencing project?
- Plan the Gate: Decide the size and location. Typically around 3-4 feet wide for a pedestrian gate.
- Build the Frame: Use treated lumber to construct the frame of the gate.
- Attach Hinges and Latch: Secure hinges to the frame and then to the fence post. Attach a latch to lock the gate.
- Install Gate: Mount the gate to the fence and ensure it swings freely without dragging.
Can building a privacy fence with panels be done as a DIY project?
Yes, building a privacy fence with panels is a feasible DIY project. Prefabricated panels simplify the process.
- Choose Panels: Purchase pre-made panels for ease.
- Follow Same Steps for Installation: Set posts, align and attach panels, and ensure everything is level.
- Get Help: Panels can be heavy, so having an extra pair of hands is useful.
What is the simplest type of fence to construct for a novice?
A pre-assembled panel fence or chain link fence is the easiest for beginners.
- Chain Link: Involves setting posts, connecting rails, and attaching the mesh. No cutting of boards or detailed measurements are needed.
- Panel Fence: Similar to installing privacy panels. Just set the posts and secure the pre-assembled panels.
These types require fewer tools and less precise measurements, making them beginner-friendly.