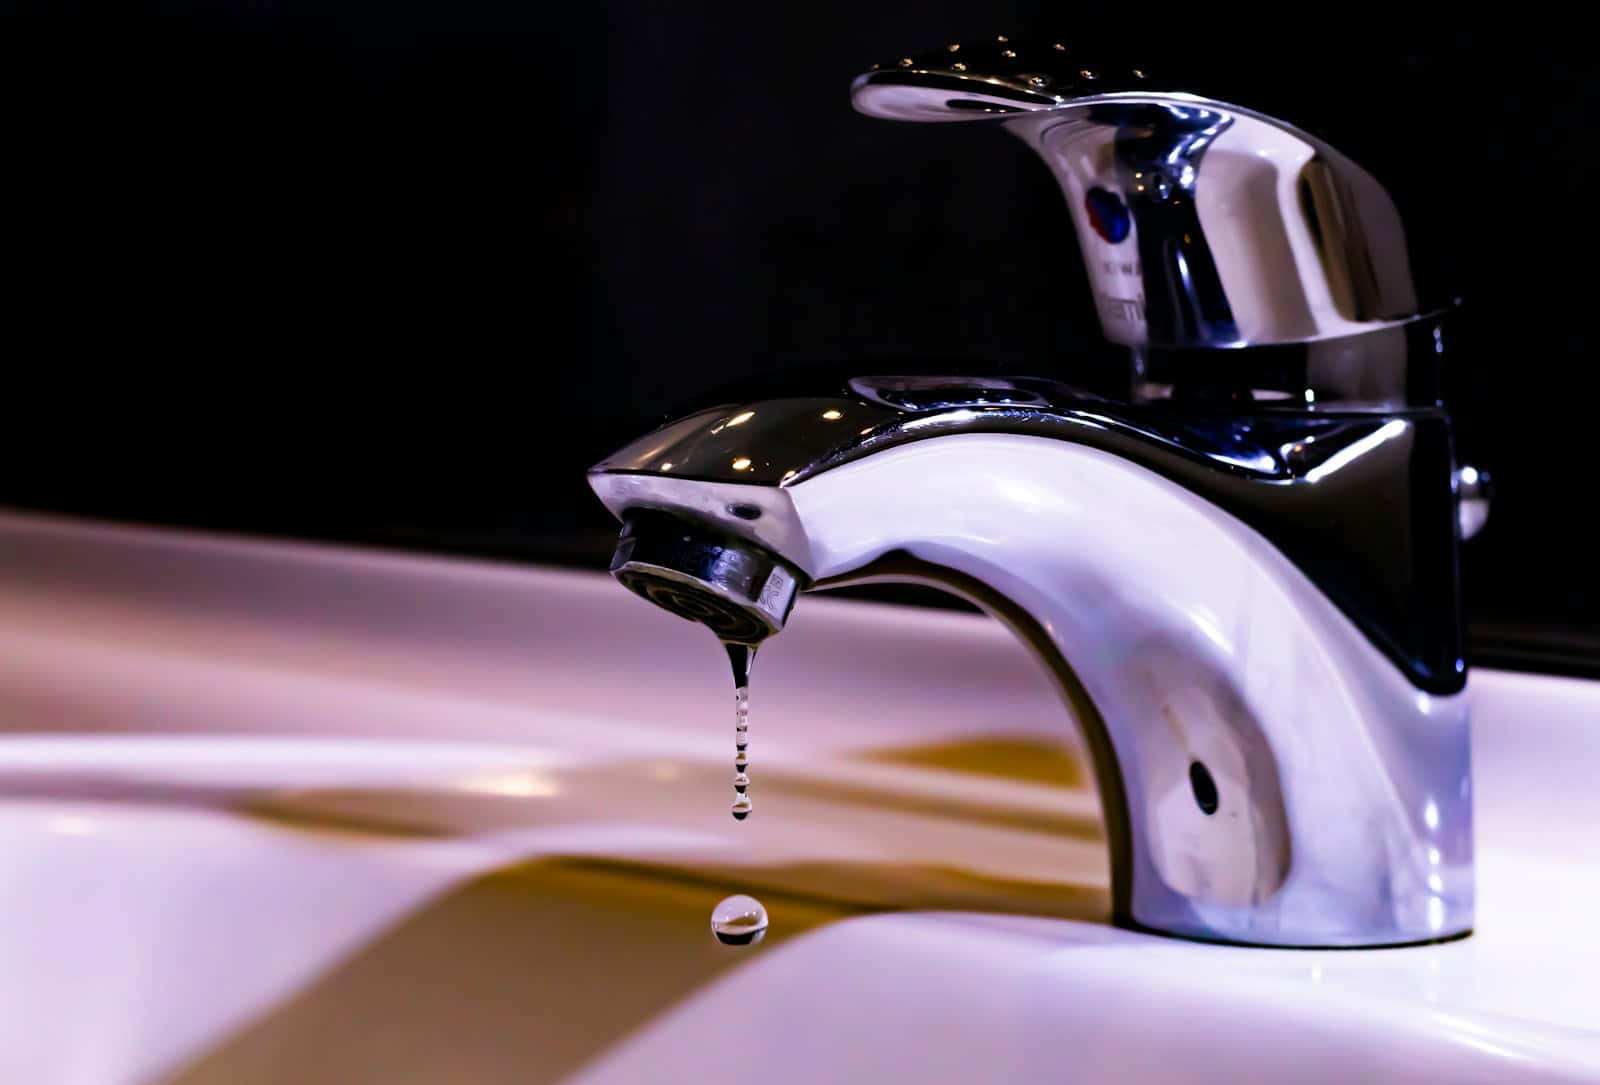
Fixing a leaky faucet is a straightforward task that can save both water and money. Even a beginner can handle this DIY project with a few simple tools and a repair kit from a local store. By handling this common home maintenance task yourself, you avoid the hassle of calling a plumber and paying a service fee.
First, you need to turn off the water supply to the faucet. This stops the leak and prevents any messy accidents. You can usually find the water valves under the sink. Turn them counterclockwise to shut off the water flow. Once the water is off, you can begin taking apart the faucet.
The next step involves removing the faucet handle and replacing the worn-out parts inside. Common parts that need replacing are the O-rings and cartridges. You can use a repair kit that matches your faucet type. Once replaced, reassemble the faucet and turn the water back on to check if the leak is fixed.
DIY Faucet Repair Guide
Before You Begin
Gather Your Tools and Supplies
- Adjustable wrench
- Screwdriver
- Pliers
- Replacement parts (O-rings, washers, cartridges, etc.)
- Plumber’s grease
Turn Off the Water Supply
Locate the shut-off valves under the sink. Turn them clockwise to stop the water flow to the faucet. Open the faucet to drain any remaining water.
Identifying the Leak Source
Leaky Faucet Handle
If water is leaking around the handle when the faucet is on, you likely need to replace the O-rings or packing inside the handle.
Leaky Faucet Spout
If water is dripping from the end of the spout, you may need to replace the O-rings or cartridge inside the faucet body.
Leaky Faucet Base
If water is leaking from the base of the faucet, you may need to replace the O-rings or tighten the mounting nuts.
Step-by-Step Repair Instructions
- Disassemble the Faucet: Remove the handle by loosening the set screw with a hex key or screwdriver. Unscrew the packing nut with a wrench to access the internal parts.
- Replace Worn Parts: Examine the O-rings, washers, and cartridge for signs of wear or damage. Replace any worn or damaged parts with new ones from a repair kit.
- Apply Plumber’s Grease: Apply a thin layer of plumber’s grease to the new O-rings and washers before reassembling the faucet. This helps create a watertight seal and prevents future leaks.
- Reassemble the Faucet: Reassemble the faucet in reverse order, carefully tightening all connections.
- Turn On the Water Supply: Slowly turn on the shut-off valves and check for leaks. Tighten any connections as needed.
Common Faucet Types and Repairs
| Faucet Type | Common Problems | Solutions |
|---|---|---|
| Compression Faucet | Dripping from spout | Replace O-rings and washers on the stem |
| Cartridge Faucet | Leaking from handle | Replace the cartridge |
| Ceramic Disk Faucet | Dripping from spout | Clean or replace the ceramic discs |
| Ball Faucet | Leaking from handle or spout | Replace O-rings and springs |
Important Safety Tips
- Always wear safety glasses when working with tools.
- Take care not to overtighten connections, as this can damage the faucet.
- If you are unsure about any step of the repair process, consult a professional plumber.
Identifying the Faucet Type and Necessary Tools
Knowing your faucet type and having the right tools ready will make fixing a leaky faucet much easier.
Determining Faucet Type
First, identify the type of faucet you have. There are four common types:
- Compression Faucet: Has separate hot and cold handles.
- Cartridge Faucet: Moves up and down to open and close.
- Ball Faucet: Has a single handle that moves over a rounded ball.
- Ceramic-Disk Faucet: Contains ceramic disks inside to control water flow.
Look closely at your faucet to see which type it is. Check if it’s a bathroom faucet or a kitchen faucet since these might differ in style and repair needs.
Tools and Materials
Gathering the necessary tools and materials beforehand can save time. Here are some of the tools you might need:
- Screwdriver: Both flathead and Phillips types.
- Wrench: An adjustable wrench or a smaller one for tighter spaces.
- Allen Wrench: Needed for specific types of faucets.
- Needle-nose Pliers: For gripping small parts.
- Utility Knife: For cutting and scraping parts.
- Replacement Parts: O-rings, cartridges, or washers specific to your faucet type.
Prepare a towel to catch any drips and protect the sink surface. Having all tools within reach helps you focus on the repair without interruptions.
Step-by-Step Faucet Repair
Fixing a leaky faucet can be simple if you follow clear steps. This guide will help you through each part, from shutting off the water to reassembling the faucet.
Shutting Off the Water Supply
First, you need to turn off the water supply. Look under the sink for the water supply lines. Locate the valves that connect these lines to the wall. Turn these valves all the way clockwise to shut them off. This stops the water flow and prevents a mess.
If these valves are stuck, find the main water shut-off valve in your home and turn it off instead. This is usually in the basement or near the water heater. Once the water is off, turn on the faucet to release any remaining pressure and let the water drain out.
Disassembling the Faucet
Next, you need to take the faucet apart. Start by removing the handle. Look for a set screw on the handle and use a screwdriver to remove it. If the handle has a cap, use a flat tool to pry it off first.
After the handle, you will see the stem or cartridge. Use pliers to take out any retaining clips or screws holding these parts. Carefully pull out the stem or cartridge. Keep a towel in the sink to catch any small parts that might fall.
Inspecting and Replacing Faulty Components
Inspect the parts you removed. Look for worn-out O-rings, washers, or cartridge. These parts are often the cause of leaks. If you see damage, you will need to replace them.
For compression faucets, check the rubber washer and replace it if needed. For cartridge faucets, inspect the cartridge and replace it if it’s worn out. Ceramic disc faucets usually need new seals. Make sure you get the correct replacement parts either individually or in a replacement kit.
Reassembling and Testing
Now, reassemble the faucet. Start by inserting the new or fixed parts. Place the stem or cartridge back into its slot. Secure it with any clips or screws you removed earlier.
Put the handle back on and fasten it with the set screw or cap. Make sure everything is tight and secure. Turn the water supply back on by turning the valves counterclockwise.
Finally, turn on the faucet to check the water flow. Look for any leaks. If you find a drip or any signs of water leaking, you might need to tighten the parts or check if they are installed correctly. If the faucet works without leaking, your repair is successful.
Frequently Asked Questions
Learning how to fix a leaky faucet can save both water and money. Here are answers to some common questions about different types of faucets and their repairs.
What steps are involved in fixing a single-handle kitchen faucet?
To fix a single-handle faucet, turn off the water supply under the sink. Then, use a wrench to take apart the faucet. Check for any worn-out parts like washers or O-rings. Replace them if needed. Reassemble the faucet and turn the water back on.
How can I repair a faucet that has two handles and is dripping?
First, turn off the water supply under the sink. Next, remove the handles by unscrewing them. Check the valve seat and washers inside for wear or damage. Replace any bad parts. Reassemble the handles and turn the water back on to check if the drip has stopped.
What is the process for fixing a leak in a bathroom faucet?
Start by turning off the water supply. Remove the faucet handle to get to the cartridge or valve. Inspect for any worn O-rings or seals. Replace any damaged parts. Put the faucet back together and test it by turning the water back on.
What are the common causes of a bathtub faucet leak?
A bathtub faucet leak often happens because of worn-out washers, O-rings, or valve seats. Minerals and sediment can also build up and cause leaks. Replacing these parts usually fixes the problem.
Can a dripping faucet be fixed without professional help?
Yes, most dripping faucets can be fixed with some basic tools and replacement parts. A wrench, pliers, and new washers or O-rings are often all you need.
What might cause a faucet to continue dripping after being turned off?
If a faucet keeps dripping, it might be due to a worn-out washer, O-ring, or cartridge that needs to be replaced. Sometimes, there could be sediment build-up or a damaged valve seat. Checking and replacing these parts usually stops the drip.

