Many people face problems with their Ethernet connection. Sometimes the Ethernet stops working but Wi-Fi keeps going strong. This can be very annoying. It stops you from using a fast wired internet link.
There are several ways to fix Ethernet issues when Wi-Fi is still working. The problem could be a bad cable or a broken port. It might also be a software glitch or wrong settings. Knowing what to check can help you get back online fast.
This guide will show you how to fix your Ethernet. We’ll look at common causes and easy solutions. You’ll learn how to test cables and update drivers. We’ll also cover more complex fixes if the simple ones don’t work.
Troubleshooting Ethernet Connection Problems (When Wi-Fi Works)
It can be frustrating when your Ethernet connection stops working, especially when your Wi-Fi is still functioning. Here’s a breakdown of common causes and how to troubleshoot them:
1. Check the Basics
- Physical connections: Ensure the Ethernet cable is securely plugged into both your computer’s Ethernet port and your router or modem.
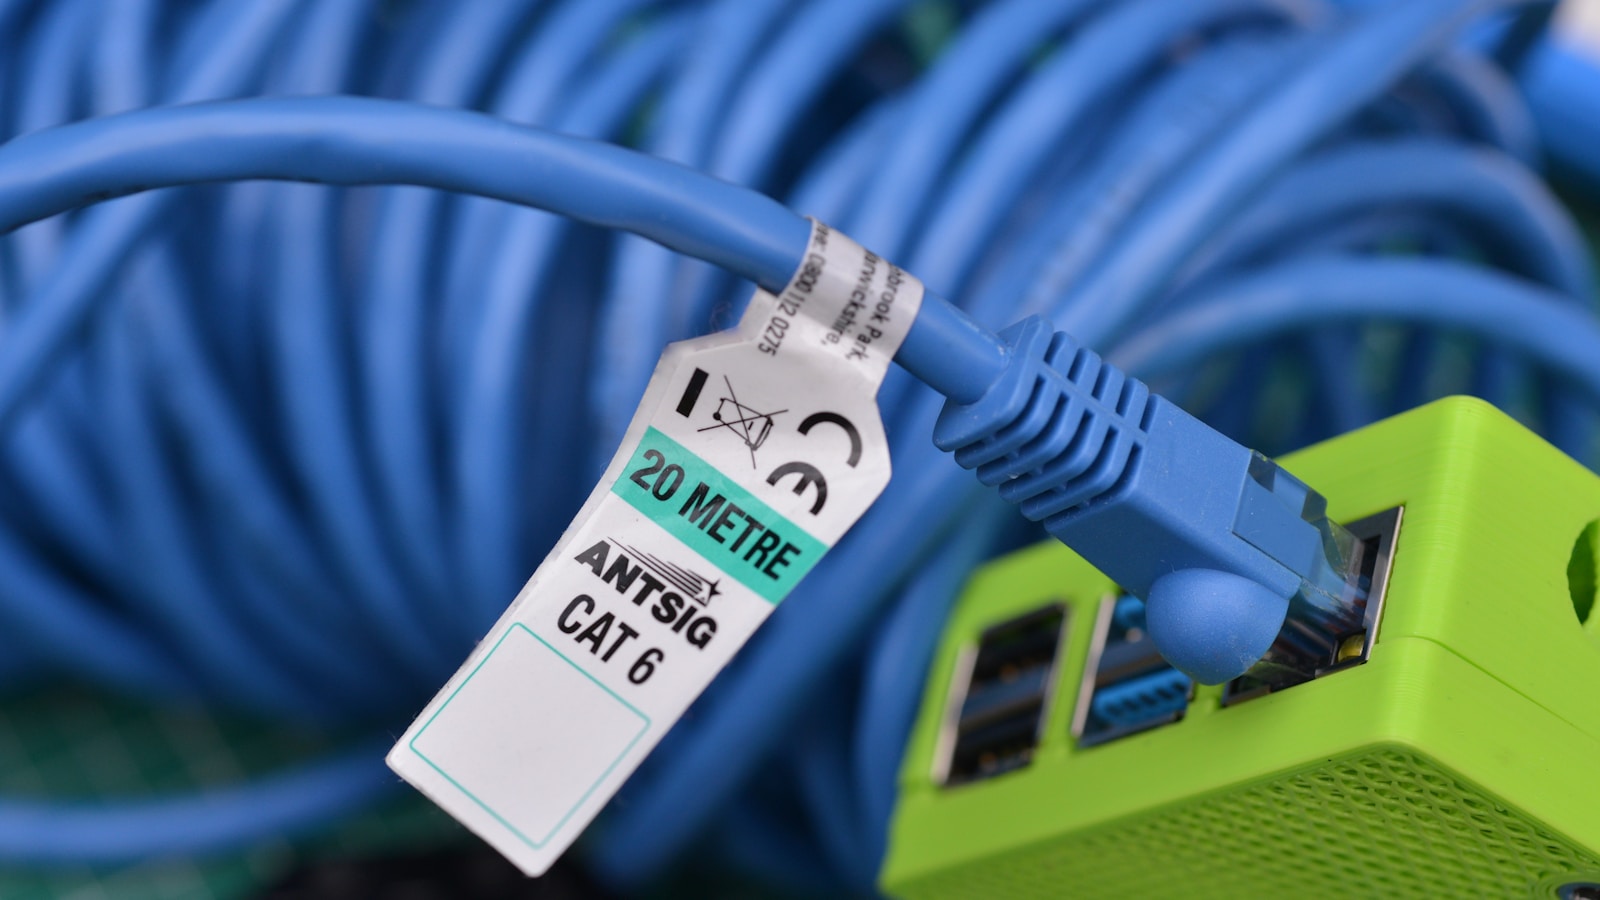
- Cable condition: Inspect the Ethernet cable for any visible damage, such as cuts or kinks. Try a different Ethernet cable if you have one.
- Network activity: Check the Ethernet port on your computer and router/modem for any lights indicating network activity. If there are no lights, there might be a connection problem.
2. Restart Your Devices
- Computer and network devices: Restart your computer, router, and modem. This can often resolve temporary glitches.
3. Check Network Settings
- Windows:
- Go to Settings > Network & Internet > Ethernet.
- Make sure Ethernet is turned On.
- Click on your Ethernet connection and check its status. If it says “No internet,” there might be a problem with your network configuration or your ISP.
- Click Properties and check that the settings are correct (you might need to consult your ISP for the correct settings).
- macOS:
- Go to System Preferences > Network.
- Select Ethernet from the list.
- Check the status and make sure it’s configured correctly.
4. Disable and Re-enable the Ethernet Adapter
- Windows:
- Search for Device Manager and open it.
- Expand Network adapters.
- Right-click on your Ethernet adapter and select Disable device.
- After a few seconds, right-click it again and select Enable device.
- macOS:
- Go to System Preferences > Network.
- Click the minus sign (-) to remove the Ethernet connection.
- Click the plus sign (+) to add it back.
5. Check for Driver Issues
- Windows:
- In Device Manager, right-click on your Ethernet adapter and select Update driver.
- You can also try uninstalling the driver and then restarting your computer to let Windows reinstall it automatically.
- macOS:
- macOS typically handles driver updates automatically. Make sure your system is up to date.
6. Test with a Different Device
- Connect another device: If possible, connect another device (like a laptop) to the same Ethernet cable and port to see if it can establish a connection. This helps isolate whether the problem is with your computer or the network.
7. Check with Your ISP
- Contact your internet service provider: If you’ve tried all the above steps and still can’t connect via Ethernet, there might be an issue with your internet service. Contact your ISP to check for outages or other problems in your area.
Optimizing Your Home Network
While troubleshooting your Ethernet connection, consider these tips for improving your home network:
- Router placement: Position your router in a central location in your home for optimal Wi-Fi coverage.
- Firmware updates: Keep your router’s firmware up to date for the latest performance and security improvements.
- Wi-Fi channels: If you’re experiencing Wi-Fi interference, try changing your router’s Wi-Fi channel.
- Network security: Use a strong password for your Wi-Fi network and enable network encryption (WPA2 or WPA3) to protect your data.
- Quality of Service (QoS): If you experience lag while gaming or streaming, consider enabling QoS settings on your router to prioritize network traffic for those activities.
Key Takeaways
- Check your Ethernet cable and port for physical damage
- Make sure your Ethernet adapter is turned on in your computer settings
- Try running the Network Adapter Troubleshooter to find and fix issues
Diagnosing Your Ethernet Connection
When your Wi-Fi works but Ethernet doesn’t, you need to check a few key areas. These include the physical setup, adapter status, and network settings.
Check Physical Connections
Start by looking at the cables. Make sure the Ethernet cable is plugged in at both ends. Check if the cable is damaged. Try a different cable if you have one.
Look at the Ethernet port on your computer and router. Are there any bent pins? Is there dust or debris inside? Clean the ports gently if needed.
Test your cable with another device. This can help find out if the problem is with the cable or your computer.
Check your modem and router. Ensure they’re turned on and working right. Try unplugging them for a minute then plugging them back in.
Verify Network Adapter Status
Open Device Manager on your computer. Find the Network Adapters section.
Look for your Ethernet adapter. If you see a yellow triangle, there might be a problem.
Right-click the adapter and select “Update driver”. Let Windows search for new drivers online.
If updating doesn’t work, try uninstalling the driver. Then restart your computer. Windows will reinstall the driver automatically.
Check the adapter’s power settings. Right-click it, go to Properties, then the Power Management tab. Make sure “Allow the computer to turn off this device to save power” is unchecked.
Inspect Network Settings
Open Network Settings on your computer. Look for the Ethernet connection.
Make sure Ethernet is turned on. If it’s off, turn it on and test your connection.
Check your IP settings. They should be set to “Obtain an IP address automatically” unless your network needs specific settings.
Try using the Network Troubleshooter. It can find and fix common network issues.
Open Command Prompt as admin. Type “ipconfig /release” and press Enter. Then type “ipconfig /renew” and press Enter. This refreshes your IP address.
If nothing else works, try resetting your network. Go to Settings > Network & Internet > Network reset. Be careful, as this will remove all network adapters and settings.
Advanced Troubleshooting and Solutions
When basic fixes don’t work, it’s time to try more complex steps. These methods can help solve tricky ethernet issues. They involve using special commands and changing settings.
Utilize Network Troubleshooting Commands
Network commands can help find and fix connection problems. Open Command Prompt as an admin to use these tools.
The “ipconfig” command shows network info. Type “ipconfig /release” then “ipconfig /renew” to get a new IP address.
Use “ping” to test connections. Try “ping google.com” to check internet access.
The “tracert” command tracks data paths. It can find where connection issues occur.
“netsh winsock reset” fixes network errors. Run it if other methods fail.
These commands can solve many ethernet problems quickly.
Configure IP Settings Manually
Sometimes auto IP settings don’t work right. Manual setup can fix this.
Go to Network Connections in Control Panel. Right-click your ethernet adapter and choose Properties.
Select “Internet Protocol Version 4” and click Properties.
Choose “Use the following IP address”. Enter these details:
- IP address: 192.168.1.10
- Subnet mask: 255.255.255.0
- Default gateway: 192.168.1.1
For DNS servers, use:
- Preferred: 8.8.8.8
- Alternate: 8.8.4.4
Click OK to save. Restart your PC to apply changes.
Manual IP setup can bypass DHCP issues and restore ethernet.
Operate System and Firmware Updates
Outdated software can cause ethernet problems. Regular updates are key.
For Windows updates:
- Open Settings
- Go to Update & Security
- Click “Check for updates”
Install all available updates. Restart your PC after.
Update network drivers too:
- Open Device Manager
- Expand “Network adapters”
- Right-click your ethernet adapter
- Choose “Update driver”
Check your router’s firmware. Log into the router admin page. Look for a firmware update option.
Keep everything up to date to prevent ethernet issues.
Examine Wi-Fi Interference Issues
Wi-Fi can sometimes interfere with ethernet. This is rare but worth checking.
Try turning off Wi-Fi to see if ethernet works better. Go to Network Connections and disable the Wi-Fi adapter.
Check for device conflicts. Open Device Manager and look for yellow warning signs.
Move your router away from other electronics. Things like microwaves can cause interference.
Reduce the number of devices on your network. Too many can slow things down.
If problems persist, try a different ethernet port on your router. Or use a new ethernet cable.
Frequently Asked Questions
Ethernet issues can be frustrating when Wi-Fi works fine. Here are some common questions and fixes for this problem.
How can I troubleshoot an Ethernet connection issue on Windows 10?
Check if the Ethernet adapter is on. Go to Settings > Network & Internet > Status. Click “Network Reset” at the bottom. This can fix many issues fast.
Restart your computer and router. Unplug the router for 30 seconds before plugging it back in.
What steps should be taken when Ethernet connectivity fails, but Wi-Fi is functional on Windows 11?
Update network drivers. Open Device Manager and find the Ethernet adapter. Right-click and select “Update driver”.
Check cable connections. Make sure the Ethernet cable is firmly plugged in at both ends.
What are common causes for an Ethernet cable not being detected by a computer?
Faulty cables are a common issue. Try a different Ethernet cable to rule this out.
Outdated or corrupt drivers can cause detection problems. Update or reinstall network drivers to fix this.
How can I resolve a scenario where my Ethernet cable is connected but there is no internet access?
Reset the Ethernet adapter. This often solves connection problems quickly.
Check your IP settings. Set your computer to get an IP address automatically if it’s not already.
What could be the reason for an Ethernet connection not working specifically on a television, while Wi-Fi does?
TV settings might be wrong. Check the TV’s network settings and make sure Ethernet is enabled.
The TV’s Ethernet port could be broken. Try the cable on another device to test it.
In instances where both Wi-Fi and Ethernet fail on Windows 11, what troubleshooting methods are recommended?
Run the Network Troubleshooter. Right-click the network icon in the taskbar and select “Troubleshoot problems”.
Check for Windows updates. Outdated system files can cause network issues.

