Nobody likes finding a crack or chip in their windshield. Not only can it be an eyesore, but it can also grow quickly if not taken care of. Fixing a small crack or chip yourself can save you money and help avoid a costly full windshield replacement.
To start, gather a windshield repair kit. These kits usually include resin and tools for the job. Clean the area around the crack to make sure the resin sticks properly. A microfiber towel and some rubbing alcohol work well for this step.
Next, carefully apply the resin from the kit into the crack or chip. The goal is to fill the damaged area completely to prevent further spreading. Let the resin dry and then scrape away any excess. Your windshield should be clearer and more secure.
Understanding Windshield Damage
Windshield damage can vary greatly in type and severity, affecting the vehicle’s safety and visibility. It’s crucial to recognize the differences to determine the best course of action.
Types of Windshield Cracks and Chips
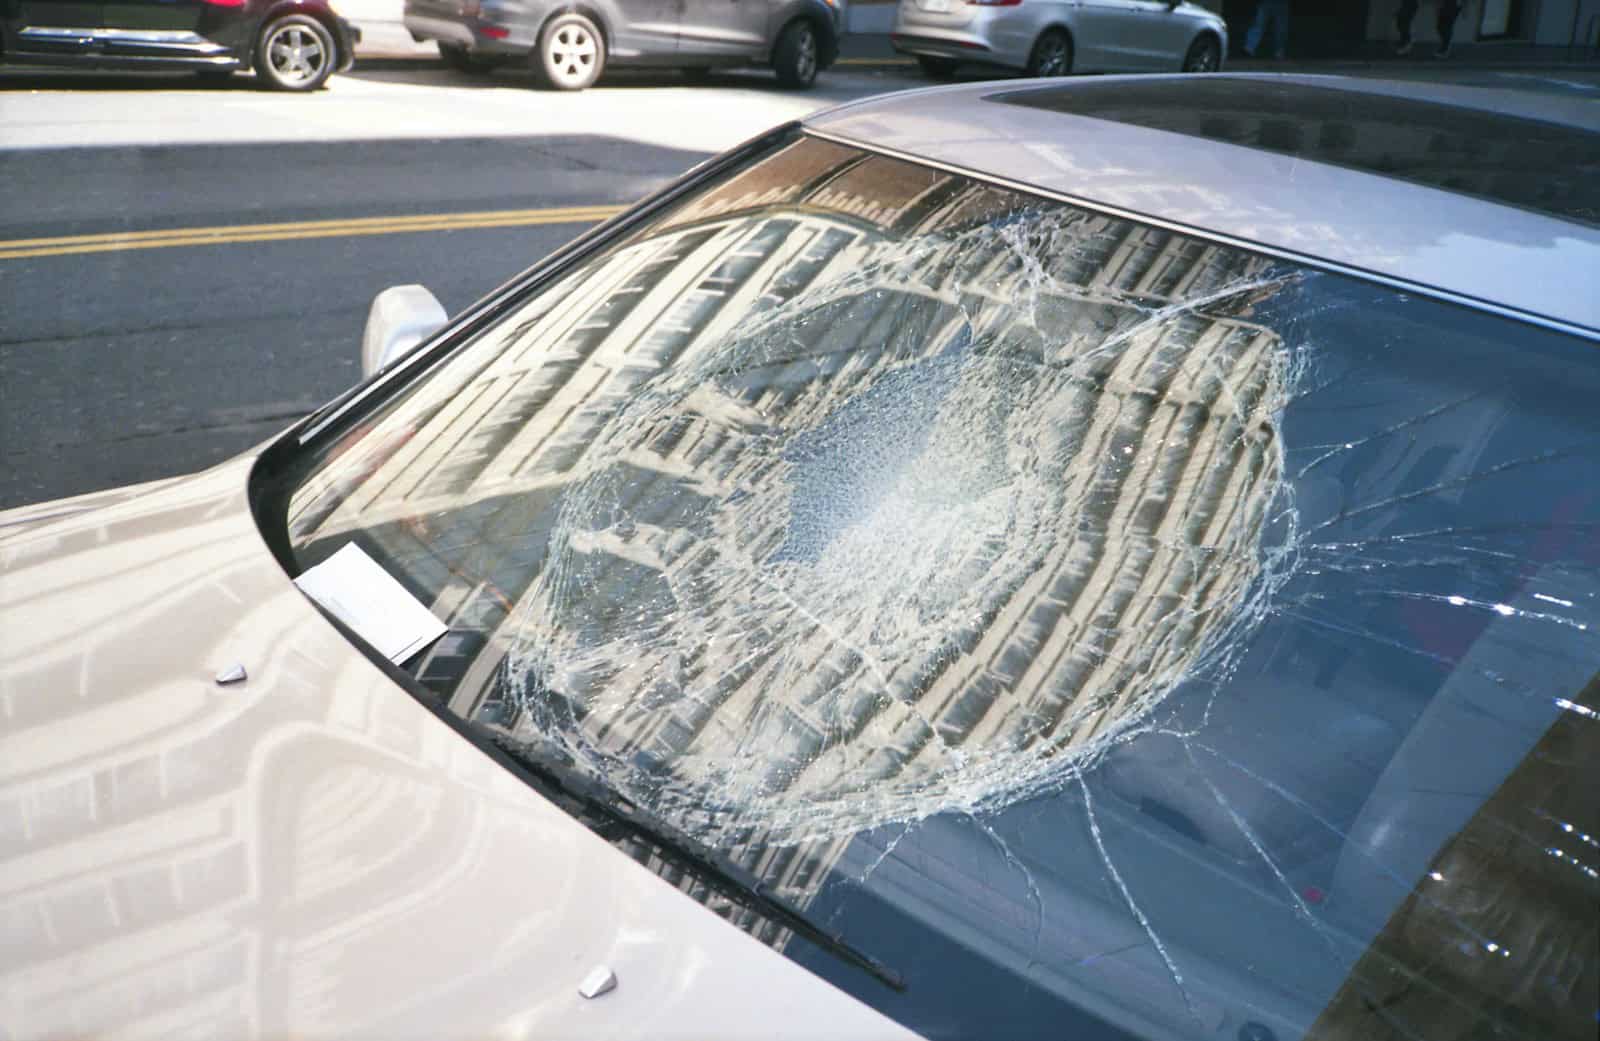
Different types of windshield damage can occur. Bullseye cracks and star breaks are common. Bullseye cracks have a circular shape with a dark impact point. Star breaks look like stars and have lines extending from the point of impact.
Windshield chips are small pieces of glass that have broken off. Chips are less severe but can turn into cracks if ignored. Small cracks still need attention since they can quickly spread.
Assessing the Extent of Damage
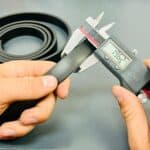
It’s important to check the damage carefully. Look at the size, depth, and location of the crack or chip. Cracks longer than 6 inches often need a full windshield replacement.
If a crack reaches both outer and inner layers of the glass, replacing the entire windshield is often necessary. Damage in the driver’s line of sight is a safety concern since it can affect visibility.
When to Repair vs. Replace
Windshield repair is a cost-effective solution for minor damage. Repairs can restore structural integrity and prevent the damage from growing. This approach is durable and affordable for small cracks and chips.
A full windshield replacement is needed for more severe damage. This includes cracks over 6 inches, deep cracks, or multiple cracks. This ensures the windshield provides full protection. Safety is key, so don’t wait to address a damaged windshield.
By knowing these details, you can make the right decision for your cracked windshield.
DIY Windshield Repair Process
Fixing a windshield crack yourself can save time and money. Below is a step-by-step guide to help you through the process.
Selecting the Right Repair Kit
Choosing a good DIY windshield repair kit is important. Look for one that includes repair resin, a resin chamber, curing strips, and possibly a UV light. Read the instructions carefully before you begin. Kits from trusted brands often come with everything you need, but double-check because some kits might require additional tools.
One kit may include:
- Resin
- Resin chamber
- Curing strips
- UV light (if not, sunlight can work)
These items will help in fixing both chips and cracks. Make sure there are no missing parts. If unsure, a quick online search or a visit to a glass doctor can provide more clarity on the right kit for your job.
Applying Resin and Curing
Once you have your kit, start by cleaning the area around the crack. Use a microfiber towel and a small amount of rubbing alcohol. This clears dirt and debris.
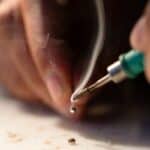
Next, set up the resin chamber over the crack. Follow the kit instructions to attach it properly. Fill it with the repair resin. It’s important to let the resin fully fill the crack.
Use curing strips to cover the resin. These strips help to flatten and smooth out the repair. Place the strips on the resin while it’s still wet.
Then, let the sun or a UV light harden the resin. This usually takes about 10 minutes. After curing, peel off the strips. Remove any excess resin using the included tool or a razor blade. Check for any air bubbles; if found, repeat the steps above.
With these steps, your windshield crack should be less noticeable and much stronger.
Frequently Asked Questions
Repairing a windshield crack at home can be tricky. Here are some common questions about the process and effectiveness of DIY repair kits.
What are the steps to repair a small crack in a windshield without professional help?
- Clean the area around the crack to remove dirt and moisture.
- Apply a windshield repair resin using a syringe.
- Allow the resin to cure for the recommended time.
- Scrape off any excess resin.
How effective are DIY windshield repair kits for minor damage?
DIY kits can be effective for small chips and short cracks. They fill in the crack with resin, making it less visible and stopping it from spreading.
Is it possible to fix a large crack in my windshield at home?
Large cracks, especially those over 6 inches, usually require professional help. DIY kits are not very effective for them, and trying to fix a big crack at home may not provide a lasting solution.
What should I consider when selecting a windshield repair kit?
- Make sure the kit includes high-quality resin.
- Check for clear instructions.
- Look for a kit that suits the type of damage you have.
- Read reviews to see if others found the kit helpful.
How can I determine if a windshield crack is too extensive for repair?
If the crack is longer than a dollar bill or if it spreads across the entire windshield, it is too extensive for a DIY repair. Deep cracks that feel rough to the touch are also best left to professionals.
What techniques can be used to prevent a windshield crack from spreading?
- Avoid sudden temperature changes.
- Park in shaded areas.
- Drive carefully on bumpy roads.
- Get the crack repaired as soon as possible to stop it from getting worse.