Stucco is a popular choice for home siding because it is durable and looks great. Over time, though, it can get cracks or holes. Repairing stucco is important to maintain the look and prevent further damage.
Homeowners can tackle stucco repair with some basic tools and patience. Start by removing any loose or broken stucco around the damaged area. This creates a clean surface. Filling the crack or hole with stucco repair compound helps to restore the wall.
Applying a new layer of stucco ensures that the repair blends with the existing wall. Adding texture and finishing touches can make the repair look professional. Fixing stucco is a manageable DIY task that can improve the durability and appearance of your home.
Assessing Stucco Damage
To repair stucco, it is important to first understand and identify the damage. This will guide you in choosing the right tools and materials for the repairs.
Identifying Common Issues
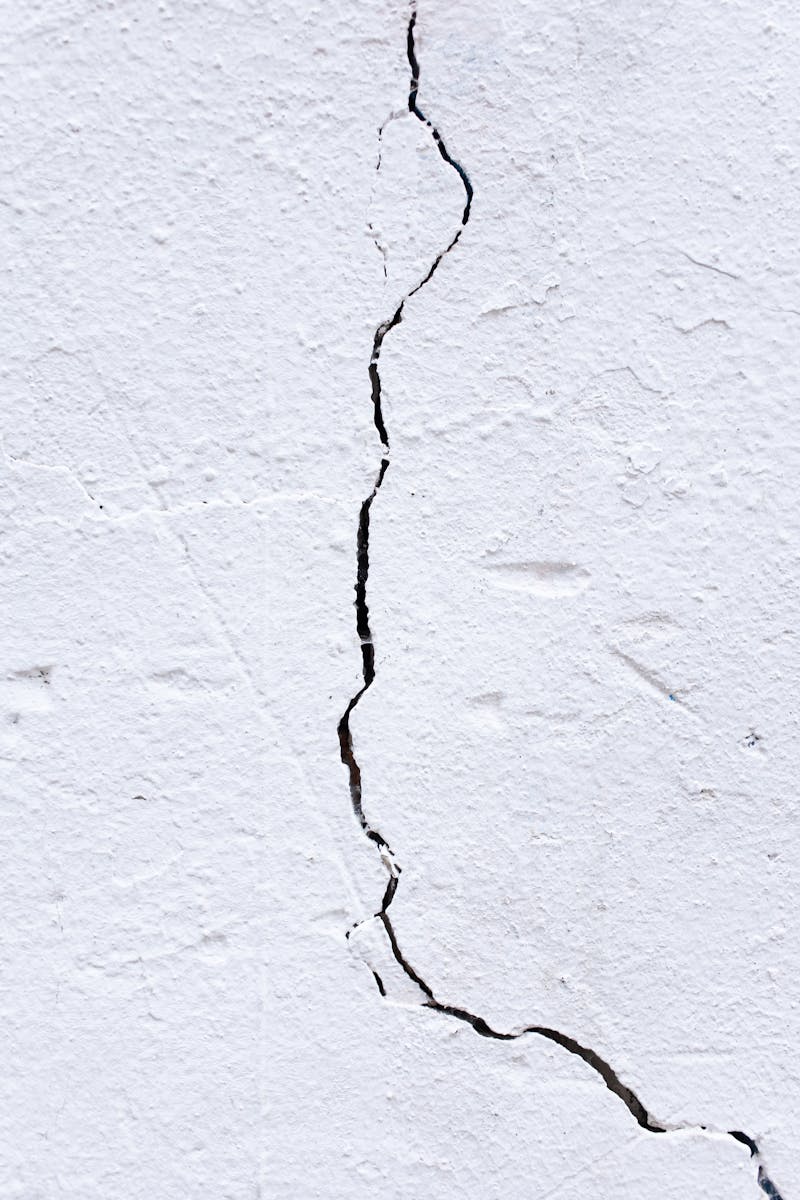
There are several common issues that can affect stucco. Cracks and holes are often easy to spot. Small cracks may appear over time and can lead to bigger problems if not fixed. Discoloration can show that water has seeped in. Peeling paint or stains hint at deeper problems. Doing a visual inspection helps find these issues. Check for moisture and impact damage since water can cause mold and weaken the stucco.
Moisture damage may also occur near walls and fixtures. Look for aged or missing caulking around windows and doors. Bad sealing between stucco and other materials allows water to get in and damage the structure. Be on the lookout for signs of rot or deterioration around these areas.
Preparing for Repairs
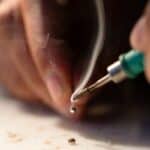
Once you have identified the issues, gather the necessary tools. You will need a hammer, chisel, wire brush, and protective gear like gloves and safety glasses. Remove any loose or damaged stucco using the hammer and chisel. Make sure to clean the area well with the wire brush. This ensures that the new materials will stick properly.
If moisture was involved, fix the cause before repairing the stucco. You may need to install a plastic sheet or galvanized metal lath to keep water out. Using a high-quality lath ensures durability. Always follow the manufacturer’s instructions on the repair compounds. If the issue is large or complex, you may need to call a professional for help.
Executing Stucco Repairs
Stucco repairs can be either minor or major. Handling these tasks requires some tools and materials to ensure a durable and seamless finish. Following these steps will help achieve a successful repair.
Minor Stucco Repair
Minor stucco repairs are for small cracks or holes.
- Clean the Area: Use a wire brush to clear out any loose debris from the crack or hole.
- Apply Caulk: Insert a stucco repair compound into a caulk gun. Squeeze the compound into the crack, ensuring it fills in completely.
- Smooth the Patch: Trowel the patch smooth. Try to match the surrounding stucco texture.
- Curing: Allow it to dry as per the manufacturer’s instructions. Normally, this can take 24-48 hours.
Using an acrylic bonding agent will help ensure that the patch adheres well.
Major Stucco Repair
Major repairs involve larger areas with more damage.
- Remove Loose Stucco: Use a hammer and chisel to knock away any loose or damaged stucco. Ensure a clean and stable surface.
- Install Metal Lath: Attach metal lath over the area to provide a strong base for the new stucco.
- Apply Scratch Coat: Mix and apply the first layer of stucco, called the scratch coat, which is a rough base layer about 3/8 inch thick. Let it dry slightly then score it horizontally.
- Apply Brown Coat: Once the scratch coat is firm, apply a layer of stucco called the brown coat, about 3/8 inch thick as well. Make it as smooth as possible.
- Curing: Let each coat dry for the recommended time, which may vary based on conditions.
Tip: For extensive repairs, you may need more supplies like mortar, metal lath, and additional coats.
Finishing Touches
Finishing touches add the final look.
- Final Coat: The final stucco layer, known as the finish coat, can be about 1/8 inch thick. This layer is what will be visible.
- Texture: Use tools to texture the finish coat. You can create a stippled texture or other patterns as desired.
- Paint: After the finish coat has cured, you may choose to paint the stucco. Use high-quality paint suitable for masonry to ensure durability.
Adding pigment to the finish coat can allow for color matching without painting. This step finalizes the repair, helping it blend seamlessly with the existing stucco.
Frequently Asked Questions
Repairing stucco can seem tricky, but with clear steps and the right tools, it becomes manageable. Below are common questions about stucco repair.
What steps are involved in repairing cracks in stucco?
First, clean the crack with a brush. Use a putty knife to widen it slightly for better filling. Apply a stucco patching compound with a trowel. Smooth it out and let it dry. Paint the area to match the wall color. This helps the repair blend in with the rest of the wall.
Can you detail how to repair significant damage on stucco surfaces?
Begin by removing loose stucco. Cut a piece of builder’s paper and mesh for the exposed area. Attach the paper and mesh using nails. Mix a batch of stucco and apply the first layer. Let it dry. Repeat for the second and third layers, allowing each to dry before adding the next. Finally, paint the area.
What are the recommended techniques for texturing a stucco patch to match existing surfaces?
Before the final layer of stucco dries, use a trowel to match the existing texture. You can also use tools like sponges, brushes, or combs. Experiment with different techniques on a small area until you find the best match. This step is key to making the patch look seamless.
How does one address water damage in stucco?
Identify the source of water and fix any leaks. Remove damaged stucco and let the area dry completely. Treat the exposed area with a water-resistant barrier. Follow standard repair steps to reapply new stucco. Ensure good drainage around your home to prevent future damage.
What considerations should be made when choosing a stucco repair kit?
Check the kit includes all essentials like stucco mix, bonding agents, and tools. Read reviews to ensure quality. Kits should be suitable for the type of stucco you have, whether synthetic or traditional. Some kits are better for small repairs, while others can handle larger projects.
Is it possible to apply new stucco over old stucco, and if so, how?
Yes, applying new stucco over old is possible. Clean the old stucco surface well. Apply a bonding agent to help the new layer stick. Apply the first coat of new stucco and let it dry. Continue with additional layers, allowing each to dry. Finally, texture and paint as needed.