If the screen on your Google Pixel 4 XL is cracked, damaged, or not working properly, you might be worried about the cost of getting it fixed. However, replacing the screen yourself is a good option if you’re comfortable with technology. A screen replacement usually costs about $65-$79 and can be done at home with some basic tools.
It involves using heat to loosen the adhesive and carefully opening the phone to replace the screen. With the right tools and a bit of patience, you can make your Pixel 4 XL look and work like new again without spending a lot of money. If you’d rather have a professional do the repair, both Google and third-party repair shops offer options at different prices, depending on your phone’s warranty status.
DIY Screen Replacement for Your Pixel 4 XL: A Step-by-Step Guide
Tools and Materials
- Replacement screen
- Heat gun or hair dryer
- Suction cup
- Opening picks or plastic cards
- Spudger
- Tweezers
- Isopropyl alcohol
- Microfiber cloth
- Optional: Adhesive strips
Step-by-Step Instructions
- Power off your Pixel 4 XL.
- Heat the edges of the screen with a heat gun or hair dryer to soften the adhesive. Be careful not to overheat.
- Apply the suction cup to the screen and pull gently to create a small gap.
- Insert an opening pick or plastic card into the gap and carefully work your way around the edges, separating the screen from the body.
- Disconnect the display and digitizer cables from the motherboard using a spudger.
- Remove the old screen.
- Clean the adhesive residue from the body using isopropyl alcohol and a microfiber cloth.
- Connect the new screen’s cables to the motherboard.
- Gently press the new screen onto the body, ensuring proper alignment.
- Power on your phone and test the new screen.
You can view a step-by-step video here: https://www.youtube.com/watch?v=vLMs0HEMlYQ
Important Tips
- Work slowly and carefully to avoid damaging any components.
- Apply heat evenly to prevent cracking the screen.
- Use the correct tools to avoid scratching the body or screen.
- If you’re unsure of any step, consult a professional repair guide or video.
Troubleshooting
- If the screen doesn’t turn on, check the cable connections.
- If the touch screen doesn’t work, ensure the digitizer cable is connected properly.
- If the screen has dead pixels, you may need to replace it with a new one.
Key Takeaways
- A new Pixel 4 XL screen costs around $67 for a DIY repair
- Screen replacement requires careful prying and cable disconnection
- Official and third-party repair options exist for those not comfortable with DIY
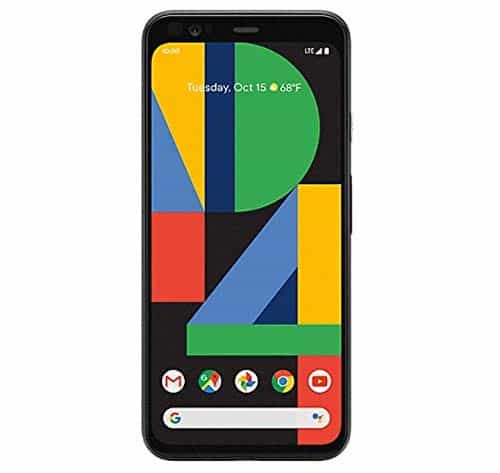
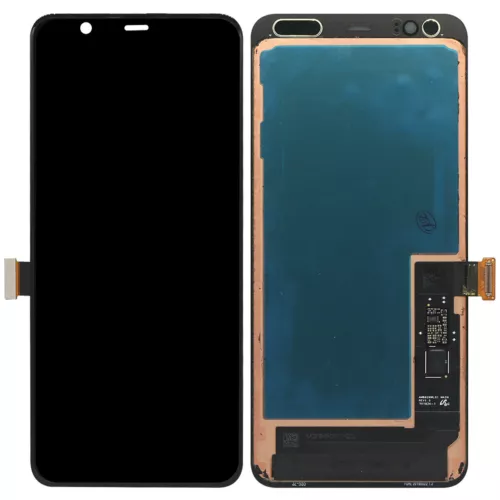
Understanding the Google Pixel 4 XL Display Assembly
The Google Pixel 4 XL screen is made up of several parts. These include:
• OLED panel
• Digitizer
• Front glass
The OLED panel shows the images on the screen. The digitizer senses touch input. The front glass protects the other parts.
These parts are stuck together with strong glue. This makes them hard to take apart without breaking.
When the screen breaks, the whole assembly often needs to be replaced. You can’t just swap out the glass.
Replacement screens may come with or without adhesive. If no glue is included, you’ll need to buy it separately.
Some small parts might need to be moved from the old screen to the new one. These could include:
- Speaker mesh
- Proximity sensor
- Ambient light sensor
The Pixel 4 XL has a curved edge display. This makes screen repairs trickier than flat screens.
Proper tools are needed to remove the old screen safely. Heat is often used to soften the glue first.
Step-By-Step Replacement Guide
Replacing the screen on a Google Pixel 4 XL can be done at home with the right tools and careful steps. This guide covers the key stages of the repair process.
Gathering the Right Tools
To replace the Pixel 4 XL screen, you’ll need:
- Replacement screen (with digitizer)
- Adhesive strips
- Phillips screwdriver
- Plastic opening tools
- Suction cup
- Heat gun or hair dryer
- Tweezers
- Spudger
Make sure to get an OEM (Original Equipment Manufacturer) screen for the best fit and quality. Having all tools ready before starting will make the process smoother.
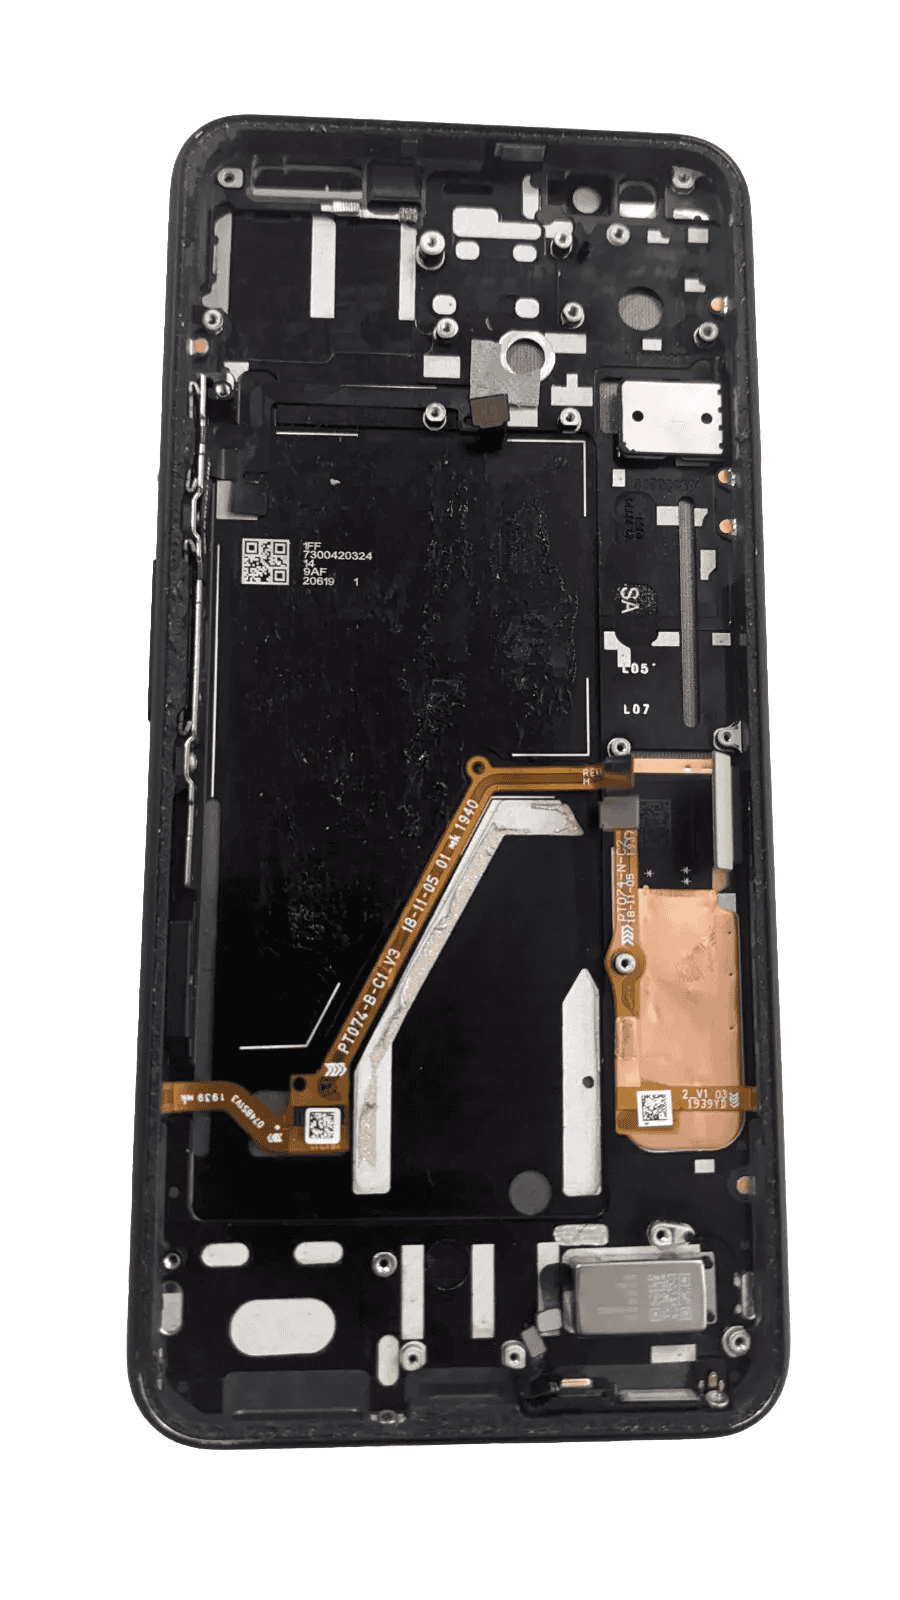
Disassembling the Device
Start by powering off the phone. Use the heat gun to warm up the edges of the screen. This softens the adhesive.
Apply the suction cup near a corner. Pull gently while using a plastic tool to pry the screen up. Work slowly around the edges to avoid damage.
Once the screen is loose, lift it carefully. Watch out for ribbon cables connecting it to the body.
Unscrew any visible screws holding internal parts. Remove the battery connector to prevent shorts.
Removing the Old Screen
With the phone open, locate the display connector. It’s usually a flat cable near the bottom of the phone.
Use the spudger to gently disconnect this cable. Be careful not to bend or tear it.
If any small parts like the earpiece speaker are attached to the old screen, transfer them to the new one.
Clean off any remaining adhesive from the phone’s frame. This helps the new screen stick better.
Installing the New Screen
Check that your new screen is working before installing. Connect it briefly to test.
Apply new adhesive strips to the phone’s frame. Make sure to cover all edges.
Carefully connect the new screen’s cable to the phone. Press down gently to secure it.
Line up the new screen with the phone’s frame. Start at the top and work your way down, pressing firmly.
Finalizing the Repair
Double-check all connections are secure. Reattach any screws or small parts you removed earlier.
Power on the phone to test the new screen. Check that touch response works across the whole surface.
If everything works, apply pressure around the edges of the screen. This helps the adhesive set.
Wait about an hour before using the phone normally. This gives the adhesive time to fully bond.
Frequently Asked Questions
Screen replacement for the Google Pixel 4 XL can be complex. Many users have questions about costs, repair options, and do-it-yourself methods.
What is the cost of a screen replacement for a Google Pixel 4 XL?
The price of a screen replacement varies. DIY kits cost around $130, while professional repairs may be more expensive. Prices change based on parts and labor costs.
Where can I get my Google Pixel 4 XL screen replaced nearby?
Local repair shops often fix Pixel 4 XL screens. Google Authorized Service Providers are another option. Some mobile phone stores also offer this service.