Setting up a Blink camera is easier than you might think. With a few simple steps, you can have your home security system up and running in no time. Creating a Blink account and linking it to your Amazon account is the first step to getting your camera ready for use.
The Blink app guides users through the setup process. It helps add a Sync Module and connect the camera to Wi-Fi. This ensures a smooth start to your home monitoring journey.
Whether you’re setting up an Outdoor 4 camera or an Indoor model, the steps are straightforward. The app walks you through each stage. From scanning the QR code to positioning your camera, you’ll be all set in minutes.
Get Your Blink Camera Up and Running in Minutes
Setting up a Blink camera is quick and easy, even for beginners. Whether you have a Blink Indoor, Outdoor, or Mini camera, the process is very similar. Here’s a step-by-step guide to get you started:
What You’ll Need
- A Blink camera
- The Blink Home Monitor app (download it from the App Store or Google Play)
- A Sync Module (required for most Blink cameras)
- Two AA lithium batteries (included with your camera)
- A Wi-Fi network with a strong internet connection
Step-by-Step Setup
- Create a Blink Account: If you don’t already have one, download the Blink Home Monitor app and create an account. This is where you’ll manage your cameras and view live feeds.
- Power Up Your Sync Module: Plug the Sync Module into a power outlet. It’s the small white box that connects your cameras to your Wi-Fi network.
- Insert Batteries into Your Camera: Open the back of your Blink camera and insert the included AA lithium batteries.
- Add Your Camera to the Sync Module: In the Blink app, tap the “+” icon to add a new device. Scan the QR code on the back of your camera or manually enter the serial number.
- Connect to Wi-Fi: Follow the on-screen instructions to connect your Sync Module to your Wi-Fi network. Make sure you have your Wi-Fi password handy.
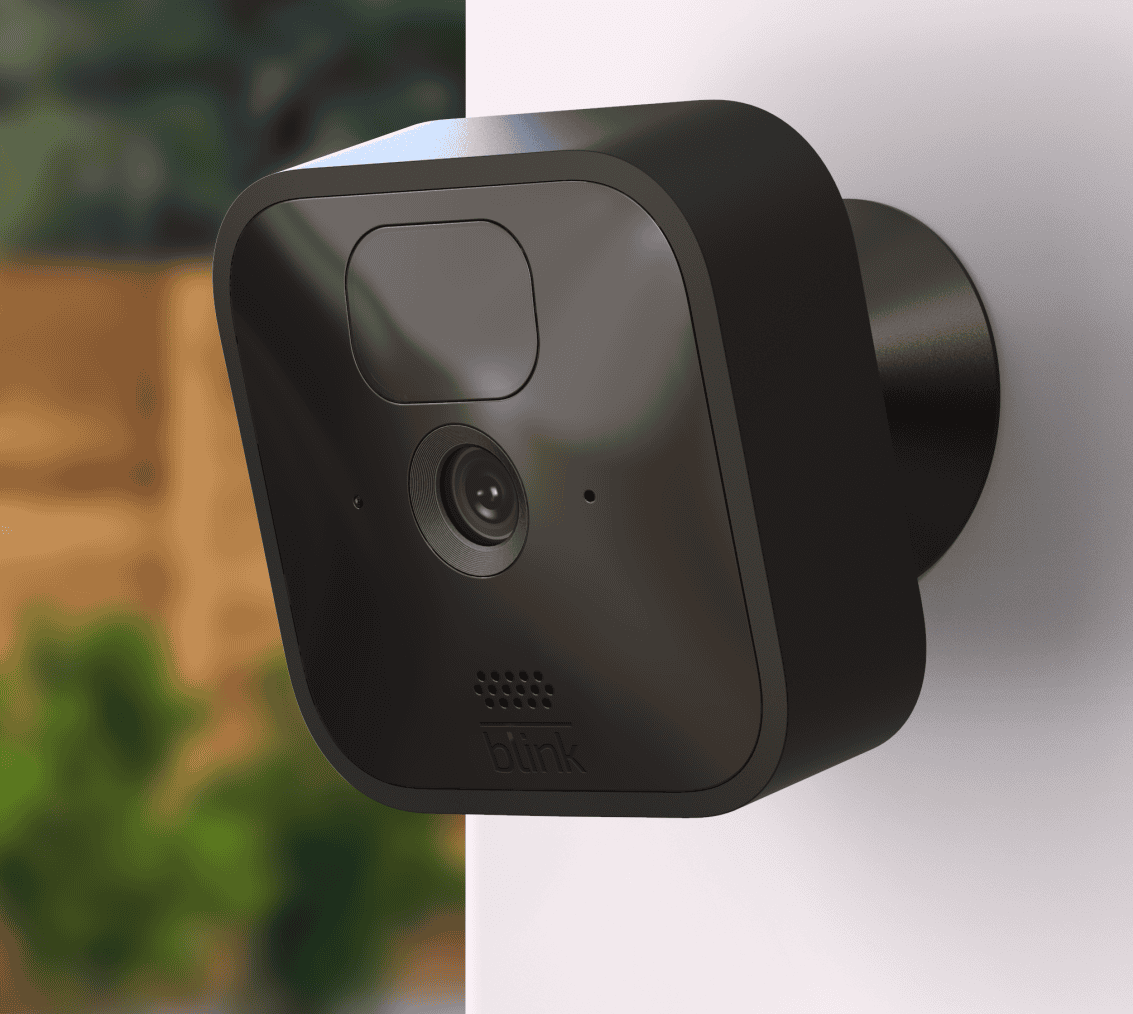
- Mount Your Camera: Choose a location for your camera and mount it using the included mounting bracket. Blink cameras are designed for both indoor and outdoor use.
- Name Your Camera: Give your camera a descriptive name, like “Front Door” or “Backyard,” so you can easily identify it in the app.
Troubleshooting Tips
- Camera Not Connecting? Make sure your camera is within range of your Sync Module and that your Wi-Fi signal is strong. You may need to move the Sync Module closer to the camera or use a Wi-Fi extender.
- App Not Working? Ensure you have the latest version of the Blink Home Monitor app installed. Check for updates in the App Store or Google Play.
- Battery Draining Quickly? Extreme temperatures or frequent motion detection can drain your camera’s batteries faster. Consider adjusting motion sensitivity settings or using the optional Blink Solar Panel Mount to keep your camera powered.
Key Features of Blink Cameras
| Feature | Description |
|---|---|
| Motion Detection | Receive alerts when your camera detects movement. |
| Two-Way Audio | Talk and listen through your camera using the Blink app. |
| Live View | Watch a live stream from your camera anytime. |
| Cloud Storage | Store recorded clips in the cloud with a Blink Subscription Plan. |
| Local Storage | Save clips locally using the Blink Sync Module 2 with a USB flash drive. |
Key Takeaways
- Blink cameras are quick and easy to set up
- The Blink app guides users through each step of the process
- Proper setup ensures optimal camera performance and security
Getting Started With Your Blink Camera
Setting up your Blink camera is quick and easy. You’ll need to create an account, install the app, and add your camera. Let’s walk through each step.
Creating a Blink Account
To start using your Blink camera, you need to make an account. Go to the Blink website on your computer or phone. Click “Sign Up” and fill in your details. You’ll need to give your name, email, and make a password. Make sure your password is strong. It should have letters, numbers, and symbols.
After you enter your info, Blink will send you an email. Open the email and click the link inside. This step proves it’s really you. Once you click, your account is ready to use.
Installing the Blink App
Next, you need to get the Blink app on your phone or tablet. Go to your device’s app store. This is the App Store for iPhones or the Google Play Store for Android phones. Search for “Blink Home Monitor”. Look for the official Blink app and tap “Install”.
Once it’s done, open the app. You’ll see a login screen. Use the email and password you made earlier to sign in. The app will guide you through some basic setup steps. Follow these to get ready for your camera.
Adding Your Camera to the App
Now it’s time to connect your camera. In the Blink app, tap the “+” icon. Pick your camera model from the list. The app will show you how to scan the QR code on your camera. This code links the camera to your account.
Next, you’ll set up the Sync Module. This small box helps your camera talk to the app. Plug it in near your Wi-Fi router. The app will help you connect it to your network.
Lastly, name your camera and choose where it will go. You can now use the app to see a live view from your camera. Test it out to make sure everything works right.
Optimizing Camera Performance
Getting the best performance from your Blink camera involves proper placement and tweaking key settings. These steps will help you capture clear footage and get useful alerts.
Positioning Your Blink Camera
Pick a spot with a clear view of the area you want to monitor. Mount the camera 6-8 feet high for the best coverage. Avoid pointing it at busy streets or your neighbor’s property.
Adjust the camera angle to frame the scene well. Make sure important areas are in view.
For outdoor cameras, place them under eaves or use a protective cover. This shields them from rain and sun.
Test different spots before final mounting. Walk through the area to check the camera’s view.
Adjusting Motion Detection Settings
Open the Blink app and tap your camera’s settings. Go to the motion detection menu.
Set the sensitivity level. Start in the middle and adjust as needed. Too high might trigger false alarms. Too low could miss events.
Create motion zones to focus on key areas. This cuts down on alerts from trees or passing cars.
You can also set up privacy zones. These block out areas you don’t want to record.
Try different settings and test them out. It may take some tweaking to get it right.
Configuring Notification Preferences
Choose how you want to be alerted in the Blink app. You can get push notifications, emails, or both.
Set up schedules for when you want alerts. This stops notifications when you’re home.
Adjust the frequency of alerts. You can limit them to avoid too many messages.
Consider using the Blink sync module. It can improve alert speed and reliability.
Review your notification history often. This helps you spot patterns and refine your settings.
Frequently Asked Questions
Setting up Blink cameras is straightforward. Here are answers to common questions about installing different Blink camera models.
What are the steps to install a Blink Indoor Camera?
To set up a Blink Indoor Camera:
- Download the Blink app
- Create an account
- Add the camera to your system
- Place the camera where you want it
- Follow the app’s setup steps
The process is quick. Most users can finish in under 10 minutes.
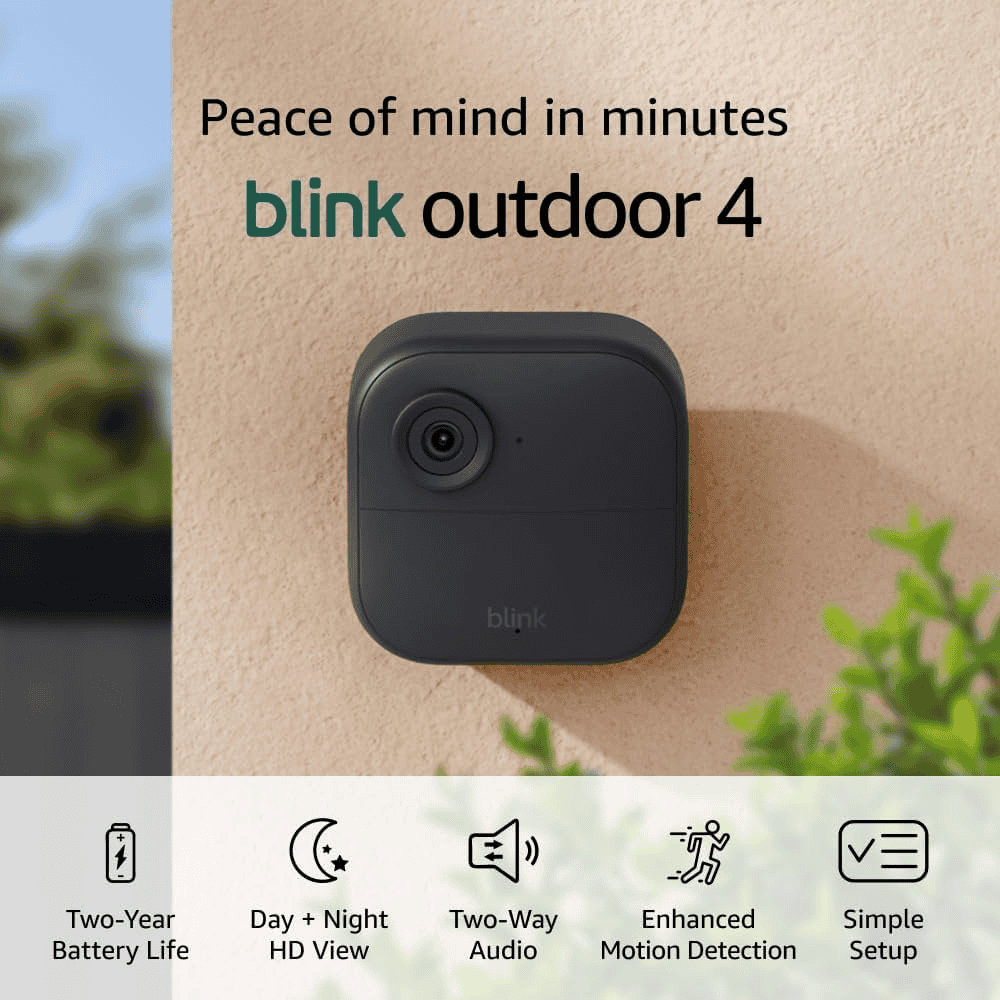
How can I mount a Blink Outdoor Camera?
Mounting a Blink Outdoor Camera is easy:
- Choose a spot
- Mark screw holes
- Drill pilot holes
- Screw in the mount
- Attach the camera
Use the included screws and mount. Make sure it’s within range of your WiFi.
What is the process for setting up a Blink Doorbell?
To set up a Blink Doorbell:
- Charge the battery
- Install the app
- Add the doorbell in the app
- Mount the doorbell
- Test it out
Follow the app’s instructions for a smooth setup. The whole process takes about 15-20 minutes.
Can you guide me through the setup of a Blink Mini Camera?
Setting up a Blink Mini Camera is quick:
- Plug in the camera
- Open the Blink app
- Tap the plus sign
- Choose “Blink Mini”
- Scan the QR code
- Follow the app prompts
The camera will be ready to use in minutes. It’s one of the easiest Blink cameras to set up.
How do I configure a Blink Camera with a Sync Module?
To set up a Blink Camera with a Sync Module:
- Plug in the Sync Module
- Open the Blink app
- Add the Sync Module
- Add your camera
- Follow the app steps
The Sync Module helps connect your cameras to the internet. It’s a key part of the Blink system.
What are the instructions to sync a Blink camera to a smartphone?
To sync a Blink camera to your phone:
- Install the Blink app
- Create an account
- Tap the plus sign
- Choose your camera model
- Follow the app’s steps
The app will guide you through the process. Make sure your phone is connected to WiFi during setup.
What is a Sync Module and why do I need it?
A Sync Module is a small hub that connects your Blink cameras to your Wi-Fi network. It’s required for most Blink cameras to function.
How many cameras can I connect to a Sync Module?
You can connect up to 10 Blink cameras to a single Sync Module.
Can I use Blink cameras without a subscription?
Yes, you can use Blink cameras without a subscription to view live streams and receive motion alerts. However, to record and store clips, you’ll need a Blink Subscription Plan.
What is the range of a Blink camera?
The range of a Blink camera depends on your Wi-Fi network and the environment. In ideal conditions, Blink cameras can work up to 100 feet away from the Sync Module.
Are Blink cameras compatible with Alexa?
Yes, Blink cameras are compatible with Amazon Alexa. You can use voice commands to view live streams, arm and disarm your system, and more.