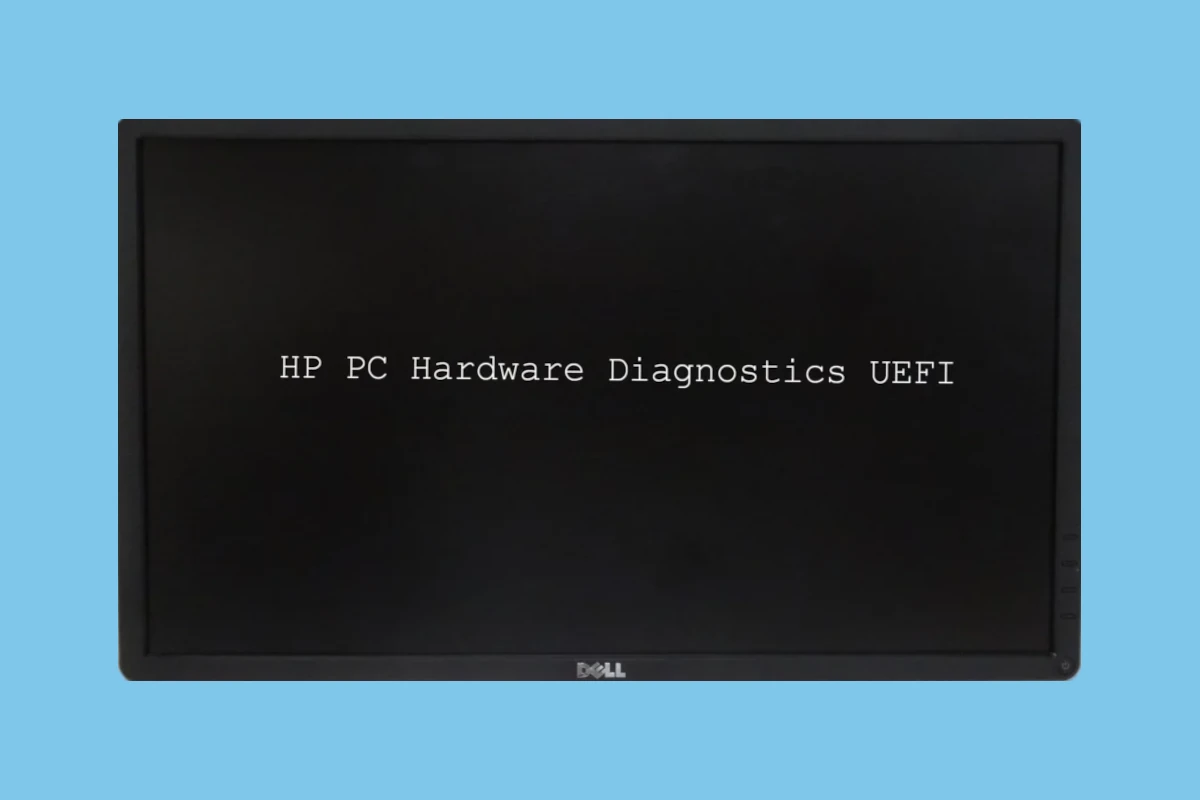
To keep your HP computer working well, it’s important to perform regular maintenance and troubleshooting. HP PC Hardware Diagnostics UEFI is a tool designed for HP computer users. It includes a range of tests to identify and diagnose potential hardware issues. These tests are user-friendly and can be run through Windows or before booting the operating system. The tool provides simple instructions to guide users through the process. It offers a variety of tests, from quick checks to more comprehensive examinations, based on the depth of analysis needed. The goal is not only to find problems but also to help users resolve them or manage the repair process.

Understanding HP’s PC Hardware Diagnostics UEFI Tool
HP PC Hardware Diagnostics UEFI is a powerful tool that helps diagnose hardware-related issues in HP computers, even if the operating system isn’t working properly. Here’s an overview of what it is and how to use it.
What is HP PC Hardware Diagnostics UEFI?
HP PC Hardware Diagnostics UEFI is a set of tests designed to thoroughly check the hardware components of your HP computer. It runs in the UEFI environment (Unified Extensible Firmware Interface), which is the basic software layer that controls your computer’s hardware before the operating system loads. This means you can use the tool even if Windows or another operating system is damaged or won’t start.
What can HP PC Hardware Diagnostics UEFI test?
HP PC Hardware Diagnostics UEFI can test a wide range of components, including:
- Processor: The brain of your computer
- Memory (RAM): Where your computer stores data for fast access
- Hard Drive/SSD: The long-term storage for programs and files.
- Graphics Card: Responsible for displaying images on your screen.
- Battery: Checks the health and capacity of your laptop’s battery.
- Network Cards: Components that allow your computer to connect to a network (both wired and wireless).
How to Access HP PC Hardware Diagnostics UEFI
- Turn off your computer.
- Turn on your computer and immediately press the “Esc” key repeatedly (about once a second) until the Startup Menu appears.
- Press the “F2” key to open the HP PC Hardware Diagnostics UEFI menu.
Running Tests in HP PC Hardware Diagnostics UEFI
The HP PC Hardware Diagnostics UEFI offers different types of tests:
- System Tests: Include a range of tests for various hardware components. You can choose a Quick Test or Extensive Test.
- Component Tests: Allow you to test individual components like the memory, hard drive, or battery.
- Symptom Tests: These tests focus on specific issues you may be experiencing with your computer.
How to interpret the results
- Pass: The component tested is working correctly.
- Fail: The component has failed and may need to be repaired or replaced. The test results will often include a failure ID code, which can help you or a technician identify the exact problem.
Remember: If any of your hardware components fail the tests, it’s a good idea to contact HP Support or a qualified technician for assistance in resolving the issue.
Troubleshooting Tips and Advanced Usage
UEFI Advantages in Detail
Secure Boot is a key feature of UEFI. It helps your computer stay safe. Secure Boot stops bad software from loading when you start your computer. This keeps your computer working well. UEFI also uses GPT. GPT lets you have big hard drives. It also lets you divide your hard drive into many parts. UEFI starts your computer faster than the old BIOS. It does this by getting your computer ready to work quickly. UEFI is always getting better with updates.
Clear Instructions with Visuals
To use the tool, turn on your computer and press the F2 key many times. You will see the tool menu. This menu has a lot of tests you can run. If your computer shows a blue screen, this tool can help. It can find problems before your computer starts.
In the menu, you can pick System Tests. This lets you do a Fast Test or an Extensive Test. The Fast Test is quick. It looks at the main parts of your computer. The Extensive Test looks at all the parts of your computer. It takes more time to finish.
Testing Specific Parts and Understanding Results
You can also test one part of your computer. This is called Component Tests. You can test your memory, hard drive, or battery. Follow the steps on the screen. Pick the test for the part you want to check.
After the test, the tool shows you what it found. If there is a problem, you will see an error. The error has an ID to help you fix it. Use this to see what is wrong with your computer. You can then fix the problem. If you need a new part, the ID can help you get the right one.
Common Error Codes
Here are some common error codes and what they mean. This can help you understand the problem with your computer.
| Error Code | Meaning |
|---|---|
| 0123 | Problem with the memory (RAM) |
| 0246 | Hard drive not found or failed |
| 0369 | Issue with the processor |
| 0481 | Battery not charging or holding a charge |
If you see an error code not listed here, you can find more information on the HP support website.
Creating a Bootable USB Drive
If your computer won’t start, you can use a USB drive to run the tool. You can download the tool from the HP website. Then, you can put it on a USB drive. This lets you start the tool even if your computer is not working.
BIOS Updates
Sometimes, updating your BIOS can help fix problems. You can find BIOS updates on the HP website. Make sure you get the right update for your computer.
For Gamers
If you play games on your computer, this tool can help you find problems. It can find problems with your CPU, GPU, or RAM. This can help your games run better.
Overheating
If your computer gets too hot, this tool can help. It can check if your fan is working. It can also check the temperature of your computer.
Blue Screens of Death (BSOD)
If you see a blue screen, this tool can help. It can find problems that cause the blue screen.
Additional Tips
Before you take your computer to be fixed, run this tool. This can save you time and money. You can also use this tool to keep your computer working well. Try to use it often.
Key Takeaways
- HP PC Hardware Diagnostics UEFI offers a suite of tests for identifying HP computer hardware issues.
- Easy-to-follow instructions make the tool accessible for users of all skill levels.
- The tool is versatile with options for quick or extensive hardware tests.
Understanding HP PC Hardware Diagnostics UEFI
The HP PC Hardware Diagnostics UEFI is a tool for testing and checking HP computer health. It works outside of the operating system to spot issues with the hardware.
Overview of UEFI
UEFI stands for Unified Extensible Firmware Interface. It’s a modern version of the BIOS, which means Basic Input/Output System. Unlike the old BIOS, UEFI supports larger hard drives and faster boot times. It also provides a Secure Boot feature. This stops harmful software from loading when a computer starts. UEFI has several versions, improving with new updates to provide better features and support.
HP UEFI Versus Traditional BIOS
The HP UEFI version is a special firmware for HP computers. It gives a clear menu to run hardware tests before Windows starts. Users enter this menu by pressing the F10 key at startup. This approach is different from the traditional BIOS where settings were not designed for easy diagnostics. UEFI offers a more user-friendly interface for troubleshooting. It takes less time to start and supports modern hardware better than the traditional BIOS.
Utilizing HP PC Hardware Diagnostics UEFI
HP PC Hardware Diagnostics UEFI is vital for identifying and fixing hardware issues. It runs tests before the system boots, bypassing the operating system to pinpoint problems.
Launching the Diagnostics Tool
To start the HP PC Hardware Diagnostics UEFI, turn on the PC and repeatedly press the F2 key during startup. This leads you to the tool’s main menu, where you can select various tests. If you’re facing a blue screen, the tool in the UEFI partition can help before the OS loads.
Running System Tests
In the diagnostics menu, selecting System Tests initiates a quick review or an extensive check. The Fast Test takes a few minutes and examines the main components. For a thorough analysis, the Extensive Test covers all hardware, taking more time to complete.
Conducting Component Tests
To troubleshoot specific hardware, opt for Component Tests. This lets you run focused tests on parts like the memory, hard drive, or battery. Follow the on-screen instructions to pick and execute the test matching your hardware concerns.
Interpreting Test Logs and Resolving Issues
After testing, the tool displays test logs with results. An error will have a failure ID to help in further steps. Use these results to understand hardware failures and take actions to resolve issues. If hardware replacement is needed, the failure ID helps in getting the right support from HP.
Through these systematic procedures, you can identify and address the issues in your HP PC hardware effectively.
Frequently Asked Questions
This section addresses common inquiries about using HP PC Hardware Diagnostics UEFI, providing practical steps for troubleshooting and maintenance of your HP PC.
How can I exit the HP PC Hardware Diagnostics UEFI environment after testing?
To leave the UEFI environment after completing diagnostics, simply select the ‘Exit’ option. This will reboot your system and start Windows normally.
Where can I find the download for HP PC Hardware Diagnostics UEFI tools?
The HP PC Hardware Diagnostics UEFI tools are available on the official HP support website. Search for your specific PC model to find the correct version for your machine.
What should I do if HP PC Hardware Diagnostics UEFI runs automatically on startup?
If diagnostics run automatically, it suggests an issue was detected. Let it complete the test. If this happens often, consider checking your hardware’s health or updating your diagnostic software.
How do you resolve the ‘no hard drive installed’ message in HP PC Hardware Diagnostics UEFI?
When this message appears, restart your computer and retest. If it persists, the hard drive might be loose, damaged, or needs replacement.
What steps are needed to update the HP PC Hardware Diagnostics UEFI?
To update, download the latest firmware from the HP website. Run the executable file and follow the on-screen instructions to install the update.
How can I troubleshoot the HP PC Hardware Diagnostics UEFI if it becomes stuck?
If the diagnostics tool is stuck, power off your computer. Then, power it on and run the diagnostics again. If it continues to get stuck, your PC may require service from HP support.


