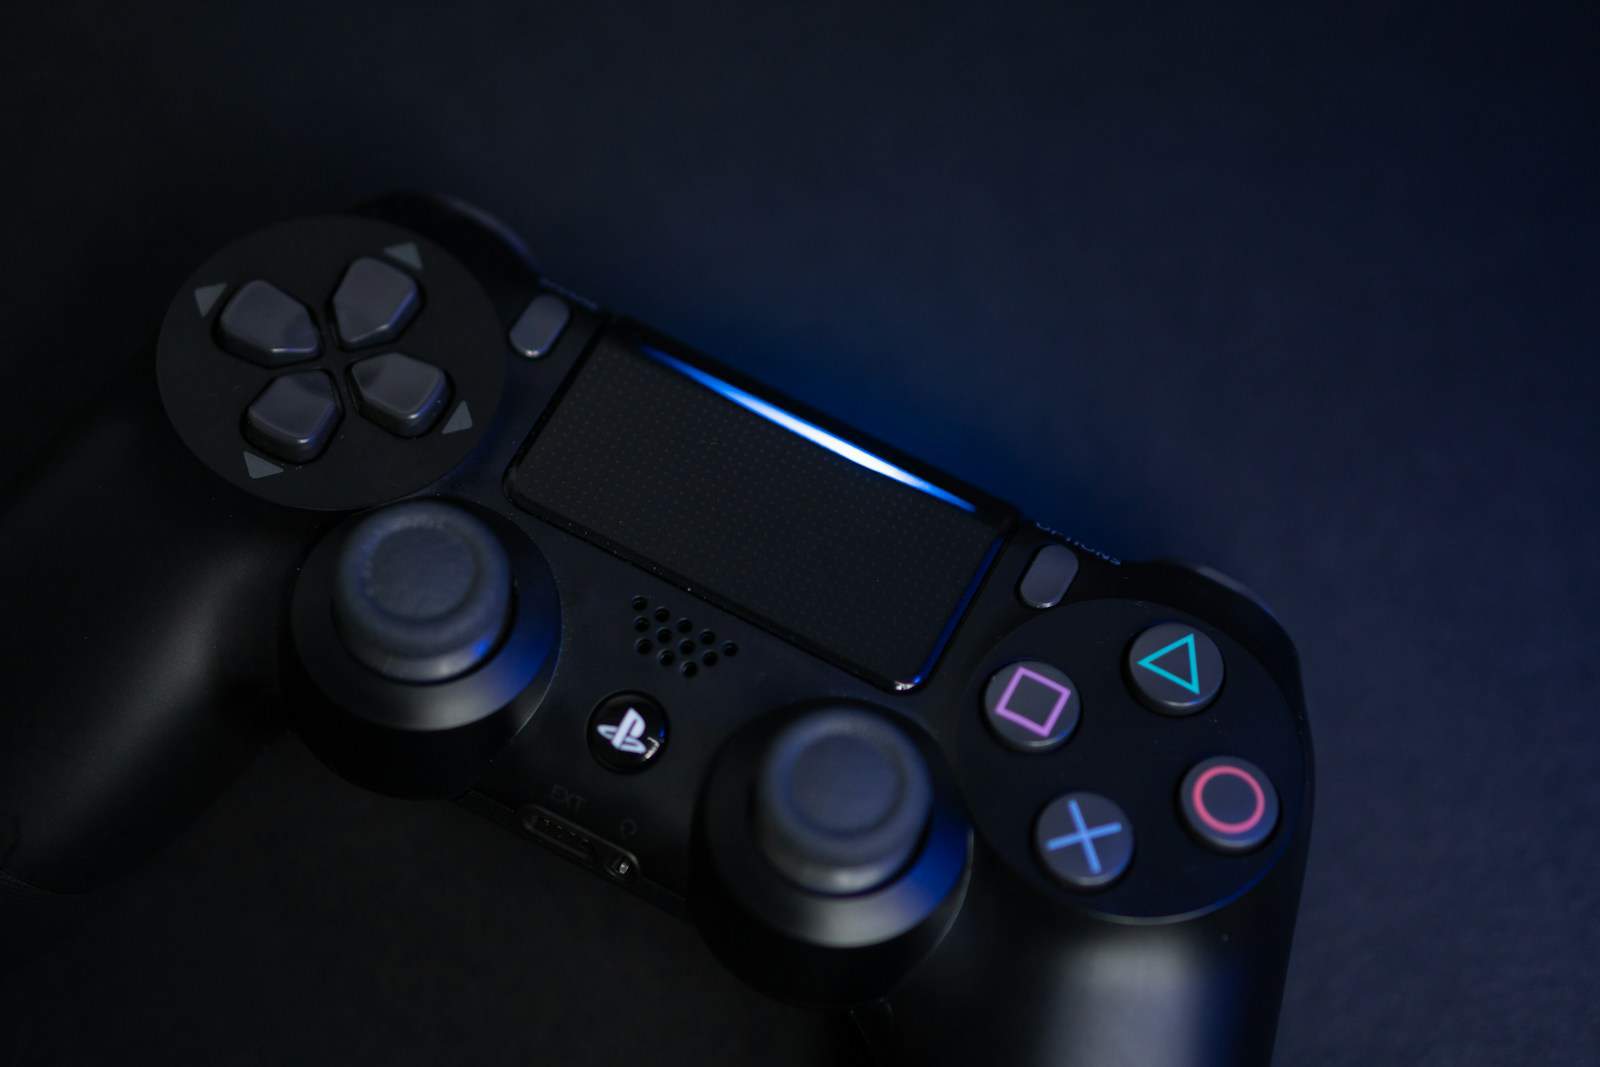
Opening up a PS4 controller, also known as a DualShock 4 wireless controller, can be a useful skill for anyone looking to repair, customize, or simply clean their device. Before starting the disassembly process, it is important for users to have the correct tools on hand. These commonly include a small Phillips head screwdriver and a pry tool. While the task may seem straightforward, taking care to correctly open the controller is crucial to avoid damaging internal components.
Disassembling the PS4 controller involves carefully removing screws, detaching the chassis, and handling delicate internal parts, including the motherboard assembly. Many users choose to do this to address issues with buttons, analog sticks, or battery life, or to change the controller’s appearance. It is essential that users approach this process with patience and gentle handling to successfully disassemble and later reassemble the controller without harming its functionality.
How to Open a PS4 Controller
Tools:
- Small Phillips head screwdriver
- Plastic spudger or prying tool (optional, but recommended to avoid damage)
Steps:
- Remove Screws: Locate and remove the four screws on the back of the controller.
- Separate Halves:
- Start by gently inserting the prying tool into the seam between the controller halves near the top (around L1 and R1).
- Work your way around the edges, gently prying it open. Be careful not to apply excessive force.
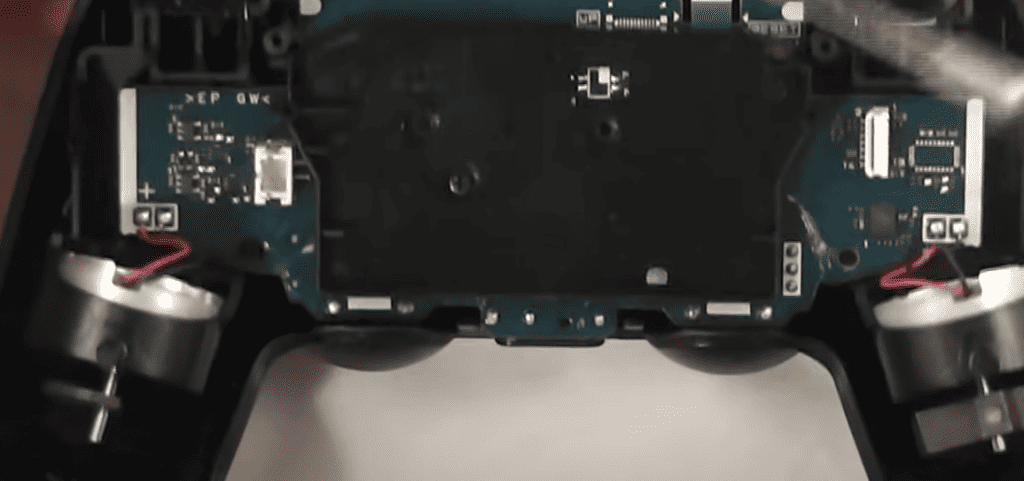
- Internal Access: Once the halves are separated, you’ll have access to:
- Battery
- Mainboard
- Buttons & Triggers
- Analog Sticks
Important Notes:
- Warranty: Opening your controller may void the warranty.
- Ribbon Cables: Be delicate with the ribbon cables connecting various components.
- Reassembly: Carefully align the halves and ensure all screws are tightened properly when reassembling.
Resources:
- Video Tutorials: Search for “How to open a PS4 controller” on YouTube for visual guides.
- Specific Repairs: If you have a specific issue, search for guides on how to fix it, as these often include controller disassembly steps.
Key Takeaways
- Opening a PS4 controller requires proper tools and gentle handling.
- Repair or customization can be motivations for learning to disassemble the device.
- Attention to detail is important throughout the process to avoid damage.
Preparing for Disassembly
Before attempting to open your PS4 controller, it’s crucial to have the right tools and understand the safety measures to prevent any damage to your device or injury to yourself.
Gathering Necessary Tools
To successfully disassemble your PS4 controller, you’ll need the following tools:
- Phillips #00 Screwdriver: To remove the screws securing the controller’s casing.
- Spudger: This tool helps to safely pry open the casing without damaging the plastic clips.
- Tweezers: Handy for gripping and manipulating small components such as the ribbon cable.
It is essential to use the correct size screwdriver as using the wrong one can strip the screws, making them difficult to remove.
Safety Precautions
When opening your controller, keep these safety tips in mind:
- Power Off: Ensure your PS4 controller is completely turned off and disconnected from any power source.
- Safe Workspace: Choose a clean and well-lit area to work in to clearly see all parts and avoid losing any small pieces.
- Handle with Care: Be gentle when disconnecting the ribbon cable as it is delicate and can tear if mishandled.
- Storage for Parts: As you remove them, keep screws and other small parts in a container or on a magnetic mat to prevent loss.
- Isopropyl Alcohol: If you need to clean any parts, use isopropyl alcohol and a soft cloth or cotton swab to avoid damage.
By following these guidelines, you’ll be set to safely open and inspect your PS4 controller.
Disassembling the PS4 Controller
Opening up the DualShock 4 Wireless Controller can seem complex, but breaking it down into specific steps makes the process manageable. This guide is a straightforward walkthrough for those who need to fix or replace parts of their controller like thumbsticks, buttons, or battery.
Removing the Screws
To start, locate the four screws on the back of the DualShock 4. You will need a small Phillips screwdriver. Carefully remove these screws and keep them in a safe place to avoid losing them as you will need to reattach them later.
Detaching the Back Panel
Once the screws are out, gently separate the back panel from the front. The controller is held together by clips so it might take a little wiggling to get them to unhook. Work slowly around the edges to avoid breaking these clips for a smooth reassembly.
Unplugging the Battery
The battery is located inside the back panel, connected by a small plug to the motherboard. Gently unhook the battery’s connector, preferably with plastic tweezers or a small tool to prevent damage. Handle the battery with care to maintain its integrity.
Detaching Ribbon Cables
Several ribbon cables connect the front and back halves of the controller. These cables are delicate, and you should disconnect them with care. Use a pair of precision tweezers and gently pull out the cables from their connectors. Remember the orientation for easier reassembly.
Removing the Circuit Board
After disconnecting all cables, you can remove the circuit board. It contains critical components and is often secured with additional screws or sitting snugly on the front panel. Lift the board out carefully, making sure not to damage the USB port or any other parts attached to it.
Frequently Asked Questions
When opening up a PS4 controller, several questions often arise. This section covers the practical answers to these FAQs to help you with the task.
What type of screwdriver is required to disassemble a PS4 controller?
A Phillips-head screwdriver is necessary to remove the screws from a PS4 controller. The size commonly used is #00, but make sure to check your controller’s screws as some variations might exist.
Can I disassemble my PS4 controller to clean the buttons, and if so, how?
Yes, you can take apart your PS4 controller to clean the buttons. After removing the screws, carefully split the halves to prevent any damage to the internal components. Once open, use a soft cloth to gently clean around the buttons.
Is it possible to replace the battery in a PS4 controller, and how can this be done?
Replacing the PS4 controller’s battery is a straightforward process. After opening the case, disconnect the battery’s cable connector and replace the old battery with a new one. Reassemble the controller by following the opening steps in reverse order.
What are the steps involved in repairing or replacing the analog sticks on a PS4 controller?
Repairing or replacing the analog sticks involves opening the controller, carefully lifting out the old sticks, and slotting in new ones if replacement is needed. Make sure you position the new sticks correctly before reassembling the controller.
How can I access and fix Bluetooth connectivity issues in my PS4 controller?
To address Bluetooth connectivity issues, open the controller and check the battery and antenna connections. Loose wires can disrupt the signal. If the battery and antenna connections are secure, a factory reset may be needed.
What precautions should I take to open my PS4 controller without causing damage?
Handle your PS4 controller gently and ensure to use the correct tools to avoid stripping the screws. Work on a clean, flat surface and organize the parts as they are removed. Keep track of the screws and be careful not to force any components apart.

