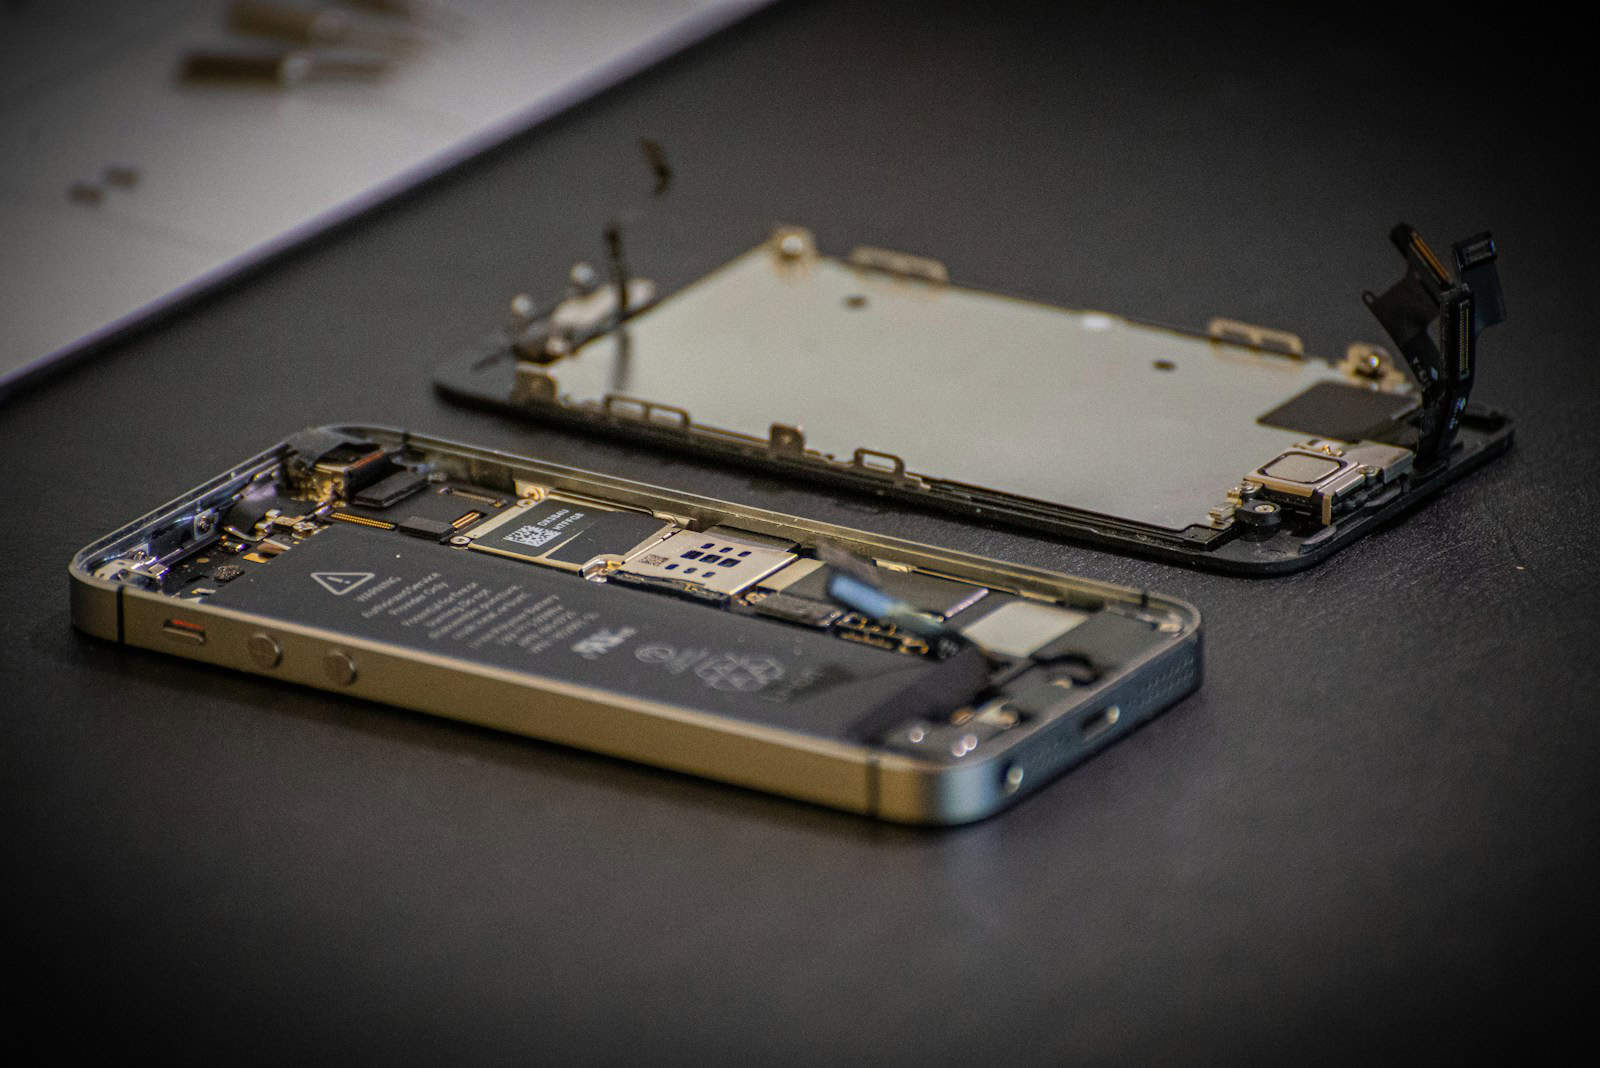
Repairing your cell phone yourself can save both time and money. With the right tools and a bit of patience, many common problems can be fixed at home. This guide will provide practical steps and useful tips to help you through the process. Learn how to identify issues, gather necessary tools, and safely troubleshoot your device’s problems.
From cracked screens to battery replacements, many repairs are more approachable than they seem. The key is having the right information and tools at your disposal. You’ll discover how to power down your phone correctly, use opening tools, and identify crucial parts.
Whether you’re dealing with software glitches or hardware issues, this guide simplifies each step. We’ll make sure you’re equipped to handle repairs confidently, so you can extend the life of your cell phone and avoid costly professional services.
Tools and Tips for DIY Cell Phone Fixes
Gather Your Tools
Having the right tools makes all the difference. Here’s what you’ll need:
- Precision Screwdriver Set: Essential for opening up your phone and removing internal components.
- Suction Cup: Helps lift the screen without damage.
- Plastic Opening Tools: These pry tools gently separate parts without scratching them.
- Heat Gun or Hair Dryer: Used to soften adhesive holding components in place.
- Replacement Parts: Source high-quality parts compatible with your phone model.
- Repair Guide: Refer to reliable online guides specific to your phone and repair. iFixit is a great resource.
Common Repairs You Can Tackle Yourself
- Battery Replacement: If your battery drains quickly or won’t hold a charge, replacing it can give your phone a new lease on life.
- Screen Replacement: A cracked screen can be a major inconvenience. Luckily, with the right tools and patience, it’s often a DIY fix.
- Charging Port Replacement: If your phone isn’t charging properly, the port may be damaged or clogged with debris. Replacing it can solve the issue.
- Button Replacement: Sticky or non-functional buttons can be replaced relatively easily.
Table: DIY Cell Phone Repair Difficulty Levels
| Repair | Difficulty | Notes |
|---|---|---|
| Battery Replacement | Easy | Most common DIY repair. |
| Screen Replacement | Moderate | Requires patience and precision. |
| Charging Port | Moderate | Requires careful soldering in some cases. |
| Button Replacement | Easy | Usually involves simple removal and replacement. |
| Back Glass | Moderate | Requires heat to remove and replace. |
Important Tips for DIY Repairs
- Research Thoroughly: Before attempting any repair, watch tutorials and read guides.
- Take Your Time: Don’t rush. Patience is key to avoid damaging delicate components.
- Organize Your Parts: Keep track of screws and small parts to avoid losing them.
- ESD Precautions: Wear an anti-static wrist strap to prevent damaging sensitive electronics with static electricity.
Remember, DIY repairs come with risks. If you’re not confident, it’s always best to consult a professional. However, with the right tools and guidance, you can often fix minor issues yourself and save money.
Key Takeaways
- DIY phone repair is cost-effective and straightforward.
- Proper tools and safety measures are essential for successful repairs.
- Troubleshooting common issues requires patience and the right information.
Required Tools and Safety Measures
For successful DIY cell phone repairs, gathering the right tools and following safety measures is crucial. The following sections provide essential information on the tools you need and how to ensure your safety during the repair process.
Gathering Your Tools
Having the correct tools is key to cell phone repair. Screwdrivers of various types, especially flathead and Torx (often T4 and T5), are essential. Tweezers help to handle small parts, while spudgers and opening picks assist in safely prying open the phone without damage.
Suction tools are useful for lifting screens, and adhesive strips keep parts secure after reassembly. A magnifying glass helps in seeing tiny components clearly. It’s also beneficial to keep a set of spare parts like screws and screen protectors on hand.
Consider investing in high-quality tools to make the repair process smoother and to avoid damaging your phone. Kits from reputable brands often include all the tools mentioned, making them a convenient option for beginners and experienced users alike.
Ensuring Safe Repairs
Safety is paramount when repairing electronic devices. Using an anti-static wrist strap is a fundamental measure to prevent electrostatic discharge, which can damage sensitive components. Ground yourself frequently by touching a metal object connected to the ground if you lack a wrist strap.
Always power off the phone completely before starting any work. Removing the battery, if possible, adds an extra layer of safety. Work on a clean, non-conductive surface to avoid accidental short circuits.
Good lighting is vital for precision, reducing the chances of making mistakes. A well-organized workspace also ensures that tools and small parts don’t get lost. By following these safety measures, you can perform repairs confidently and reduce the risk of damaging your phone or injuring yourself.
Troubleshooting and Repairing Common Issues
Fixing your phone can save time and money. This guide explains how to diagnose, repair, and handle common issues for various phone models.
Diagnosing Your Device
First, identify the problem. Common issues include screen cracks, battery problems, and software glitches. Use tools like a multimeter for checking battery health. For software issues, try a factory reset or check for updates. Observe symptoms: does the screen flicker or the battery drain quickly? Proper identification helps plan the repair process.
Practical Repair Guides
For screen repairs, gather tools: plastic picks, screwdrivers, and adhesive. Turn off the phone and follow a step-by-step repair guide. For battery replacements, use a toolkit and follow safety instructions. Handle screws and small parts with care. Online platforms like iFixit offer detailed guides.
Common repairs:
- Screen replacement
- Battery swap
- Fixing water damage
Model-Specific Repair Techniques
Different brands require different techniques. iPhones need special screwdrivers. Samsung Galaxy phones may require heating to loosen adhesive. LG phones often have removable backs for easy access. Follow specific instructions for each model to avoid damage. Check online guides or resources provided by repair experts.
Key points by brand:
- iPhone: Use pentalobe screws
- Samsung Galaxy: Use heat for adhesives
- LG: Removable back panels
Use proper tools and follow model-specific instructions to ensure successful repairs.
Frequently Asked Questions
Here are answers to some common questions about fixing your cell phone yourself. These include tool requirements, screen replacement, battery issues, data safety, water damage, and repair risks.
What are the common tools required for DIY cell phone repairs?
A typical toolkit includes pentalobe and flathead screwdrivers, Torx screwdrivers (T4, T5), and a tri-point screwdriver. You should have opening picks, a suction tool, and various opening tools. It is good to keep extra screws, screen protectors, and cleaning solution handy.
Is it possible to replace a cracked smartphone screen at home?
Yes, it is possible. You’ll need the right tools and a replacement screen. Follow detailed guides or tutorials specific to your phone model. Be careful not to damage internal components during the process.
How can I diagnose and fix battery issues in my cell phone?
Check if the battery drains quickly or doesn’t charge. You may need to replace the battery. Turn off the phone, remove the back cover, and carefully replace it with a new one. Ensure the new battery is compatible with your phone.
What precautions should I take to ensure my data remains safe during a DIY repair?
Back up your data before starting any repair. Remove the SIM card and memory card if possible. Be mindful of static electricity by discharging it by touching a grounded metal object. This protects the electronic components.
Can water damage be effectively repaired with a DIY approach?
Water damage can sometimes be fixed at home. Power off the phone and remove the battery if possible. Dry the components with a lint-free cloth and use silica gel packs. Clean parts with isopropyl alcohol to remove residue before reassembling.
What are the risks of repairing my cell phone on my own?
Risks include further damaging the phone, voiding the warranty, or injuring yourself. Incorrect handling can lead to short circuits or broken components. Always take your time and follow reliable guides to minimize these risks.


