Creating a bootable USB drive is a useful skill for anyone who works with computers. It allows you to install or repair operating systems without a CD or DVD drive. To make a bootable USB drive, you need a USB flash drive, the right software, and an operating system image file. This skill comes in handy when installing a new operating system, troubleshooting computer problems, or running live software. It’s an essential tool for tech enthusiasts and everyday users in the digital age.
This guide will walk you through creating a bootable USB drive, from choosing the right tool to booting your computer from it. While the process has a few steps, it’s not difficult. You start by preparing your USB drive, then download the operating system you want to use. After that, you use a tool to put the operating system on the USB drive in a way that makes it bootable. A bootable USB drive can be very useful. You can use it to install Windows on a new computer or to fix problems on a computer that won’t start up. It’s also good for trying out new operating systems without changing your main one.
Creating a Bootable USB: A Step-by-Step Guide
Understanding Bootable USB Drives
A bootable USB drive is a storage device that can load an operating system or other software without needing your computer’s main hard drive. This is handy for installing or repairing operating systems, running live versions of software, and troubleshooting computer issues.
Choosing the Right Tool
There are several tools for creating bootable USB drives, each with unique features and interfaces. Some popular options include:
| Tool | Operating System Compatibility | Ease of Use | Additional Features |
|---|---|---|---|
| Rufus | Windows | Easy | Extensive formatting options |
| BalenaEtcher | Windows, macOS, Linux | Very Easy | User-friendly interface |
| UNetbootin | Windows, macOS, Linux | Moderate | Supports various Linux distros |
The best tool for you depends on your operating system, technical comfort level, and desired features.
Preparing Your USB Drive
- Choose a USB drive with enough storage: Ensure your chosen USB drive has enough space for the operating system or software you want to install. Check the system requirements for the specific software.
- Back up your data: Creating a bootable USB drive will erase all existing data on it. Back up any important files before proceeding.
- Format your USB drive: Most bootable USB creation tools will format the drive automatically. If not, you can format it manually using your operating system’s built-in disk management tools.
Creating the Bootable USB Drive
- Download the ISO file: Obtain the ISO file of the operating system or software you want to install on your USB drive. This is usually available for download from the official website.
- Open your chosen tool: Launch the bootable USB creation tool you’ve selected.
- Select the ISO file: Choose the downloaded ISO file in the tool.
- Select your USB drive: Choose your formatted USB drive as the target device.
- Start the process: Click the “Start,” “Create,” or similar button to begin creating the bootable USB drive.
The time it takes to create the bootable USB drive varies depending on the tool, your computer’s speed, and the size of the ISO file.
Booting from Your USB Drive
- Insert the USB drive: Plug your newly created bootable USB drive into your computer.
- Restart your computer: Restart your computer, and as it starts up, press the designated key (usually F2, F12, or Delete) to enter the BIOS or UEFI settings.
- Change the boot order: In the BIOS/UEFI settings, find the boot order options and set your USB drive as the first boot device.
- Save and exit: Save the changes you’ve made and exit the BIOS/UEFI settings.
- Your computer should now boot from the USB drive.
Key Takeaways
- A bootable USB drive needs a USB flash drive, software, and an OS image file
- The process involves preparing the USB drive and putting the OS on it
- Bootable USB drives can install or fix operating systems on computers
Preparation of the USB Drive
Getting a USB drive ready for bootable use involves a few key steps. These include picking the right drive, formatting it correctly, and getting the needed software.
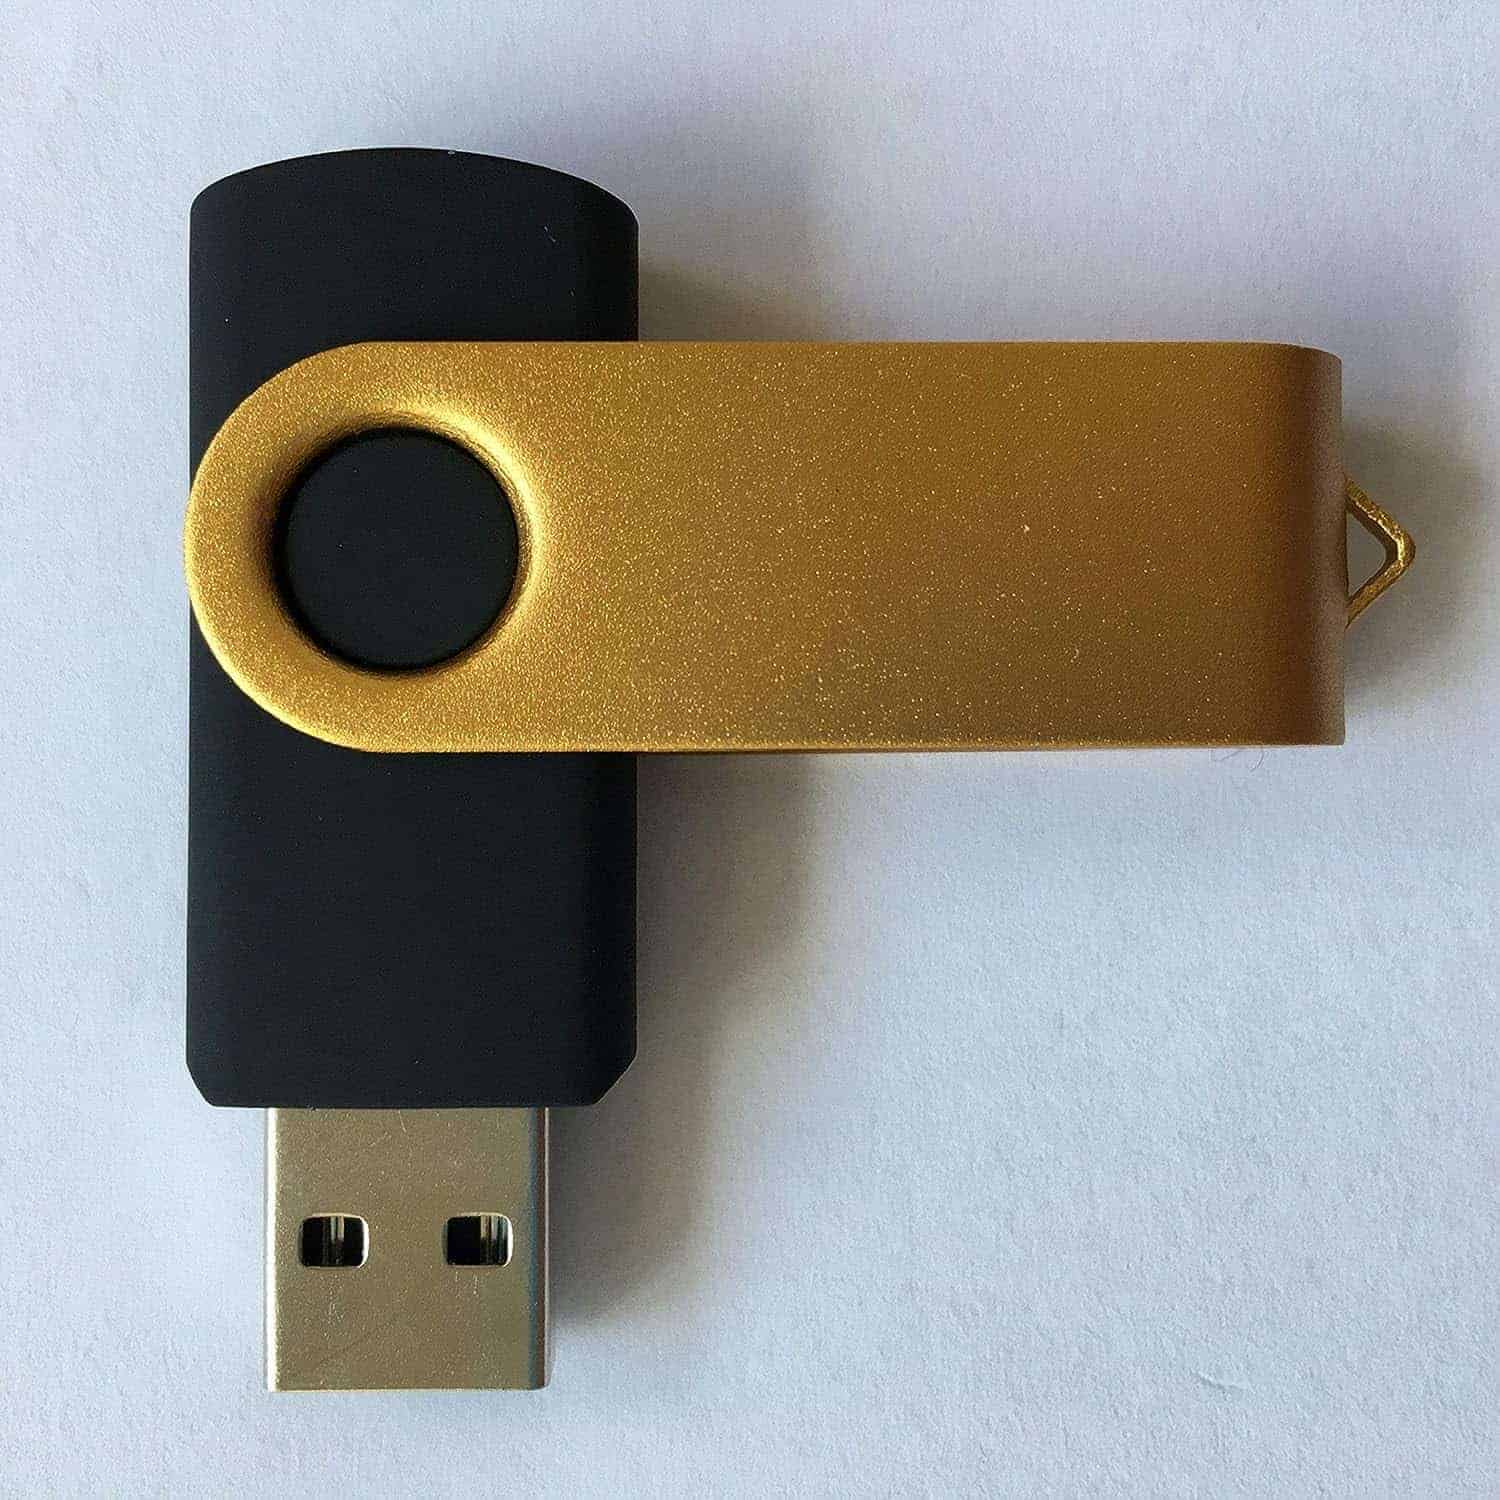
Selecting the Right USB Drive
Choose a USB drive with enough space. It should have at least 8 GB for most operating systems. Larger drives work too. Newer USB 3.0 drives are faster but older USB 2.0 drives still work. Brand-name drives from trusted makers are best. They’re less likely to fail. Check that the drive is blank or has no important files. All data on it will be erased in the process.
Formatting Your USB Drive
Formatting sets up the drive for use. On Windows, open File Explorer and right-click the USB drive. Choose “Format” from the menu. Pick FAT32 or NTFS as the file system. FAT32 works on more devices but has a 4 GB file size limit. NTFS allows larger files. For Macs, use Disk Utility to format the drive as FAT32. Linux users can use the GParted tool. Make sure to pick the right drive to avoid erasing the wrong data.
Downloading the Required Software
Get the needed software to make the drive bootable. For Windows, download the Media Creation Tool from Microsoft’s website. It creates bootable drives for Windows 10 and 11. Mac users need to get macOS from the App Store. Linux users should get the ISO file for their chosen distro. Make sure to download from the official source. This keeps the software safe and up to date. Check the file size and compare it to the official site to ensure a complete download.
Creating and Using the Bootable USB Drive
A bootable USB drive lets you install or repair an operating system. You can make one with tools like the Media Creation Tool or Rufus. Then you’ll set up your computer to boot from the USB.
Using the Media Creation Tool
Microsoft’s Media Creation Tool makes bootable USB drives for Windows 10 and 11. Here’s how to use it:
- Go to Microsoft’s website and download the tool
- Run the program and pick “Create installation media”
- Choose your language and Windows version
- Select “USB flash drive” as the media type
- Pick your USB drive from the list
- Wait for the tool to download Windows and set up the drive
The process takes about 30 minutes. When it’s done, you’ll have a bootable Windows USB.
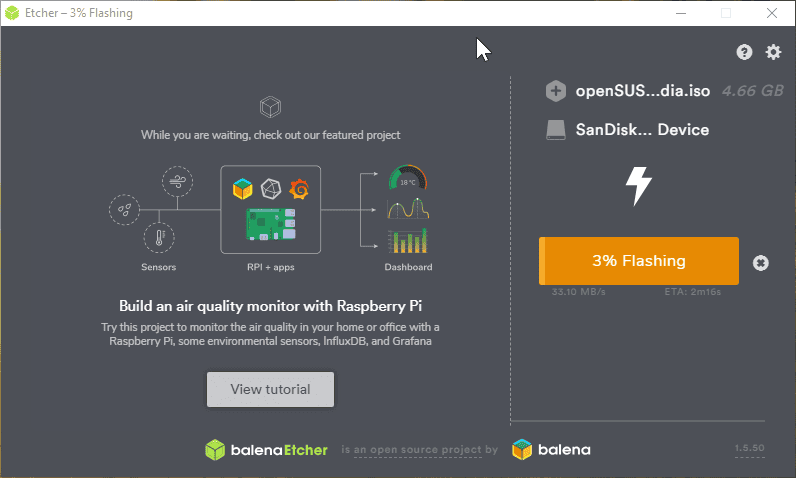
Bootable Tool for Linux Distributions
For Linux, you can use tools like Rufus or balenaEtcher. Here are the steps:
- Download the Linux ISO file you want
- Get Rufus or balenaEtcher and install it
- Plug in your USB drive
- Open the tool and select your ISO file
- Pick your USB drive
- Click “Start” or “Flash”
These tools will make a bootable Linux USB in a few minutes. They work with many Linux versions like Ubuntu.
Setting Up the BIOS/UEFI
To use your bootable USB, you need to set your PC to boot from it:
- Restart your computer
- Press the key to enter BIOS/UEFI (often F2, F12, or Del)
- Find the boot order settings
- Move USB to the top of the list
- Save and exit
Your PC will now try to boot from USB first. If no USB is plugged in, it will use the normal boot drive.
Troubleshooting Common Issues
Sometimes bootable USBs don’t work right away. Here are some fixes:
- Try a different USB port
- Use a USB 2.0 drive instead of 3.0
- Disable Secure Boot in BIOS/UEFI
- Make sure your ISO file isn’t corrupt
- Use a different tool to create the USB
If your PC won’t boot from USB, check that Legacy Boot is enabled in BIOS. Some old PCs don’t support booting from USB at all.
Frequently Asked Questions
Creating bootable USB drives can be done through various methods and for different operating systems. Here are some common questions about making bootable USB drives.
Can any USB drive be made bootable?
Yes, almost any USB drive can be made bootable. However, it’s important to ensure it has enough storage capacity to hold the operating system or software you want to boot from. It’s also crucial to format the drive correctly and use the right tools to make it bootable.
How to create a Windows 10 bootable USB drive?
To create a Windows 10 bootable USB drive, you will need a USB drive with at least 8GB of storage, a Windows 10 ISO file, and a tool like the Windows Media Creation Tool. Download the Media Creation Tool from Microsoft’s official website, run it, and follow the on-screen instructions to create the bootable USB drive.
How do I Create a bootable USB without any software?
Creating a bootable USB without any additional software is possible, but it requires using the command prompt and specific commands like diskpart. This method is more technical and involves formatting the USB drive, partitioning it, and copying the bootable files manually. It’s recommended for advanced users familiar with the command line.
How do I make my computer boot from USB?
To boot your computer from a USB drive, you need to access the BIOS or UEFI settings during startup. Usually, you can press a specific key like F2, F12, or Delete during the initial boot screen to enter these settings. Once in the BIOS/UEFI, look for the boot order or boot priority options and change the USB drive to be the first boot device. Save the changes and exit, and your computer should boot from the USB drive.
How do I Create a bootable USB from an ISO manually?
Creating a bootable USB from an ISO manually also involves using the command prompt and commands like diskpart. You will need to format the USB drive, make it bootable, and then copy the contents of the ISO file to the drive. There are also third-party tools available that can simplify this process, such as Rufus or Etcher.
What steps are involved in making a USB bootable for Windows 10 using Command Prompt?
To make a USB bootable for Windows 10 with Command Prompt:
- Open Command Prompt as admin.
- Type “diskpart” and press Enter.
- Type “list disk” to see all drives.
- Select the USB drive with “select disk X” (X is the disk number).
- Clean the drive with “clean”.
- Create a new partition with “create partition primary”.
- Format the drive with “format fs=ntfs quick”.
- Make the partition active with “active”.
- Exit diskpart and copy Windows files to the USB.
How can I create a bootable USB drive from an ISO file for Windows 11?
To create a bootable USB for Windows 11:
- Download the Windows 11 ISO from Microsoft’s website.
- Get the Media Creation Tool from Microsoft.
- Plug in a USB drive (8GB or larger).
- Run the Media Creation Tool.
- Choose “Create installation media for another PC”.
- Select language and edition.
- Pick “USB flash drive” as the media.
- Choose your USB drive.
- Wait for the tool to create the bootable USB.
What is the process to create a bootable USB drive for Ubuntu?
To make a bootable USB for Ubuntu:
- Download the Ubuntu ISO file.
- Get a USB drive with at least 4GB space.
- Download Etcher software.
- Open Etcher and select the Ubuntu ISO.
- Choose your USB drive.
- Click “Flash” to create the bootable USB.
- Wait for the process to finish.
Can you convert an existing USB drive into a bootable format and how?
Yes, you can convert a USB drive to bootable format:
- Back up any important data on the USB.
- Use software like Rufus or Universal USB Installer.
- Select the USB drive in the software.
- Choose the ISO file for the OS you want to install.
- Pick the file system (usually NTFS or FAT32).
- Click start to format and make the USB bootable.
What are the instructions to create a bootable USB using Rufus software?
To create a bootable USB with Rufus:
- Download and open Rufus.
- Insert your USB drive.
- In Rufus, select your USB drive from the “Device” dropdown.
- Click “SELECT” and choose your ISO file.
- Leave other settings as default or adjust if needed.
- Click “START” to begin the process.
- Wait for Rufus to finish creating the bootable USB.
How do I make a USB hard drive bootable for Windows?
To make a USB drive bootable for Windows:
- Insert the USB drive.
- Open Command Prompt as admin.
- Type “diskpart” and press Enter.
- Type “list disk” to see all drives.
- Select the USB with “select disk X” (X is the disk number).
- Type “clean” to erase the drive.
- Create a new partition with “create partition primary”.
- Format it with “format fs=ntfs quick”.
- Set the partition as active with “active”.
- Exit diskpart.
- Copy the Windows installation files to the USB.