When you install a new M.2 SSD in a computer, it should be available for use in both the computer’s BIOS and within the Windows operating system. However, it’s not uncommon for users to encounter a situation where the M.2 SSD is detectable in the computer’s BIOS settings, but once they boot into Windows, the drive is nowhere to be found. This difference can be caused by various issues, including configuration problems in the BIOS or Windows, as well as potential hardware compatibility concerns.
To address this issue, you should take a systematic approach to isolate and resolve the underlying cause. First, verify the BIOS settings, ensuring that the SSD is configured correctly and that any necessary controller modes like AHCI or RAID are properly set. In Windows, use the Disk Management utility, as it may be necessary to initialize the M.2 SSD or to create and format a new partition. If these software configurations are correct and the drive is still not appearing in Windows, it may be necessary to check the hardware, confirming that the M.2 SSD is firmly seated in the appropriate motherboard slot and that there are no physical connection issues.
Here’s one fix for this issue:
- Open Device Manager
- Scroll down to storage controllers and click the drop down
- If you see a Raid Storage Controller multiple, then uninstall all of them (including the drivers).
- Scan for hardware changes and NVM express controller should pop up instead and problem solved.
- Open your Disk Management and partition the drives.
M.2 SSD Shows In BIOS But Not Windows: Reasons

| Reason | Solution |
|---|---|
| Not Initialized | Initialize the disk in Disk Management: 1. Right-click the Start button, select “Disk Management”. 2. Locate your uninitialized M.2 drive (likely marked “Disk Unknown”). 3. Right-click on the disk and select “Initialize Disk”. 4. Choose a partition style (GPT for modern systems). |
| Not Formatted | Format the disk: 1. In Disk Management, find your initialized M.2 drive. 2. Right-click on the unallocated space and select “New Simple Volume”. 3. Follow the wizard to format the drive with a file system (NTFS is common for Windows). |
| No Drive Letter | Assign a drive letter: 1. In Disk Management, right-click on the formatted partition of your M.2 drive. 2. Select “Change Drive Letter and Paths”. 3. Click “Add” (or “Change”) and assign a drive letter. |
| Incorrect BIOS Settings | Check your BIOS/UEFI: 1. Ensure the M.2 slot is enabled in the BIOS. 2. Check if the SATA mode is set to AHCI (instead of RAID). |
| Outdated Drivers | Update storage controller drivers: 1. Go to Device Manager (search for it in the Start Menu). 2. Expand “IDE ATA/ATAPI controllers” or “Storage controllers”. 3. Right-click your controller and select “Update Driver”. |
| Faulty SSD or M.2 Slot | Test in another system or M.2 slot if possible. Contact the SSD manufacturer for hardware diagnostics. |
Additional Tips:
- Try reinstalling the M.2 SSD to ensure proper seating.
- Check for Windows updates.
Key Takeaways
- The BIOS may recognize an M.2 SSD while Windows does not, indicating a configuration or hardware issue.
- Proper BIOS settings and initializing and partitioning the drive in Windows are critical steps.
- Ensuring the SSD is properly seated and checking for hardware compatibility are crucial if software fixes fail.
Troubleshooting BIOS and Windows Configuration
When an M.2 SSD is detected in the BIOS but not in Windows, it’s crucial to check the BIOS settings and perform Windows system checks. The following steps guide users through this process, ensuring the M.2 SSD is properly recognized and usable.
BIOS Settings Verification
First, verify the BIOS settings to ensure the motherboard recognizes the M.2 SSD. Enter the BIOS by restarting the computer and repeatedly pressing the designated key during startup, usually F2, Del, or F10. Once in the BIOS, navigate to the Onboard Devices or Storage section.
- Check if the M.2 slot is enabled and set to the correct mode. This might be listed as M.2 mode, AHCI mode, or PCIe mode depending on the motherboard.
- Ensure the SATA controller is also set accordingly. For NVMe SSDs, configure the slot to PCIe, and for M.2 SATA SSDs, to AHCI.
- If the SSD is intended as a boot device, verify the boot order, giving priority to the M.2 SSD.
- Secure Boot should be disabled if the Windows installation is not UEFI-based. Conversely, enable Secure Boot for UEFI installations.
- The Compatibility Support Module (CSM) may need to be disabled for newer UEFI-based installations.
If the SSD remains undetected after verifying these settings, consider updating the BIOS to the latest version, or try a BIOS reset to default settings, which can sometimes resolve compatibility issues.
Windows System Checks
Once BIOS verification is complete, move on to Windows checks if the drive still does not appear.
- Go to the Device Manager to ensure the Storage controller driver is up to date. If necessary, select the storage controller, right-click, and choose Update driver software.
- Next, open Disk Management by right-clicking on Start and choosing Disk Management. Look for a drive without a drive letter and formatted space. If present, it needs to be initialized and formatted.
- To initialize the drive, right-click on the unallocated space and select Initialize Disk. Choose either MBR (Master Boot Record) or GPT (GUID Partition Table), with GPT being the preferred option for newer systems.
- After initialization, create a new volume by right-clicking the unallocated space and selecting New Simple Volume. Follow the prompts to format the drive and assign a drive letter.
If the drive is still not detected in Windows after these steps, use the built-in Hardware and Device Troubleshooter or check for Windows Updates that might contain necessary drivers. Sometimes, reinstallation of Windows can solve persistent detection issues, but this should be a last resort.
Dealing with Hardware Issues
When your M.2 SSD appears in the BIOS but not Windows, it hints at potential hardware issues. This section provides guidance on how to address problems related to the physical installation of the drive and its compatibility with the system’s hardware.
M.2 SSD Installation and Compatibility
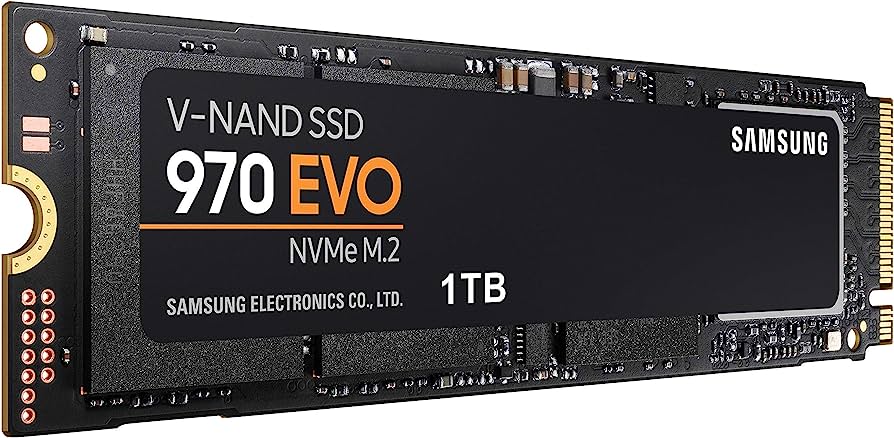
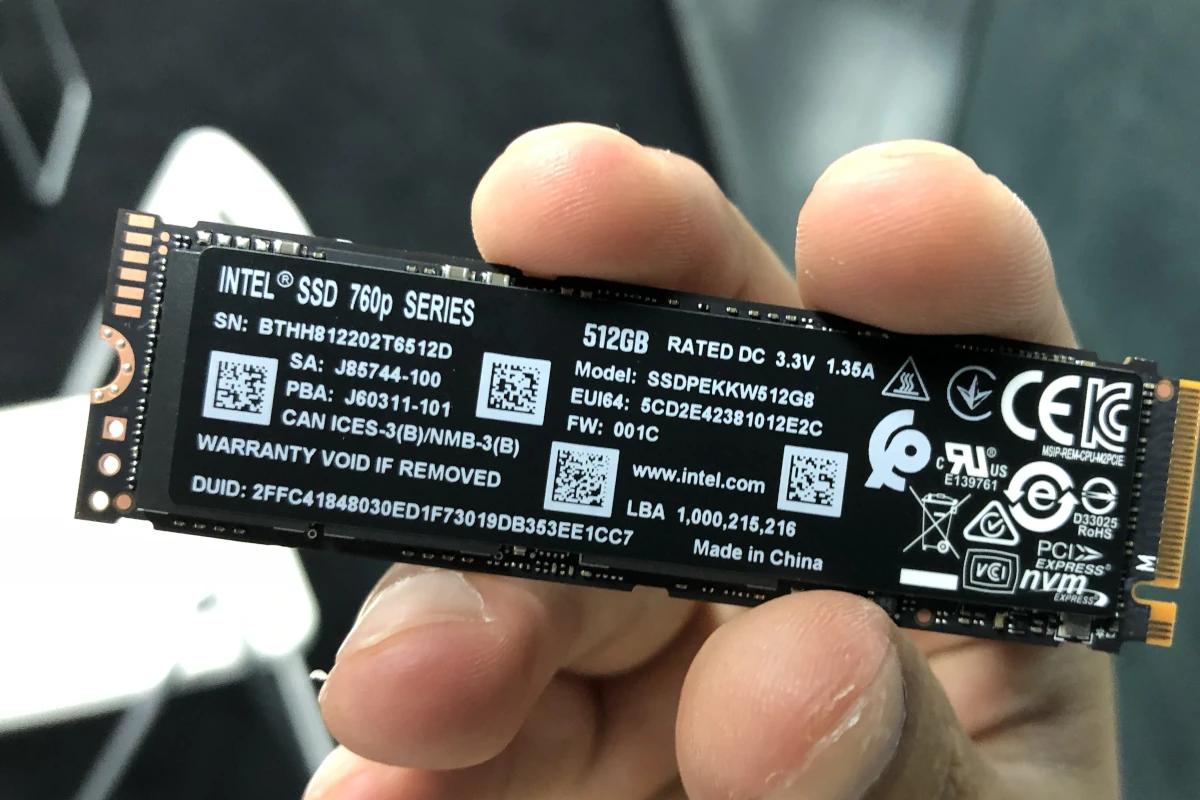
Correctly installing an M.2 SSD is crucial. First, ensure that the SSD is properly seated in the M.2 slot. The M.2 form factor varies, so it’s important that users match the SSD’s keying to the slot on the motherboard to avoid a compatibility issue. For example, NVMe drives often use the M key, while M.2 SATA drives might use the B key or B+M keys.
Next, assess if the motherboard’s firmware is up to date. Outdated firmware can lead to incompatibility with newer drives. If the M.2 SSD is not visible in Windows, the user may need to access the BIOS settings and switch the storage controller mode for the slot to make sure it corresponds to the SSD type, which can be either SATA or PCIe.
When the hardware is compatible but Windows still does not recognize the M.2 SSD, the next step is to check whether the SSD needs initializing in Windows Disk Management. Sometimes, the drive needs to be formatted or the user may need to create a new MBR or GPT partition.
Identifying Hardware Failures
Identifying hardware failures begins with ruling out other issues. Users should inspect the M.2 SSD for any visible signs of damage. If another computer or M.2 slot is available, testing the SSD in a different system can determine if the problem is with the drive or the original hardware.
In case of a faulty drive, users should consider the possibility of data recovery, using data recovery software if the data is vital and no backup is available. However, if the drive is still under warranty, it’s important to contact the manufacturer before attempting any recovery, as this process might void the warranty.
If the SSD seems to be functional but is not detected by Windows, the problem may lie with the configuration within the BIOS or old drivers. Ensuring that the latest storage controller drivers and SSD firmware are installed can resolve such issues.
Hardware issues also extend to conflicts with other PCIe devices or incorrect BIOS settings, such as RAID configuration that might be preventing the SSD from being detected. Users should check the motherboard manual to ensure that settings related to M.2 and PCIe slots are configured properly for the type of M.2 SSD they are trying to use.
Frequently Asked Questions
Discovering that your M.2 SSD is visible in the BIOS but not in Windows can be puzzling. This section addresses the most common inquiries, guiding you through resolving these issues with clarity and precision.
Why does my M.2 SSD appear in BIOS but not Disk Management on Windows?
This issue often arises when the drive is not initialized or partitioned within Windows. Without these steps, Windows cannot display or utilize the SSD. The fix might involve initializing the SSD in Disk Management or using diskpart in the Command Prompt.
How do I make my M.2 SSD visible in the Windows installation environment?
To make the M.2 SSD visible, one needs to ensure BIOS settings are correct and that the drive is properly connected. If necessary, loading storage drivers during the installation process can aid in the SSD’s recognition by Windows.
What steps are needed to enable an M.2 SSD in the BIOS settings?
Enabling an M.2 SSD in the BIOS may involve changing the SATA mode to AHCI or enabling NVMe mode, depending on your motherboard. It may also require an update to the latest BIOS version to support the SSD correctly.
How can I resolve an M.2 SSD being undetected in Windows after it is recognized in BIOS?
Resolving this issue could require checking connections, making sure the SSD is properly seated, or updating motherboard drivers. Another essential step could be to ensure Windows is updated to support the M.2 SSD fully.
In what scenarios can an M.2 SSD be detected in BIOS but fail to show up in Windows 10?
Scenarios may include an improperly formatted SSD, lack of a driver update, or an SSD that requires initialization. Additionally, hardware compatibility issues can prevent the SSD from appearing in Windows 10.
What troubleshooting methods can be used when a new M.2 SSD isn’t appearing in ‘My Computer’ on Windows 11?
Troubleshooting includes initializing and partitioning the SSD from Disk Management. One should also check for hardware compatibility and consider updating drivers and the operating system to ensure support for the new M.2 SSD.
Why is my drive visible in BIOS but not in Windows? Why is m2 showing in BIOS but not in Windows? Why isn’t my M.2 SSD showing up in Windows?
If your drive, particularly an M.2 SSD, is detected in BIOS but not in Windows, it likely needs to be initialized and formatted. Windows can only recognize and utilize drives that have been properly set up with a file system.
Why is my M.2 SSD not showing up in the boot menu? Why is NVMe not showing up as boot drive?
There are a few reasons why your M.2 SSD might not be appearing in the boot menu:
- Not initialized or formatted: As mentioned above, the drive needs to be initialized and formatted before Windows can recognize it, let alone boot from it.
- Incorrect BIOS settings: Ensure that the M.2 slot is enabled in your BIOS and that the boot order prioritizes the M.2 drive.
- Compatibility issues: In some cases, older motherboards might not fully support newer NVMe drives, or there could be conflicts with other storage devices.
Should NVMe be MBR or GPT?
For modern systems and larger drives (over 2TB), it is highly recommended to use the GPT (GUID Partition Table) partitioning scheme for your NVMe drive. GPT offers several advantages over the older MBR (Master Boot Record) scheme, including support for larger drive sizes, more partitions, and improved data integrity.
However, if you’re installing an older operating system that doesn’t support GPT (like some versions of Windows 7), you might need to use MBR. Always check your system’s compatibility before choosing a partitioning scheme.


