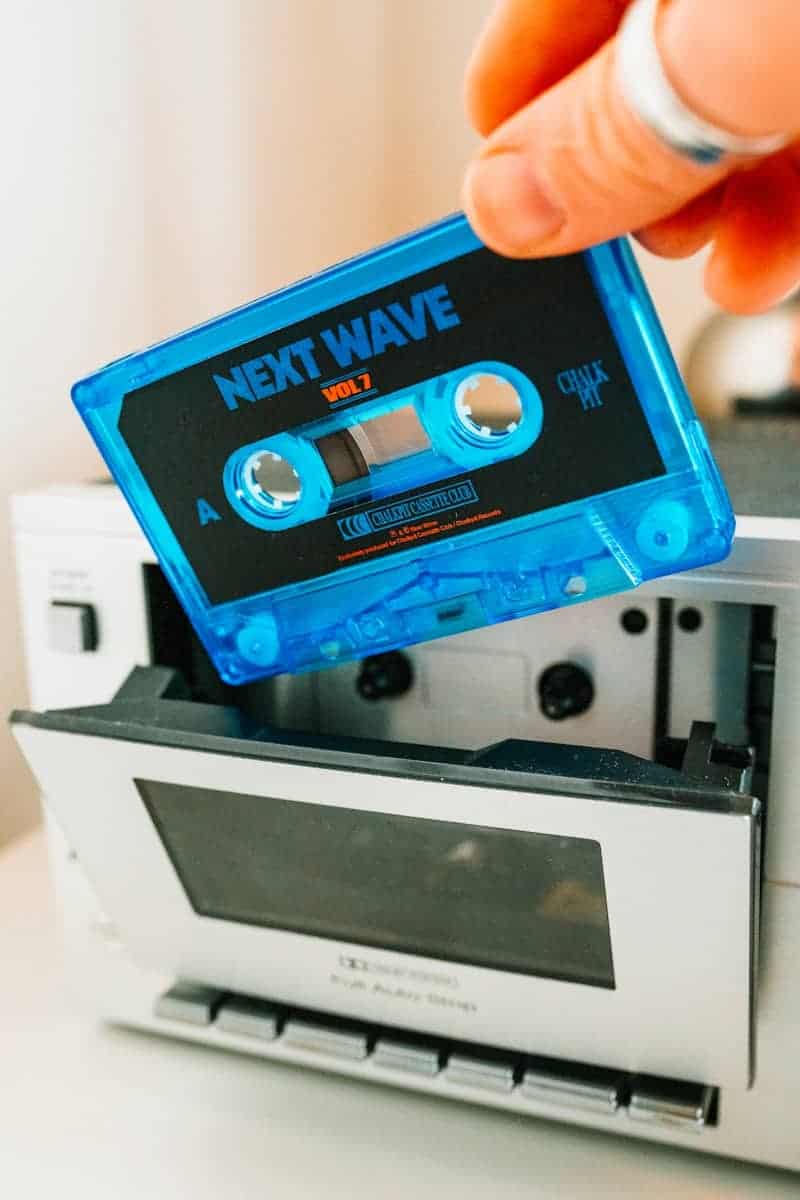
Do you remember the days of cassette tapes? Think about the wonderful sound of your favorite songs playing, the gentle hum of the tape player, and the routine of flipping the tape over. If your tape player isn’t working as it used to, don’t worry! Our guide to fixing cassette players will help you bring your beloved device back to life. Whether you’re a collector of vintage items or a music enthusiast, it’s crucial to ensure that your cassette player is functioning well so you can enjoy those nostalgic music memories.
With their vintage charm and analog warmth, cassette decks hold a special place in the hearts of music lovers. Proper care and timely repairs can ensure they continue to serenade us for years to come. Before you consider discarding that old deck, give it a second chance. With a little effort and our comprehensive guide, you’ll be on your way to rediscovering the joy of cassettes.
Cassette Deck Repair: Reviving the Retro
Cassette decks, while known for their robustness, can experience wear and tear over time. But with a little TLC, they can be brought back to life. Let’s dive into our step-by-step guide and get those tapes spinning again!
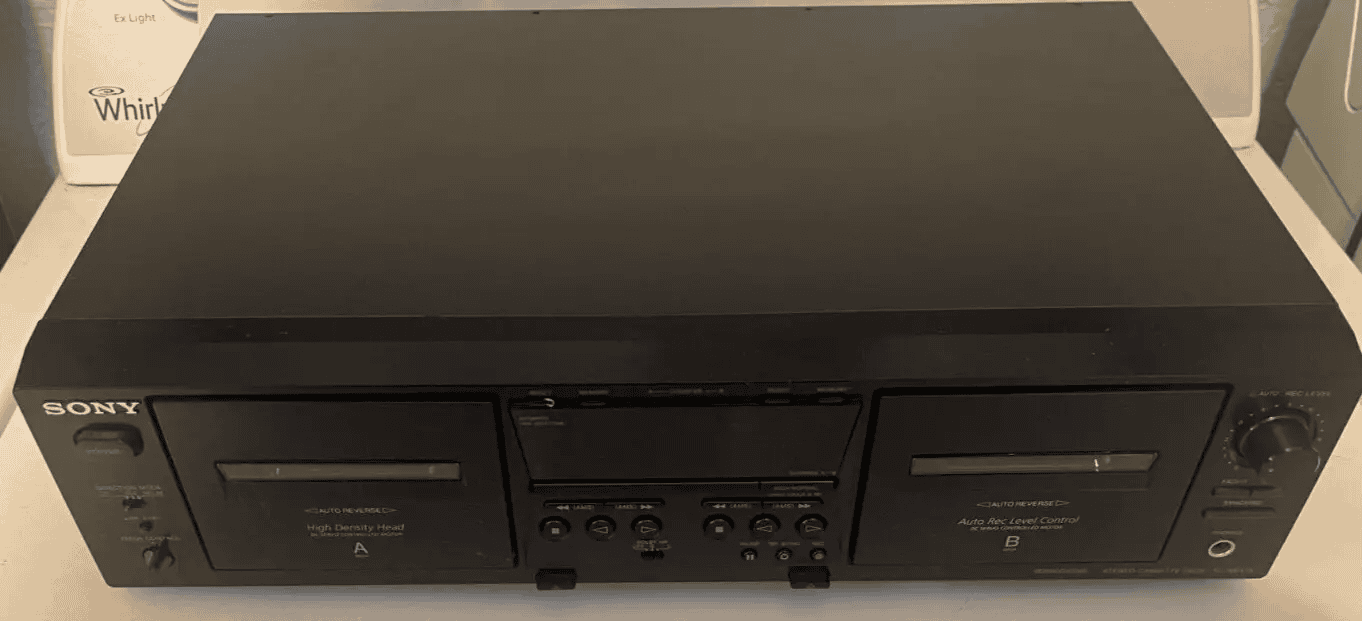
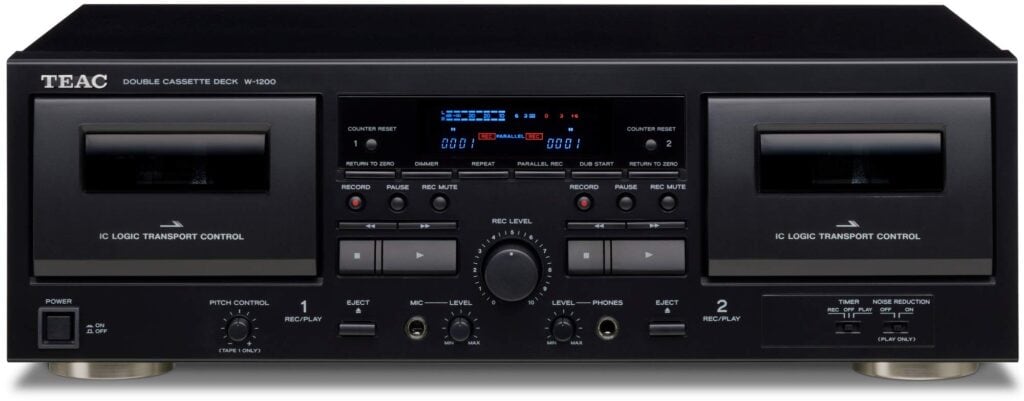
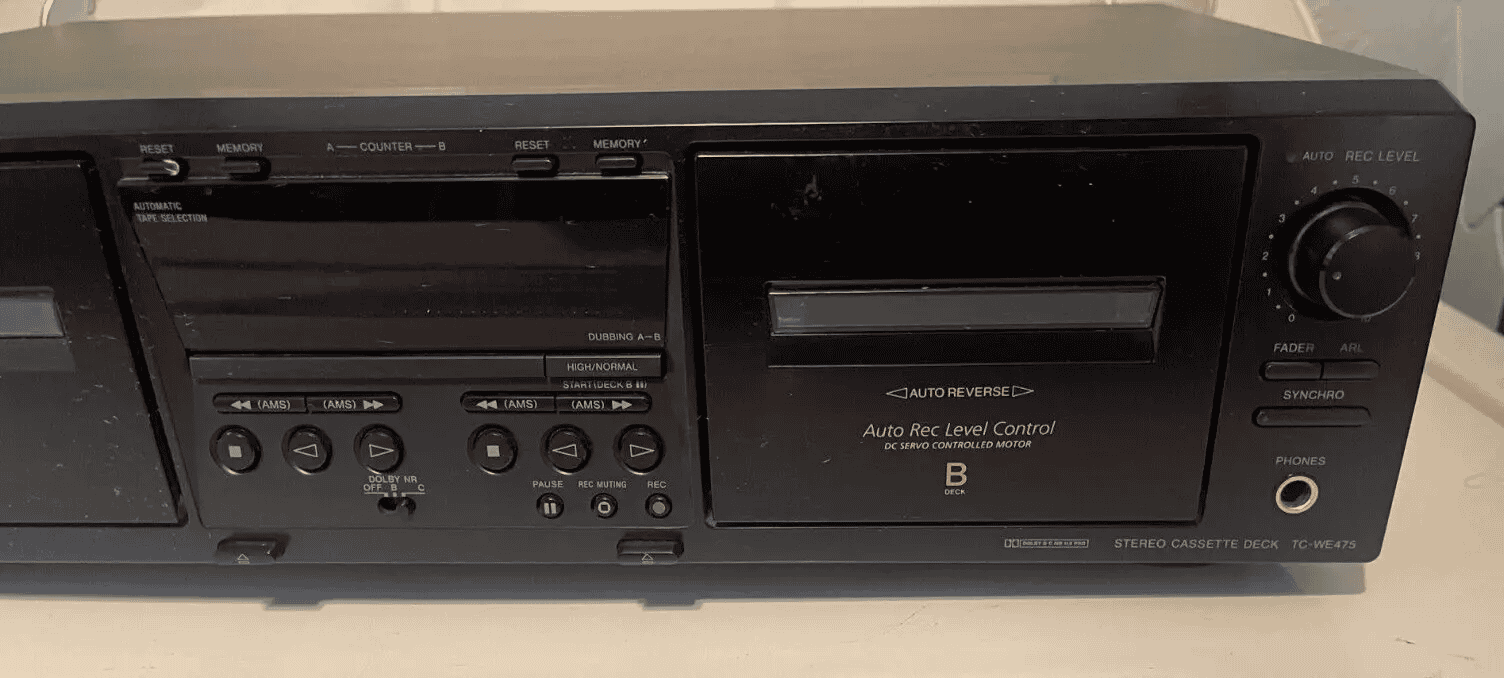
Understanding Cassette Deck Anatomy
Before tackling repairs, it’s essential to familiarize yourself with the key components of your cassette deck.
| Component | Function |
|---|---|
| Tape Heads | Read, record, and erase magnetic signals on the tape |
| Capstan & Pinch Roller | Maintain steady tape speed during playback |
| Drive Belts | Transfer power from the motor to various mechanisms |
| Playback and Recording Circuitry | Process audio signals during playback and recording |
Common Issues & Symptoms
Is your cassette deck showing signs of trouble? Here are some common problems and how to identify them:
- Muffled or distorted sound: Dirty tape heads, worn-out belts, or faulty circuitry.
- Slow or inconsistent playback speed: Speed adjustment issues or worn-out motor.
- Tape tangling (“eaten” tape): Misaligned tape path, faulty pinch roller, or damaged cassette.
- Issues with fast-forward or rewind: Loose or broken belts, worn-out gears.
- Recording problems: Faulty recording head, issues with the recording circuitry.
Cleanliness is Next to Godliness
Dust, dirt, and grime can wreak havoc on your cassette deck’s performance. Regular cleaning is crucial!
Essential Tools:
- Cotton swabs
- Isopropyl alcohol (90% or higher)
- Small screwdrivers
- Replacement belts (if needed)
Cleaning Procedure:
- Tape Heads: Gently clean with a cotton swab dipped in isopropyl alcohol.
- Pinch Roller: Remove buildup using water or a specialized rubber cleaner.
- Capstan: Clean the shiny metal shaft with alcohol.
- Tape Path: Remove debris from the entire path the tape travels.
Belt Replacements
Rubber belts within your cassette deck naturally deteriorate over time. Here’s how to replace them:
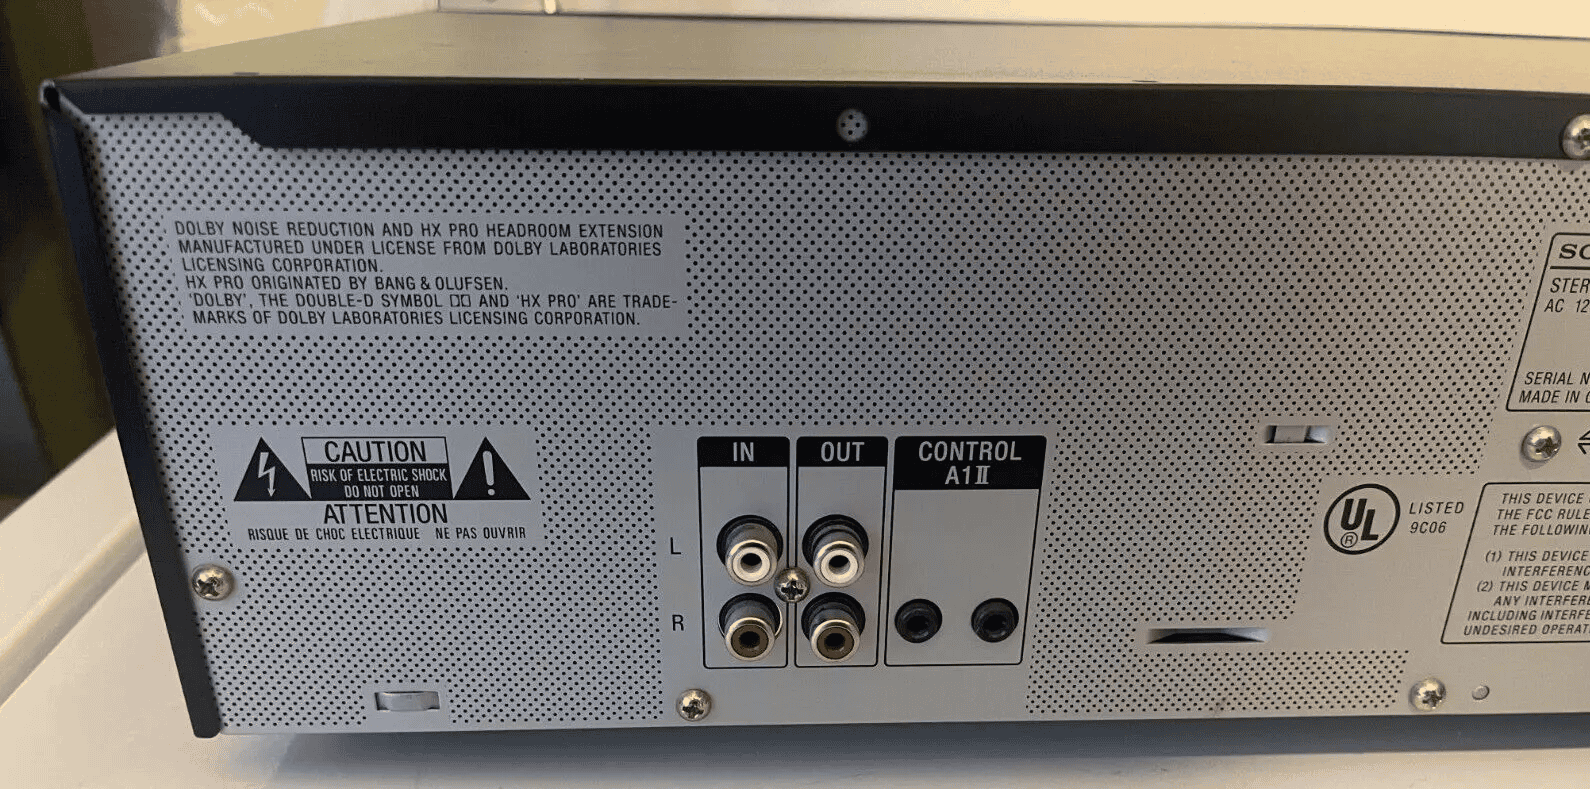
- Identify the Belts: Refer to your deck’s service manual or online resources to locate the belts.
- Purchase Replacements: Source belts that match the exact size and specifications.
- Access the Mechanism: Carefully disassemble your deck to reach the belts.
- Replace and Reassemble: Install the new belts and reassemble your deck.
Adjusting the Playback Speed
If your tapes are playing too fast or too slow, a simple speed adjustment might be all you need.
- Locate the Adjustment: Typically a small screw located near the motor.
- Reference Material: Use a prerecorded tape with a known speed.
- Fine-Tune: Carefully adjust the screw while playing the tape until the speed is accurate.
Fact: Did you know that some high-end cassette decks used quartz-locked motors for ultra-precise speed control?
Record Function
A non-recording cassette deck is a missed opportunity! Here’s how to troubleshoot recording issues:
- Check Recording Levels: Ensure input levels are not too high or low.
- Clean the Recording Head: Follow the same cleaning process as playback heads.
- Inspect Recording Circuitry: Advanced repairs might involve checking capacitors, resistors, and other components.
Auto-Reverse & Playback Issues
Auto-reverse malfunctions can interrupt your listening experience. Let’s tackle these issues:
- Mechanism Check: Inspect the auto-reverse mechanism for worn gears or loose components.
- Belt & Motor Issues: Check if belts are in good condition and the motor is functioning correctly.
- Sensor Cleaning: Some decks use sensors to detect tape end; clean these for proper function.
Addressing Noisy Operations
Excess noise can ruin the charm of listening to cassettes. Here’s how to quiet things down:
- Lubrication: Lightly lubricate moving parts (check your deck’s service manual for guidance).
- Loose Screws: Ensure all screws are securely tightened.
- Motor Noise: A failing motor might cause excessive noise and require replacement.
Giving Your Cassettes New Life: A Guide to Repair and Restoration
Cassette tapes may seem like relics of the past, but for many music lovers, they still hold a special charm. Whether you’re revisiting your old collection or exploring the world of analog sound, knowing how to care for and repair your cassettes can ensure they keep spinning for years to come.
Can Cassettes Be Repaired?
Yes, in many cases, cassette tapes can be repaired! Common issues like tangled tape, broken shells, and worn-out mechanisms often have solutions. While some repairs might require specialized tools or expertise, others can be tackled with simple household items and a bit of patience.
How Much Does It Cost to Fix a Cassette Tape?
The cost of repairing a cassette tape varies depending on the issue and where you get it fixed. Some repairs, like untangling tape or replacing a broken shell, might be relatively inexpensive or even DIY-able. However, more complex issues like replacing tape heads or repairing internal mechanisms could cost more, potentially ranging from $20 to $50 or more, depending on the technician and the extent of the damage.
Troubleshooting Your Cassette Player
How Do I Fix My Cassette Player That Won’t Play?
If your cassette player isn’t cooperating, here are some troubleshooting steps:
- Check the power source: Make sure the player is plugged in or has fresh batteries.
- Clean the tape heads: Use a cotton swab and isopropyl alcohol to gently clean the tape heads, capstan, and pinch roller.
- Demagnetize the tape heads: Use a demagnetizing tool to remove any magnetic buildup that might be interfering with playback.
- Check the belt: If the tape isn’t moving, the drive belt might be broken or stretched. Replacing it might require opening the player.
- Inspect the tape: Make sure the tape itself isn’t damaged or tangled.
Fixing Common Cassette Tape Issues
How to Fix a Cassette Tape That Drags
If your cassette tape is dragging or playing slowly, it might be due to a loose or stretched tape. Here’s how to fix it:
- Use a pencil: Carefully insert a pencil into one of the spools and gently rotate it to tighten the tape.
- Avoid excessive force: Don’t pull the tape too hard, as this could damage it.
How to Fix a Slow Cassette Tape
A slow cassette tape can also be caused by a dirty or worn-out pinch roller. Try cleaning the pinch roller with isopropyl alcohol. If that doesn’t work, the pinch roller might need replacement.
How to Fix a Worn Out Cassette Tape
Unfortunately, there’s no magic fix for a worn-out cassette tape. The magnetic coating on the tape degrades over time, resulting in a loss of sound quality. However, you can try these steps to improve the sound:
- Clean the tape: Gently wipe the tape with a soft, lint-free cloth.
- Use a tape head cleaner: This can help remove any debris or buildup on the tape heads that might be affecting playback.
- Adjust the azimuth: If your cassette player has an azimuth adjustment, try fine-tuning it to improve the sound quality.
If your cherished cassette tapes are beyond repair, consider digitizing them to preserve the audio content. This way, you can continue to enjoy your favorite music while protecting the original tapes from further wear and tear.
Advanced Repairs
If you’re feeling adventurous, explore these advanced repair techniques:
- Circuitry Troubleshooting: Identify and replace faulty capacitors, resistors, or transistors.
- Motor Replacement: Replace a worn-out or malfunctioning motor.
- Demagnetization: Use a demagnetizing tool to remove unwanted magnetic buildup on heads.
When to Call the Experts
Sometimes, DIY repairs may not be enough. Know when to seek professional help:
- Extensive Circuitry Issues: Complicated problems may require specialized equipment and knowledge.
- Rare Parts: Finding replacements for obscure components can be difficult.
- Warranty Concerns: Avoid voiding your warranty if the deck is still under coverage.
FAQs
What causes a cassette deck to eat tapes?
This is usually due to a misaligned tape path, a worn-out pinch roller, or a damaged cassette. Regular cleaning, inspection, and careful handling of tapes can prevent this issue.
How often should I clean my cassette deck?
For frequent users, cleaning every 20 hours of playtime is advisable. For occasional users, a monthly cleaning routine should suffice.
Can I use household items for cleaning the deck?
While cotton swabs and isopropyl alcohol are suitable, avoid using water or harsh chemicals that could damage components.
Is it worth repairing a vintage cassette deck?
Absolutely! Vintage decks, when well-maintained, offer a unique audio quality and are often sought by collectors and enthusiasts.
How do I know if my cassette deck needs a new belt?
If the deck struggles with playback, fast-forward, or rewind functions, or if you observe a loose or brittle belt, it’s time for a replacement.
Do cassette decks need any regular servicing?
Yes. Regular cleaning, occasional belt checks, and lubrication (if needed) can prolong the deck’s life and ensure optimal performance.