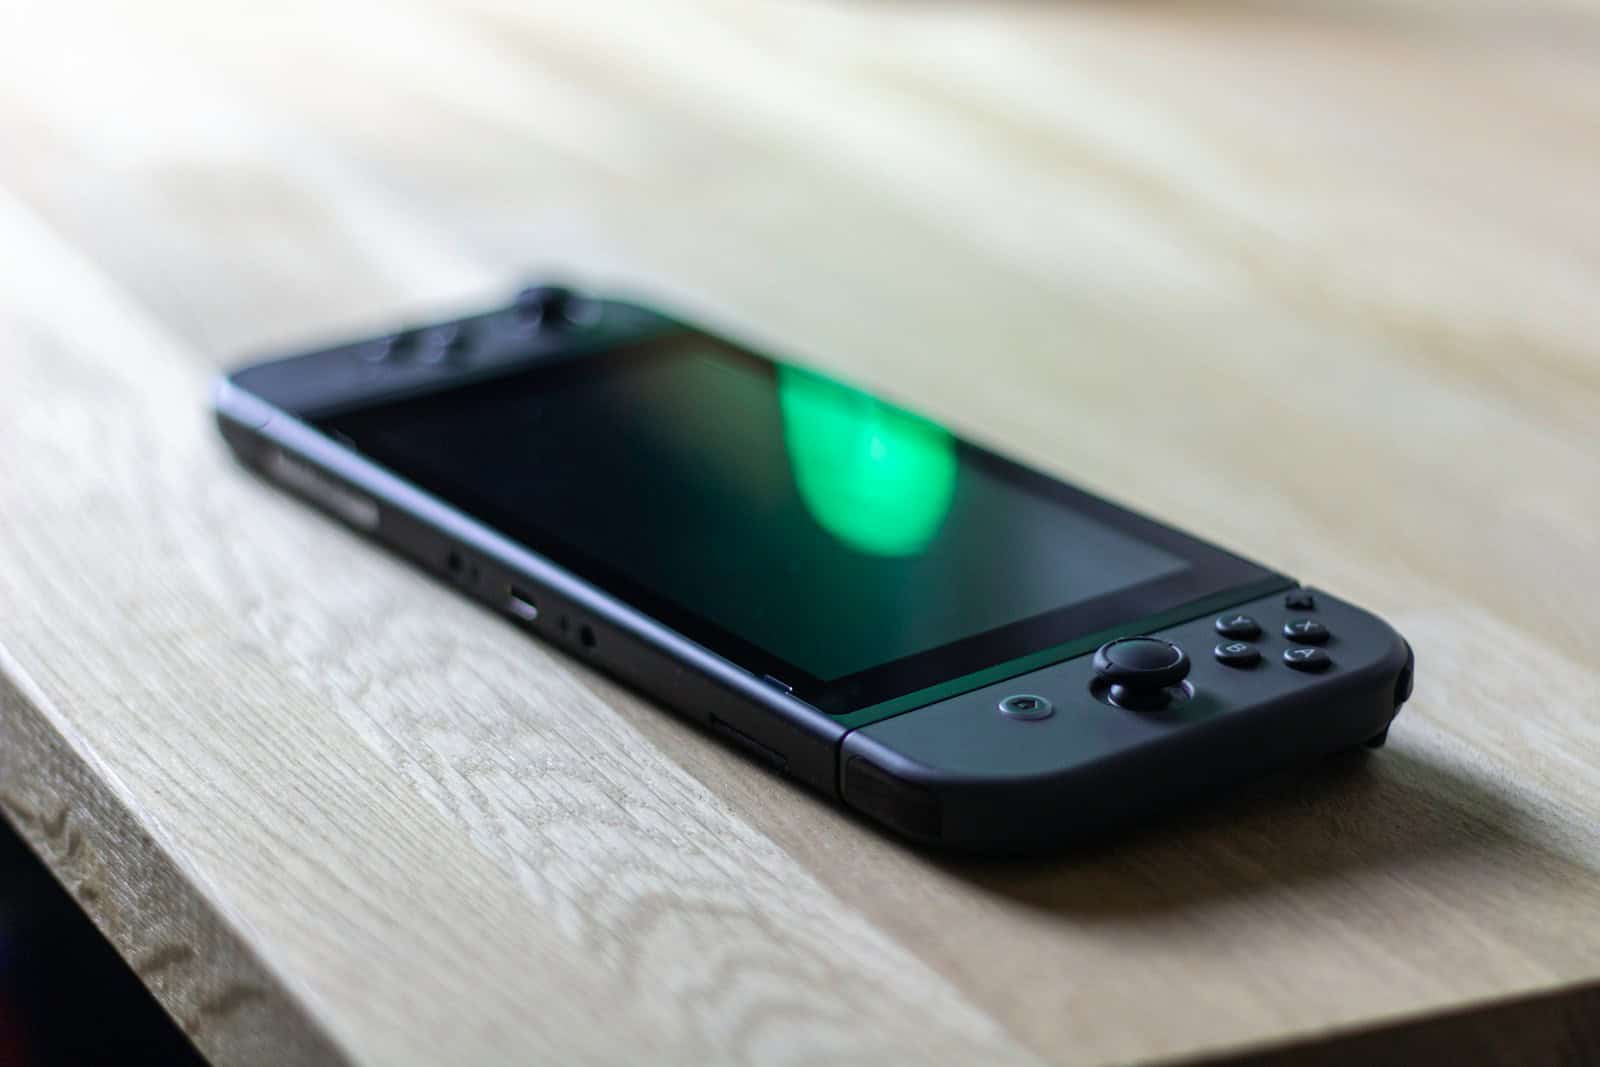
Does your Nintendo Switch sound like a jet engine during gameplay? Or worse, is it overheating and shutting down? A malfunctioning fan can cause all sorts of problems, from annoying noise to serious damage. But don’t worry, you might be able to fix it yourself! This guide will walk you through the steps to diagnose and repair your Nintendo Switch fan, helping you get back to gaming without the worry of overheating.

Fixing Your Nintendo Switch’s Cooling System
Signs of a Faulty Fan
A noisy or non-functional fan can lead to overheating. This can cause performance issues, crashes, and even permanent damage to your Switch. Here are some things to watch out for:
- Excessive fan noise: Is your Switch sounding like a jet engine? This could indicate a problem.
- Overheating: Does your Switch get unusually hot during gameplay?
- System crashes or freezes: Overheating can cause your Switch to become unstable.
- Fan not spinning: This is a clear sign that your fan needs attention.
Repairing vs. Replacing the Fan
Sometimes, a simple cleaning might be enough to get your fan working properly again. However, if the fan is broken, you’ll likely need to replace it. The cost of the fan isn’t the much – usually in the range of $10 – $20. However, disassembling and re-assembling your Nintendo Switch might be difficult for some.
Tools You’ll Need
- Small Phillips-head screwdriver: For opening the Switch’s back cover.
- Tri-point screwdriver: Specifically designed for Nintendo products.
- Tweezers: For handling small parts.
- Spudger or plastic opening tool: To help pry open components without damage.
- Compressed air: For cleaning dust and debris.
- Optional: A new replacement fan (if needed).
Steps for Repair
- Power off your Switch completely.
- Remove the back cover of the Switch using the tri-point screwdriver.
- Carefully disconnect the battery.
- Locate the fan and disconnect its cable.
- If cleaning, use compressed air to remove dust.
- If replacing, remove the old fan and install the new one.
- Reconnect the fan cable and battery.
- Reassemble your Switch.

Image Source: Ebay
Important Notes
- Static electricity can damage electronics. Ground yourself before handling any internal components.
- Take your time and be gentle. The Switch has delicate parts that can be easily damaged.
- If you’re uncomfortable with DIY repairs, consider seeking professional help.
Troubleshooting Table
| Problem | Possible Cause | Solution |
|---|---|---|
| Loud fan noise | Dust buildup | Clean the fan with compressed air. |
| Fan not spinning | Fan malfunction | Replace the fan. |
| Switch overheating | Faulty fan, blocked vents | Clean the fan and vents, replace the fan if necessary. |
Understanding Nintendo Switch Fan Issues
When a Nintendo Switch starts to overheat, it’s often due to problems with the fan. This vital component keeps the system’s CPU cool to prevent overheating, which, if left unchecked, can lead to system malfunctions or, worse, damage the motherboard.
Common Issues with the Switch fan include:
- Dust accumulation: Over time, dust can clog up the fan, leading to reduced efficiency.
- Wear and tear: Constant use can wear down the fan’s mechanics.
- Accidental damage: Dropping the device can harm the fan and other components.
To keep the fan operational, regular maintenance is advised. This involves:
- Keeping the device clean
- Ensuring enough space around the system for air circulation
If the Joy-Con controllers begin to feel warmer than usual or the system shows an overheating message, these could be signs that the fan needs a look. In some cases, repair might involve:
- Cleaning: Getting rid of dust buildup to improve airflow.
- Replacing: If the fan’s mechanics fail, a new fan may be necessary.
Tackling fan issues early helps maintain the Nintendo Switch’s performance and can prevent more costly repairs down the line. Remember, if you’re not confident in performing repairs, professional services are available.
Repair Guide for the Nintendo Switch Fan
Replacing the fan in a Nintendo Switch is a delicate process that requires patience and the right tools. This section breaks down the essentials for getting your device’s cooling system back on track without compromising its functionality.
Tools and Materials Required
Tools needed:
- Tri-point Y00 Screwdriver
- PH 000 Driver
- Tweezers
- Spudger
Materials needed:
- New replacement fan
- K5-PRO Viscous Thermal Paste
Step-by-Step Fan Replacement Process
- Power off the console and detach the Joy-Con controllers.
- Remove the rear panel by undoing the screws; you’ll need the Y00 screwdriver for this step.
- Disconnect the battery to prevent any electrical issues.
- Locate the fan and remove its screws.
- Carefully disconnect the fan cable using the tweezers.
- Apply a little thermal paste to the CPU if needed before you install the new fan.
- Reverse the process with the new fan, carefully screw everything back in place, and reconnect the fan cable.
After-Repair Considerations
- System Check: Power on your Nintendo Switch and run a game to ensure the fan operates smoothly.
- Warranty Status: Check if your repairs align with Nintendo’s warranty to prevent voiding it.
Remember, if the process seems daunting or if one is uncomfortable handling small electronic components, it’s best to consult with or hire a professional repair technician. Repair costs may vary, but DIY repair can often be a cost-efficient option.
Cost Analysis and Repair Options
When it comes to Nintendo Switch repair costs, understanding your options can save you both time and money. Below are the details for weighing the cost difference between a DIY approach and seeking professional assistance, along with insights about warranties and third-party services.
DIY Versus Professional Repair Costs
Do-It-Yourself (DIY) repairs can often be the most economical option, especially for common issues like fan replacement. An individual can purchase a new Nintendo Switch fan for $19.99 to $24.99 and the required tools, which may include a Tri-point Y00 Screwdriver and a JIS Driver Set, costing an additional $5.99 to $19.99. A DIY repair guide can assist in the process; however, this route assumes a certain level of skill and comfortability with electronics, as well as a time investment of about 60-90 minutes. The difficulty is considered moderate.
On the other hand, professional repair costs can vary widely. Official Nintendo repair services ensure the use of genuine parts and expert technicians but may incur higher fees, particularly if the device is out of warranty. Repair prices can range significantly based on the component—such as the motherboard, which is a more complex fix compared to a fan or Joy-Con joystick. Third-party repair shops may offer competitive rates and sometimes quicker services, but the risk of non-genuine parts and voiding existing warranties should be weighed.
| Repair Option | Estimated Cost |
|---|---|
| New Fan (DIY) | $19.99 – $24.99 |
| Required Tools (DIY) | $10.98 – $24.98 |
| Professional Service | Varies |
Warranty and Third-Party Services
The warranty status of a Nintendo Switch is crucial in considering repair options. If the device is still under warranty, Nintendo often covers repair costs, excluding issues stemming from accidental damage or misuse. Users should check the warranty status before seeking repairs, as handling by non-authorized technicians can invalidate the policy.
For out-of-warranty devices or for quicker turnaround, third-party repair shops are a practical option. Professional technicians in these businesses can address problems like drifting controllers and overheating. While the cost might be lower compared to official repair centers, it’s imperative to choose a reputable service provider to ensure quality work. Some shops even offer a discount or warranty for their services. It’s recommended to read reviews and verify the credentials of the repair technicians to make the best decision for your Nintendo Switch repairs.
| Service Provider | Key Considerations |
|---|---|
| Nintendo (Under Warranty) | Cost often covered, except for user-induced damage |
| Nintendo (Out of Warranty) | Higher cost, but use of genuine parts |
| Third-Party Shops | Usually more affordable, varies in part quality and warranties offered |
Frequently Asked Questions
Navigating fan repairs for your Nintendo Switch might seem daunting, but understanding the costs and options available can make the process smoother.
What is the average price range for fixing a fan issue in my Nintendo Switch?
The average cost to repair a fan on a Nintendo Switch can vary widely but typically ranges from $40 to $100. This price includes both parts and labor provided by professional services.
Can I repair my Nintendo Switch fan myself, and how would that impact the cost?
Yes, you can attempt to repair the fan yourself, which could reduce costs to just the price of parts, around $15 to $30. However, you risk damaging your console if you’re not experienced in electronics repair.
What are common problems with Nintendo Switch fans, and how do they affect repair pricing?
Common issues include loud operation, the fan not spinning, or the console overheating. Depending on the problem’s complexity, repair prices can increase, especially if it requires more extensive work or parts replacement.
Where can I find reliable service providers for Nintendo Switch fan repairs?
Reliable repair services can be found at Nintendo’s official support, certified electronics repair shops, or reputable online service providers.
Is it more cost-effective to repair or replace a Nintendo Switch with a faulty fan?
It’s generally more cost-effective to repair the fan if the console is in good condition otherwise. Replacing the entire unit is a significant expense in comparison to fixing a fan.
How do warranty and out-of-warranty conditions affect the repair costs of a Nintendo Switch fan?
Repairs under warranty may be covered by Nintendo at no extra cost, while out-of-warranty repairs will incur the full expense, including parts and labor. Always check your warranty status before seeking repairs.


