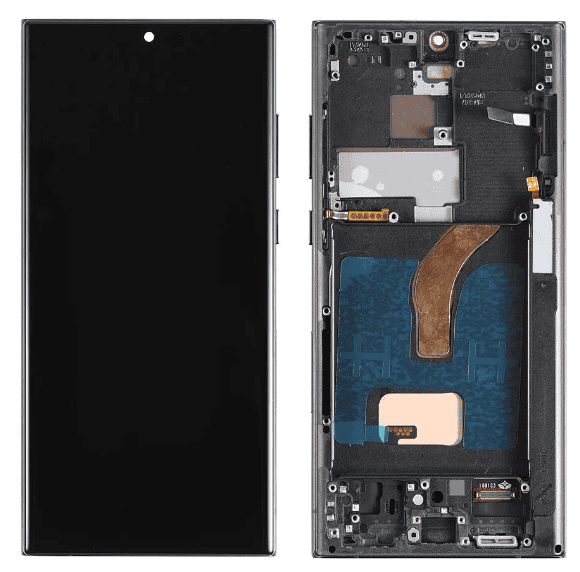
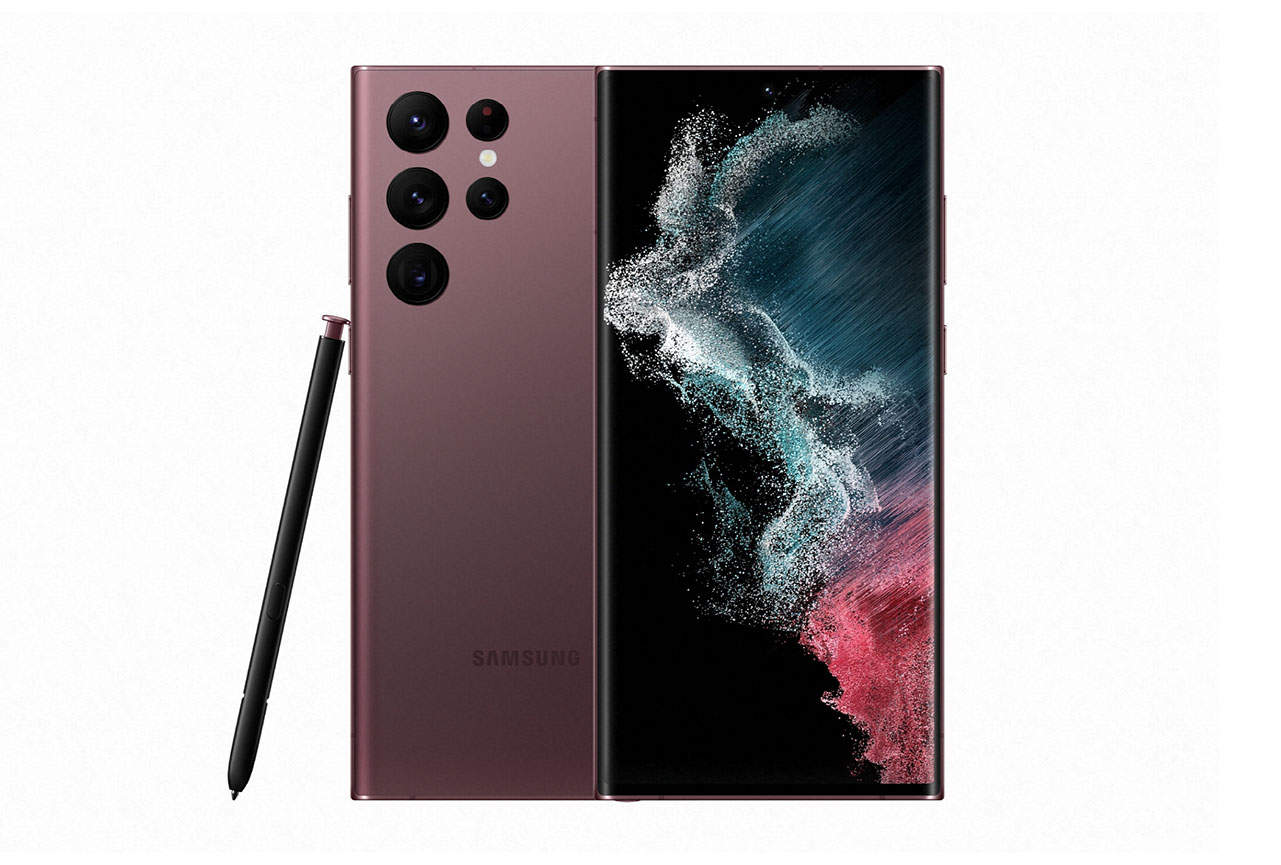
Fixing a cracked or malfunctioning Samsung Galaxy S22 screen may seem daunting, but it doesn’t have to be. This guide provides easy-to-follow steps and essential information for replacing your Galaxy S22 screen. Whether you are a DIY enthusiast or prefer to seek professional service, you will find valuable tips here. Replacing the screen of a Galaxy S22 requires some essential tools and parts. It is crucial to ensure you have the correct screen and battery assembly before you begin.
If you are concerned about water resistance, take extra care during the process. The goal is to restore your phone to working condition without compromising its functionality. For many people, the choice between a DIY repair and professional service depends on cost and confidence. DIY repairs can save money, especially with the availability of guides and genuine parts. On the other hand, opting for a professional service ensures that the work is done correctly, which can be important for maintaining your warranty.
DIY vs. Professional Samsung Galaxy S22 Screen Repair: Your Options
DIY Repair: Proceed with Caution
If you’re tech-savvy and confident in your abilities, replacing the screen yourself might seem tempting. However, DIY repair comes with risks, including voiding your warranty and potentially causing further damage to your phone. If you decide to go this route, be sure to research thoroughly and purchase a high-quality replacement screen from a reputable supplier.

DIY Steps:
- Gather Your Tools: You’ll need a heat gun or hair dryer, suction cup, plastic opening tool, Phillips-head screwdriver, and a new Samsung Galaxy S22 screen.
- Heat and Separate the Screen: Carefully apply heat to the edges of the screen to soften the adhesive. Use the suction cup and plastic opening tool to gently pry the screen away from the body of the phone.
- Disconnect Cables: Once the screen is lifted, you’ll see several ribbon cables connecting it to the phone’s motherboard. Carefully disconnect these cables.
- Remove the Old Screen: Unscrew any remaining screws holding the old screen in place and remove it.
- Install the New Screen: Place the new screen onto the phone, reconnect the ribbon cables, and secure it with the screws. Test the new screen before sealing it back up.
Professional Repair: A Safer Bet
For most users, professional repair is the recommended option. Samsung offers authorized repair services through its own stores and partner locations like uBreakiFix. These services guarantee genuine Samsung parts and trained technicians.
Professional Repair Options:
- Samsung Authorized Repair: Visit a Samsung Experience Store or mail your phone in for repair. This option is often the most expensive but ensures quality workmanship and genuine parts.
- uBreakiFix: This authorized repair partner offers same-day repairs with Samsung-certified technicians and parts.
- Independent Repair Shops: Local repair shops may offer cheaper rates, but be sure to choose a reputable one with experienced technicians and positive customer reviews.
Additional Considerations:
Before deciding on a repair option, consider the cost, warranty coverage, and the reputation of the repair provider. If your phone is still under warranty, check with Samsung to see if your screen repair is covered.
Key Takeaways
- Screen repair for the Galaxy S22 can be done DIY or by a professional.
- Ensure you have the correct tools and parts for a successful repair.
- Professional service helps maintain your warranty and device quality.
Understanding Samsung Galaxy S22 Screen Repair
When repairing the screen of your Samsung Galaxy S22, careful preparation, attention to detail, and use of the right tools are essential. From initial considerations to final testing, each step ensures the phone’s functionality and appearance are restored.
Preliminary Considerations
Before starting, gather the necessary tools. These include a heat gun, opening pick, tweezers, spudger, suction handle, and replacement parts. Ensure the workspace is clean and organized.
Power down the Samsung Galaxy S22 and remove the SIM card tray using a SIM eject tool or straightened paper clip. This step prevents potential damage to internal components.
Repair Process Overview
Screen repair begins by detaching the back cover. This requires heating the adhesive with tools such as a hair dryer, hot plate, or iOpener. Be gentle to avoid damaging the cover or internal structures.
Once the back cover is removed, locate and unscrew connectors. The screws secure parts like the motherboard, loudspeaker, and charging board. Keep screws organized to ensure proper reassembly.
Dismantling the Galaxy S22
With the back cover off, carefully disconnect the battery and other components. Use precision tweezers to handle small parts like the NFC antenna bracket and 5G mmWave antenna.
Remove the lithium-ion battery and wireless charging coil. If the battery is glued, use a spudger to gently pry it free. Avoid puncturing the battery to prevent damage.
Screen Removal and Replacement
Detach the screen by carefully loosening the adhesive around the display. Utilize an opening pick and heat gun. Once the old screen is loose, disconnect the interconnect cables and USB-C port to fully remove it.
Align the new screen assembly, making sure it fits correctly. Connect the new display’s cables and press connectors properly. Reapply adhesive where needed, using custom-cut adhesive liners for a secure fit.
Post-Repair Steps and Testing
Reassemble the phone by reconnecting the battery, loudspeaker, and other parts. Carefully screw back the components, ensuring everything is tightened but not overly so. Replace the back cover, ensuring it snaps securely.
Power on the Samsung Galaxy S22 and test the new screen. Check for full functionality, including touch sensitivity and display quality. Ensure the phone reboots without issues and performs correctly.
This guide focuses on key steps to ensure successful repair and restore your Samsung Galaxy S22’s functionality.
Frequently Asked Questions
This section answers common questions about repairing the screen on a Samsung Galaxy S22. It covers costs, kit contents, repair options, and the feasibility of DIY repairs.
How much does it cost to replace the screen on a Samsung Galaxy S22?
The cost to replace the screen on a Samsung Galaxy S22 is around $199. This price can vary depending on the service provider.
Are there differences in screen replacement costs between Samsung S22 and S22 Ultra models?
Yes, screen replacement costs differ. For the Samsung Galaxy S22 Ultra, the cost is higher. It typically costs about $269 for a screen repair.
What is included in a screen replacement kit for the Samsung S22 Ultra?
A screen replacement kit for the Samsung S22 Ultra usually includes the screen, battery, and frame. Always make sure to get the right parts before starting the repair.
How long is the typical turnaround time for a Samsung Galaxy S22 screen repair?
The turnaround time for a Samsung Galaxy S22 screen repair often depends on the service center. Generally, it can take between a few hours to a couple of days.
Can a Samsung Galaxy S22 screen be replaced at any repair shop, or is it necessary to go to an authorized service center?
While many repair shops can replace Samsung Galaxy S22 screens, it is recommended to go to an authorized service center. This ensures the use of original parts and proper handling.
Is it feasible for users to replace the Samsung S22 Ultra screen by themselves, or is professional assistance recommended?
Replacing the Samsung S22 Ultra screen by yourself is possible but not recommended. The process is complex and requires specialized tools. Professional assistance helps to avoid damage and maintain water resistance.


