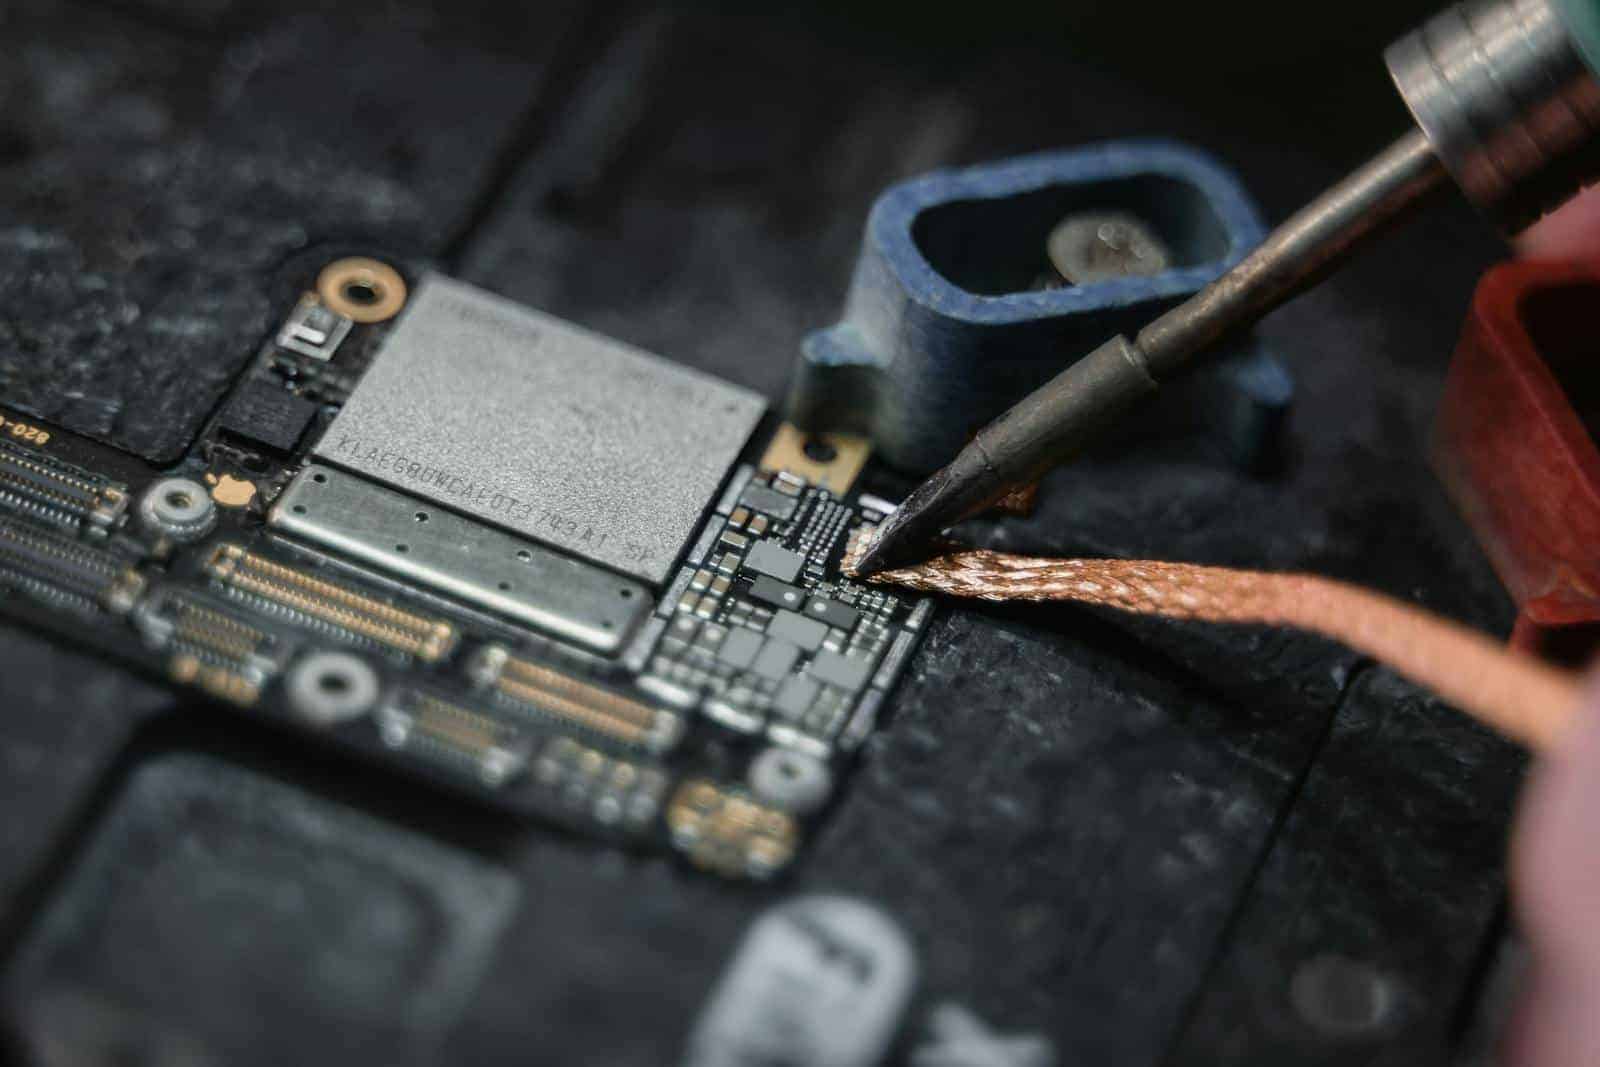
Have you ever been tinkering with a gadget and accidentally ripped off a tiny pad on the circuit board? It happens to the best of us! But before you toss that precious device, here’s the good news: ripped solder pads can often be repaired, saving you money and the frustration of replacing the entire circuit board. This guide covers solder pads, exploring what they are, why they detach, and most importantly, how to bring your electronics back to life.
Repair Ripped Solder Pads: Step by Step Overview
| Step | Why This Step Matters | Tips |
|---|---|---|
| Assess the Damage | Determines the best repair approach (reattachment vs. new connection). | Use magnification to clearly see the extent of the problem. |
| Clean the Area | Removes debris and old solder for a strong new bond. | Isopropyl alcohol is a good cleaning agent for PCBs. |
| Apply Flux | Improves solder flow and reduces the heat needed. | Use a small amount for targeted application. |
| Repair | * If pad is salvageable: Reattach with a fine-tipped soldering iron and a dab of fresh solder. * If pad is missing: Create a new connection point with a jumper wire and conductive adhesive. | Be patient, work slowly, and use a steady hand. |
| Test the Connection | Ensures the repair has restored proper electrical flow. | Use a multimeter to check for continuity. |
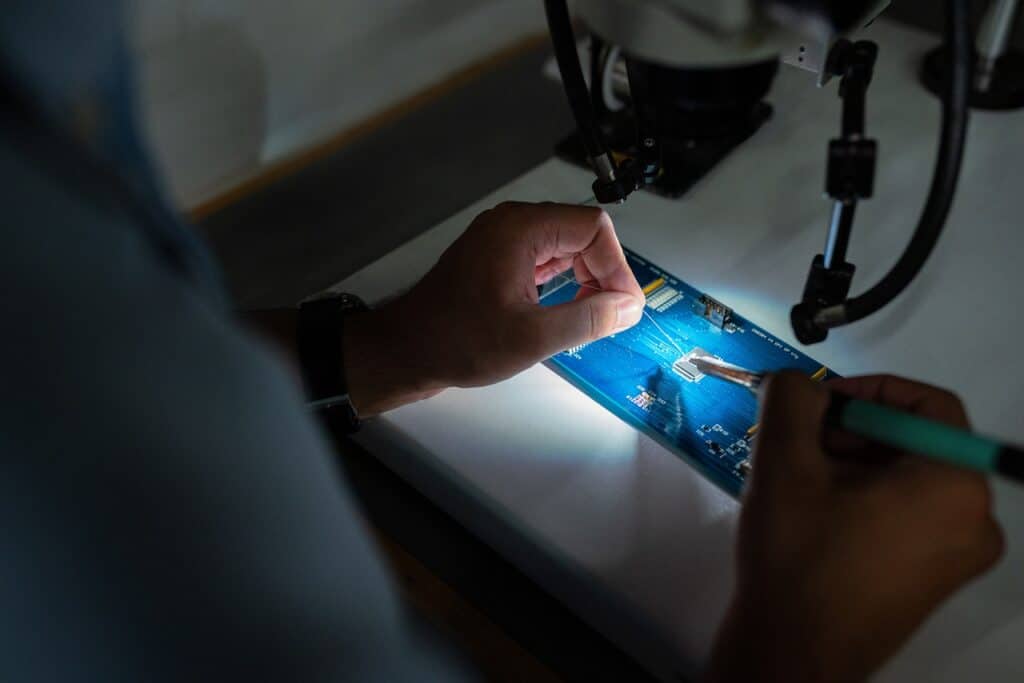
Tools Needed:
- Soldering Iron: A temperature-controlled soldering iron with a fine tip is ideal for precise work on delicate solder pads.
- Solder: Choose a suitable type of solder for electronics repair.
- Flux: Apply flux to the damaged area to promote better solder flow and improve joint strength.
- Isopropyl Alcohol: Used for cleaning the affected area before and during the repair.
- Biro/Fine-Tipped Tool: Helps with careful cleaning and positioning of components.
- Magnifying Glass/Jeweler’s Loupe: Provides a magnified view of the tiny solder pads, making the work more accurate.
- Multimeter: For testing the repaired connection and verifying that electricity is flowing correctly.
- Jumper Wire: Thin, pre-tinned wire to create a new connection point when the original pad is completely missing.
- Conductive Adhesive: Specialized adhesive for making electrical connections. Used in conjunction with jumper wires or when soldering isn’t possible.
- PCB Repair Kit: Some kits include conductive inks, track repair materials, and other more specialized tools for complex repairs.
- Kapton Tape: Heat-resistant tape for masking off nearby components and protecting the circuit board during soldering.
- Anti-static Tweezers: For handling small components safely and avoiding damage from static electricity.
- Soldering Mat: Protects your work surface and prevents accidental burns.
What Are Solder Pads?
Solder pads are the tiny metallic surfaces on printed circuit boards (PCBs) where components are attached. Think of them as the anchors that hold everything together. Usually made of copper, they connect components to the conductive pathways (traces) on the board, allowing electricity to flow freely.
Without solder pads, components would have no secure way to attach to the PCB. This would make circuits unstable and prone to failure. Their design is also crucial: the size, shape, and spacing of solder pads directly affect the signal integrity and overall efficiency of the circuit.
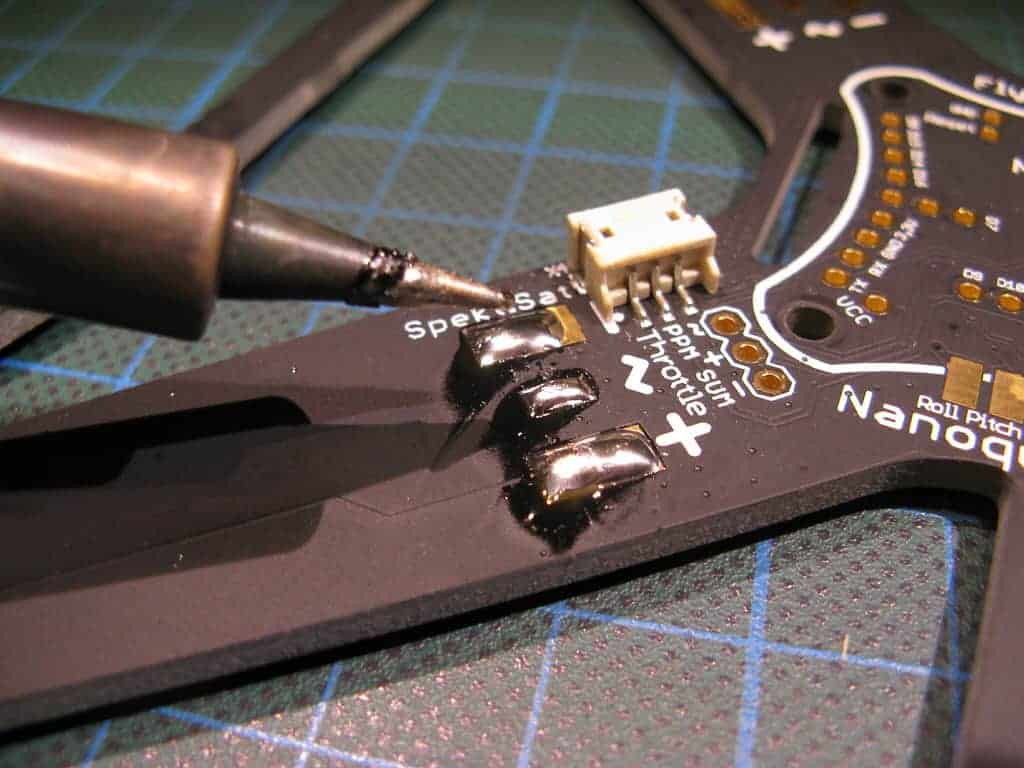
What Causes Solder Pads to Rip Off?
Solder pads, those essential connection points on circuit boards, aren’t invincible. They can be ripped off due to several factors:
- Heat Havoc: Excessive heat during soldering can melt the adhesive beneath the pad or weaken the solder joint, causing it to detach. Think of it like ice cream melting – the connection loses its strength.
- Physical Trauma: Mishandling a circuit board (dropping, bending, prying) can put stress on the pads, leading to breakage or separation from the board.
- Corrosion Creep: Humidity, chemicals, and even time can cause corrosion that eats away at the pad’s surface, making it weak and more likely to detach.
Key Point: Damage to solder pads means potential circuit failure, so prevention is key!
Heat Damage
Picture your circuit board as a delicate construction project. Heat is like a clumsy giant that can wreck everything! Excessive heat during soldering is a major culprit behind ripped-off solder pads. Here’s how it happens:
- Melted Foundations: Imagine the adhesive holding the solder pad to the board as glue. Too much heat melts it away, leaving the pad with nothing to cling to.
- Vaporized Joints: Overheated solder can actually turn into vapor, weakening the connection between the pad and the component.
- Board Breakdown: Extreme heat doesn’t just affect the pads. It can warp or damage the circuit board itself, causing widespread malfunctions.
Heat-damaged solder pads aren’t just a cosmetic issue. They lead to unreliable connections, glitches in your device, or even complete failure. It’s a chain reaction of electronic disaster!
Key Takeaway: Temperature control during soldering is crucial for the health of your circuit board and the longevity of your electronics.
Physical Damage
Think of your circuit board as a fragile network of roads—the solder pads are the intersections, and the traces are the connecting highways. Mishandling or accidents can cause serious damage:
- Bent Boards, Broken Connections: Bending or dropping a circuit board can snap solder pads and traces like twigs. This destroys the pathways that electricity needs to travel.
- Scrapes and Scratches: Even seemingly minor surface damage can cut through delicate traces or weaken solder pad connections.
- Hidden Weakness: The fiberglass in circuit boards might seem tough, but excessive force can create invisible cracks that lead to problems later on.
Broken solder pads and traces don’t just look bad; they sabotage your circuit! Picture intermittent glitches, components refusing to work, or total device failure.
Repairing physical damage to a circuit board takes a steady hand and knowledge. One wrong move can make things worse!
Key Takeaway: Handle circuit boards with care to avoid costly repairs and frustrating electronics failures.
Corrosion
Imagine rust slowly eating away at the metal frame of a car. Corrosion works in a similar way on those tiny solder pads on your circuit board. Exposure to moisture, chemicals, or just the air over time can cause oxidation, which weakens the pad’s connection.
- Humidity: High humidity is like a supercharger for corrosion. When water vapor clings to the solder pads, it sets off a chain reaction that forms a rusty, non-conductive layer. Picture your circuit board slowly suffocating!
Corrosion doesn’t always cause dramatic failures. It can create intermittent glitches, slow performance, or components that randomly stop working. This makes it a tricky problem to diagnose.
Key Takeaway Protecting your electronics from moisture and harsh chemicals is crucial for preventing corrosion-related issues and ensuring long-term reliability.
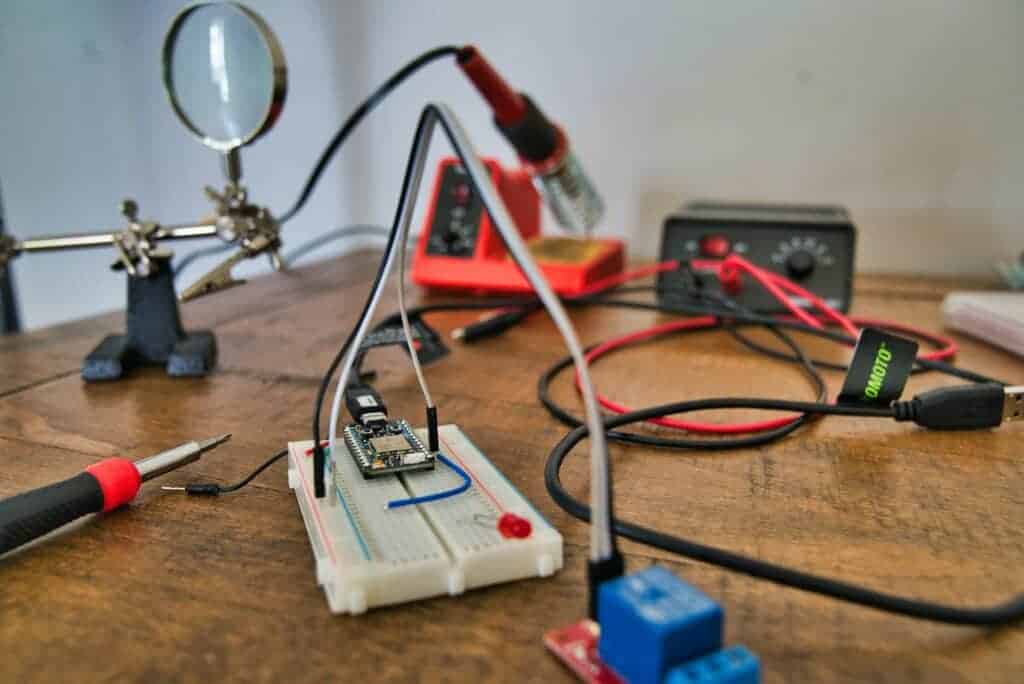
How to Repair Ripped Off Solder Pads?
Repairing ripped off solder pads on a PCB involves a series of steps that start with cleaning the affected area and then carefully soldering a new connection or track to restore the electrical continuity.
After identifying the damaged pads, the next crucial step is to gently clean the area surrounding them with a suitable solvent or isopropyl alcohol, ensuring that any debris or old solder is removed thoroughly. This prepares the surface for the fresh soldering process. Once the area is clean, inspect the extent of the damage and determine whether a simple reattachment of the pad will suffice or if a new trace needs to be created.
Clean the Area
Think of cleaning the area around a ripped solder pad as setting the stage for a successful repair. Here’s how to get your circuit board squeaky clean:
- Your Cleaning Arsenal: Grab some isopropyl alcohol and a simple tool like a Biro pen (the empty tube part).
- Banish the Gunk: Gently swab away any dirt, old solder, or other gunk that could get in the way of a strong connection.
- Why It Matters:
- Super Glue for Solder: A clean surface means the new solder will stick properly, making your repair last longer.
- Glitch Prevention: Leftover bits and pieces can cause shorts or weird malfunctions later. Nobody wants that!
- Safety First: Isopropyl alcohol gets rid of stubborn stuff without harming your board, and a Biro lets you work with precision.
Remember: A little cleaning goes a long way in ensuring your solder pad repair is a success!
Prepare the Soldering Iron
Before you start soldering that new connection, make sure you’ve got the right tools and technique:
- The Right Heat: Your soldering iron should be hot enough to melt solder, but not so hot it damages the board. Check the recommended temperature settings.
- Flux is Your Friend: A little dab of flux on the damaged pad works wonders! It cleans things up and helps the new solder stick like it should.
- Tin That Tip: Putting a little solder on the iron’s tip first helps it transfer heat to the pad more easily.
- Flux Doubles the Fun: Adding a bit of flux to the component you’re attaching will make the solder flow smoothly and create a super secure connection.
Why Bother?
Soldering might seem simple, but doing it right is the difference between a quick fix and a long-lasting repair. Prepping your tools and materials this way ensures strong, reliable connections and helps prevent future problems!
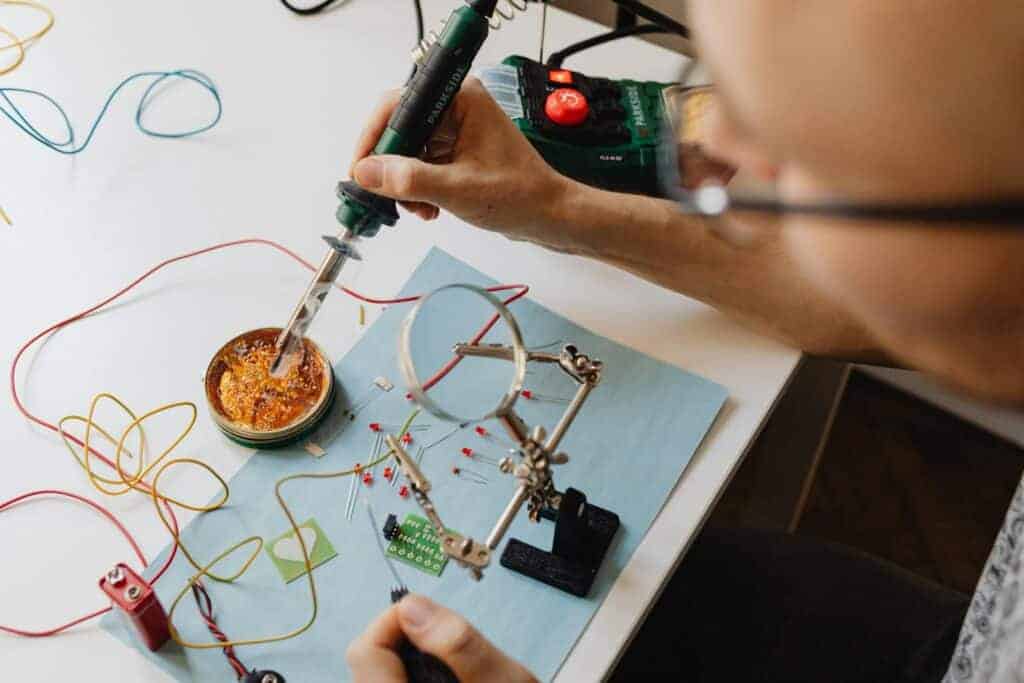
Apply Flux to the Ripped Pad
- Flux First: As always, a thin layer of flux on the ripped pad preps the surface and helps the new solder flow smoothly for a strong bond.
- When Pads Are Wrecked: If the damage is severe, a bit of silicone caulk (the type specifically for electronics) can add extra support and prevent the new connection from breaking loose later.
Why It Works:
Picture the flux as superglue for solder, and the silicone caulk as a tiny cast to stabilize the repaired area. Working together, they create a durable repair!
Key Point: Using both flux and silicone caulk gives you the best chance of a long-lasting fix, especially when the original solder pad was badly damaged.
Solder a Jumper Wire
Think of the jumper wire as a tiny detour to get the electrical signals flowing again. Here’s how to make a connection you can count on:
- Steady Hands, Clear Vision: Precision is everything! A lighted magnifier helps you see exactly where to place the wire and check for any sloppy solder joints.
- Avoid Accidents: Double-check the wire’s position to make sure it’s not touching anything it shouldn’t. Shorts cause headaches!
- Strong and Secure: A solid solder joint means a reliable repair. Don’t rush this part, and make sure the connection is good.
The Power of Magnification
A lighted magnifier isn’t just about seeing better; it’s about preventing mistakes. It lets you work with confidence, knowing the repair will be done right the first time.
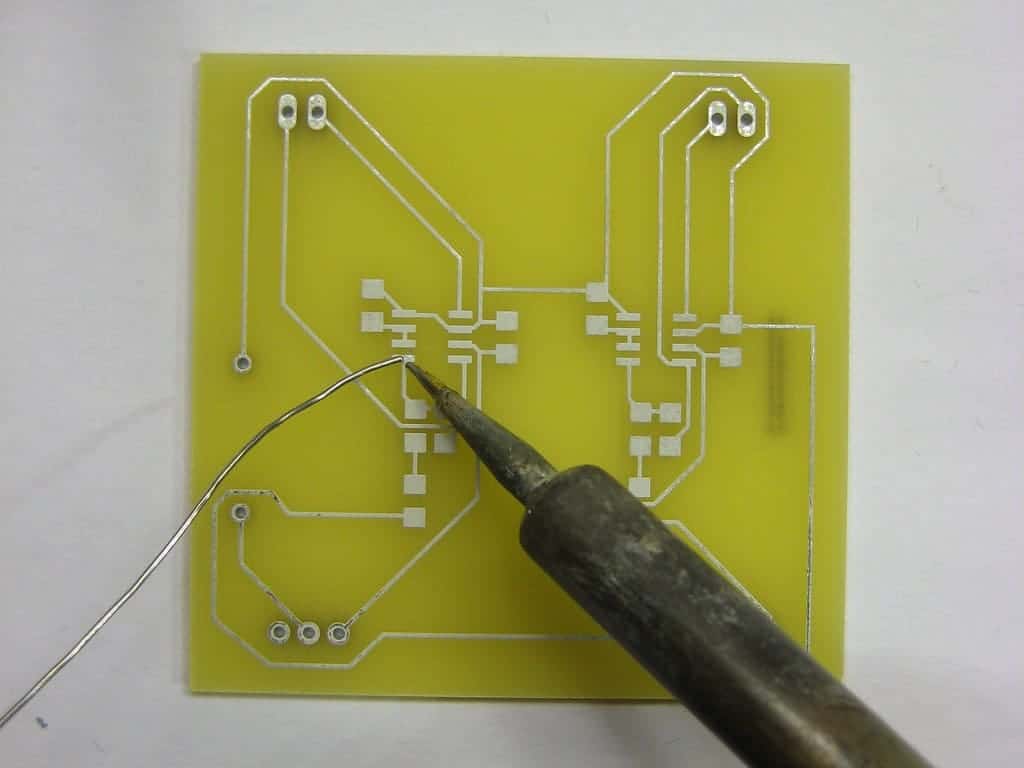
Test the Connection
You’ve reattached the pad, the solder looks good, but is the circuit actually working again? Time to bust out your trusty multimeter to find out!
- Beep of Success: By checking for continuity between the repaired pad and other points on the board, you’re essentially making sure the electrical signals have a clear path.
- Catch Problems Early: Even a repair that looks great can have hidden flaws. Testing helps you find them before they cause weird glitches down the line.
Why Test?
Think of it as the final quality control step. A quick test verifies that your hard work paid off AND gives you peace of mind that your device is truly fixed. Prevent future frustration and save yourself the hassle of repeat repairs!
What If the Ripped Pad Cannot Be Repaired?
Sometimes, a ripped solder pad is just too far gone for a simple fix. If that’s the case, you’ve got options:
- Advanced Repair Kits: Specialized conductive adhesives and other tools can sometimes work miracles. But proceed with caution – these repairs take skill!
- Calling the Experts: Electronics repair techs have the steady hands and specialized equipment to handle complex fixes. They can also diagnose hidden issues that might have caused the damage in the first place.
- The Pro Advantage: If the device is valuable or the damage is severe, a professional repair service might be your safest bet. They’ll get your board back in working order and give you peace of mind.
Key Point: Don’t be afraid to admit when a repair is beyond your skill level. Seeking help can save you time, money, and the frustration of making the problem worse!
Use a PCB Repair Kit
Traditional soldering is great, but sometimes you need a different approach. Specialized PCB repair kits are the answer when a pad is completely destroyed.
- What’s Inside: These kits have conductive adhesives designed for electronics, along with materials to rebuild tiny traces. Think of them as advanced first-aid for your circuit board.
- Follow the Map: The instructions are your guide! They’ll walk you through the steps and help you avoid common mistakes.
- The Power of Repair Kits: Even with severe damage, there’s hope. These kits empower you to fix PCBs that might have otherwise been discarded.
Key Point: PCB repair kits are a great way to expand your electronics skills and tackle more complex repairs with confidence.
Seek Professional Help
Let’s be honest, some repairs are just too tricky to tackle alone. Complex damage or tiny components call for a professional touch. Here’s why:
- Know-How is Key: Electronics repair techs understand the nuances of solder pad damage and how to fix it right the first time.
- The Right Tools: They have specialized equipment that most of us don’t, letting them work on even the most delicate repairs.
- Quality Counts: Pros use top-notch adhesives and techniques, ensuring your repair will last, not fail a week later.
Key Point: Entrusting your valuable devices to experts saves you time, frustration, and the risk of accidentally making the problem worse!
How to Prevent Solder Pads from Ripping Off?
Ripped solder pads equal headaches! Here’s how to avoid them:
- Handle with Care: Treat circuit boards like delicate items. Avoid bending, dropping, or rough handling that could stress the pads.
- Beat the Heat: Too much heat during soldering is a major culprit. Use a temperature-controlled iron and follow the correct heat settings for the solder you’re using.
- Inspect and Protect: Give your boards a checkup now and then! Look for signs of corrosion, loose components, or damaged traces – catching problems early makes them easier to fix.
- Static Shock Survival: Static electricity can zap delicate components. Use ESD-safe gear when handling boards.
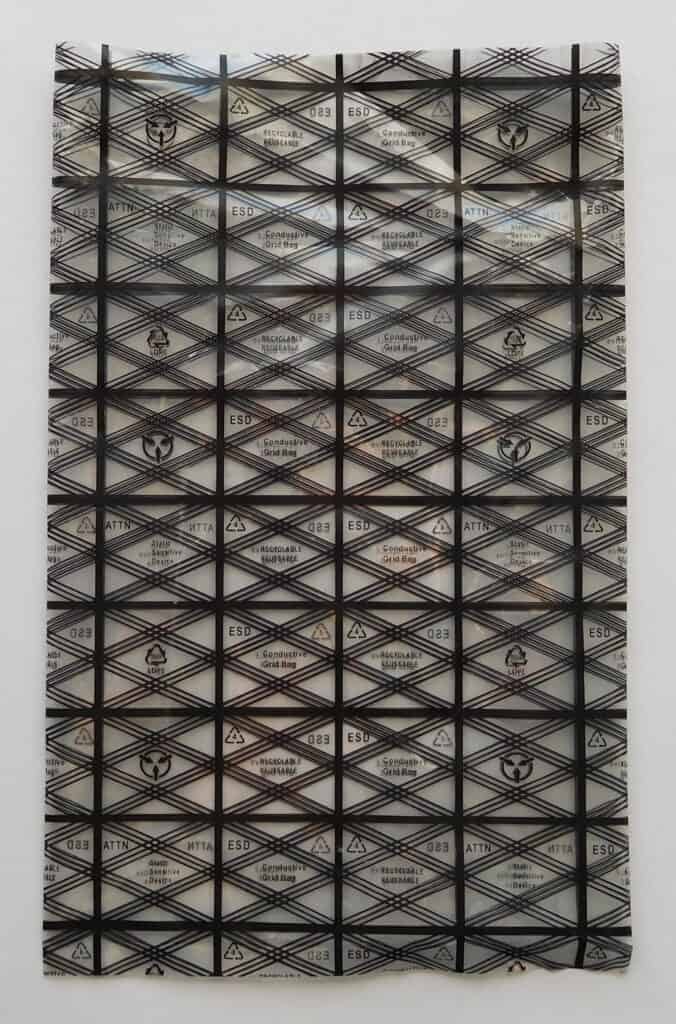
- Safe Storage: Anti-static bags and humidity control help prevent corrosion, which weakens pads over time.
Key Point: A little preventative maintenance goes a LONG way in keeping your electronics working smoothly and avoiding costly repairs!
Be Careful When Handling the Circuit Board
Circuit boards might look tough, but they’re surprisingly delicate. Here’s how to avoid accidental damage:
- Gentle Touch: Be mindful of the pressure you apply when handling boards. Avoid bending, twisting, or dropping them.
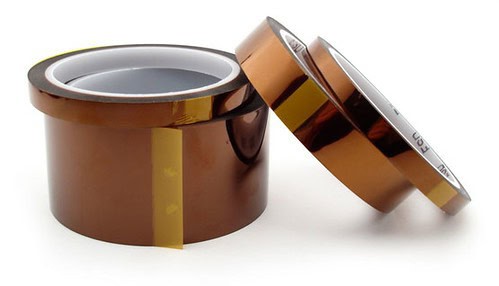
- The Right Tools for the Job: A sharp knife or Kapton™ tape can be lifesavers for delicate tasks. They let you work with precision without harming solder pads.
- Why Bother? Careful handling prevents broken traces, ripped pads, and those frustrating moments when you accidentally break an expensive component!
Key Point: A little extra attention during handling goes a long way in safeguarding your circuit boards and keeping your electronics projects running smoothly.
Avoid Excessive Heat
Picture your circuit board under a heat lamp. Too much heat, for too long, and things start to fall apart! Here’s how to prevent that:
- Temperature Matters: Soldering needs heat, but the right amount. Always follow recommended temperature settings to protect those delicate solder pads.
- Kapton™ Tape to the Rescue: This heat-resistant tape acts like a shield, protecting nearby components while you solder.
- Why it’s Important: Overheated solder joints become weak and prone to failure. Heat can also warp the board itself, leading to even bigger problems.
Key Point: Controlling heat during soldering isn’t just about preventing ripped pads; it’s about ensuring the long-term health and reliability of your entire device.
Regularly Inspect and Maintain Your Electronics
Don’t wait until something breaks! Regular checkups for your electronics can save you serious headaches down the line. Look for:
- Corrosion Clues: Discoloration, white residue, or a ‘fuzzy’ look on the solder pads can mean trouble is brewing.
- Damaged Traces: Scratches, cracks, or breaks in the pathways can interrupt signals and make your device act glitchy.
- Oxidation: Copper turns a dull greenish color when exposed to moisture and air. This weakens its connection to the solder.
Why Bother?
- Stop Problems Before They Start: Fixing a slightly corroded pad is a lot easier than replacing a whole circuit board.
- Reliability Boost: Catching issues early means your devices work when you need them to, avoiding frustrating malfunctions.
Key Point: Make a maintenance schedule and stick to it! A few minutes of inspection can save you money and hassle in the long run.
Frequently Asked Questions
How do I repair ripped off solder pads?
If you have accidentally ripped off a solder pad from your circuit board, don’t panic! There are a few different methods you can use to repair the pad and get your board working again.
What materials do I need to repair ripped off solder pads?
The materials you will need to repair ripped off solder pads include a soldering iron, solder, flux, and a replacement pad or wire.
Can I use a wire as a replacement for a ripped off solder pad?
Yes, if the pad is completely missing, you can use a small wire as a replacement. Just be sure to strip the wire and tin it with solder before attaching it to the board.
How do I reattach a ripped off solder pad?
To reattach a ripped off solder pad, first clean the area with isopropyl alcohol and apply flux. Then use your soldering iron to heat the pad and apply a small amount of solder. Finally, place the pad in the correct position and heat it again until it adheres to the board.
What if the ripped off solder pad is too damaged to repair?
If the pad is too damaged to repair, you can use a small piece of copper tape or a conductive pen to create a new connection. Just be sure to clean the area and apply flux before using these methods.
What is the best way to prevent solder pads from ripping off?
To prevent solder pads from ripping off, always make sure to use the correct size soldering iron and apply gentle pressure. It is also helpful to use a heat-resistant mat to protect the board and to use a small amount of flux on the pads before soldering.

