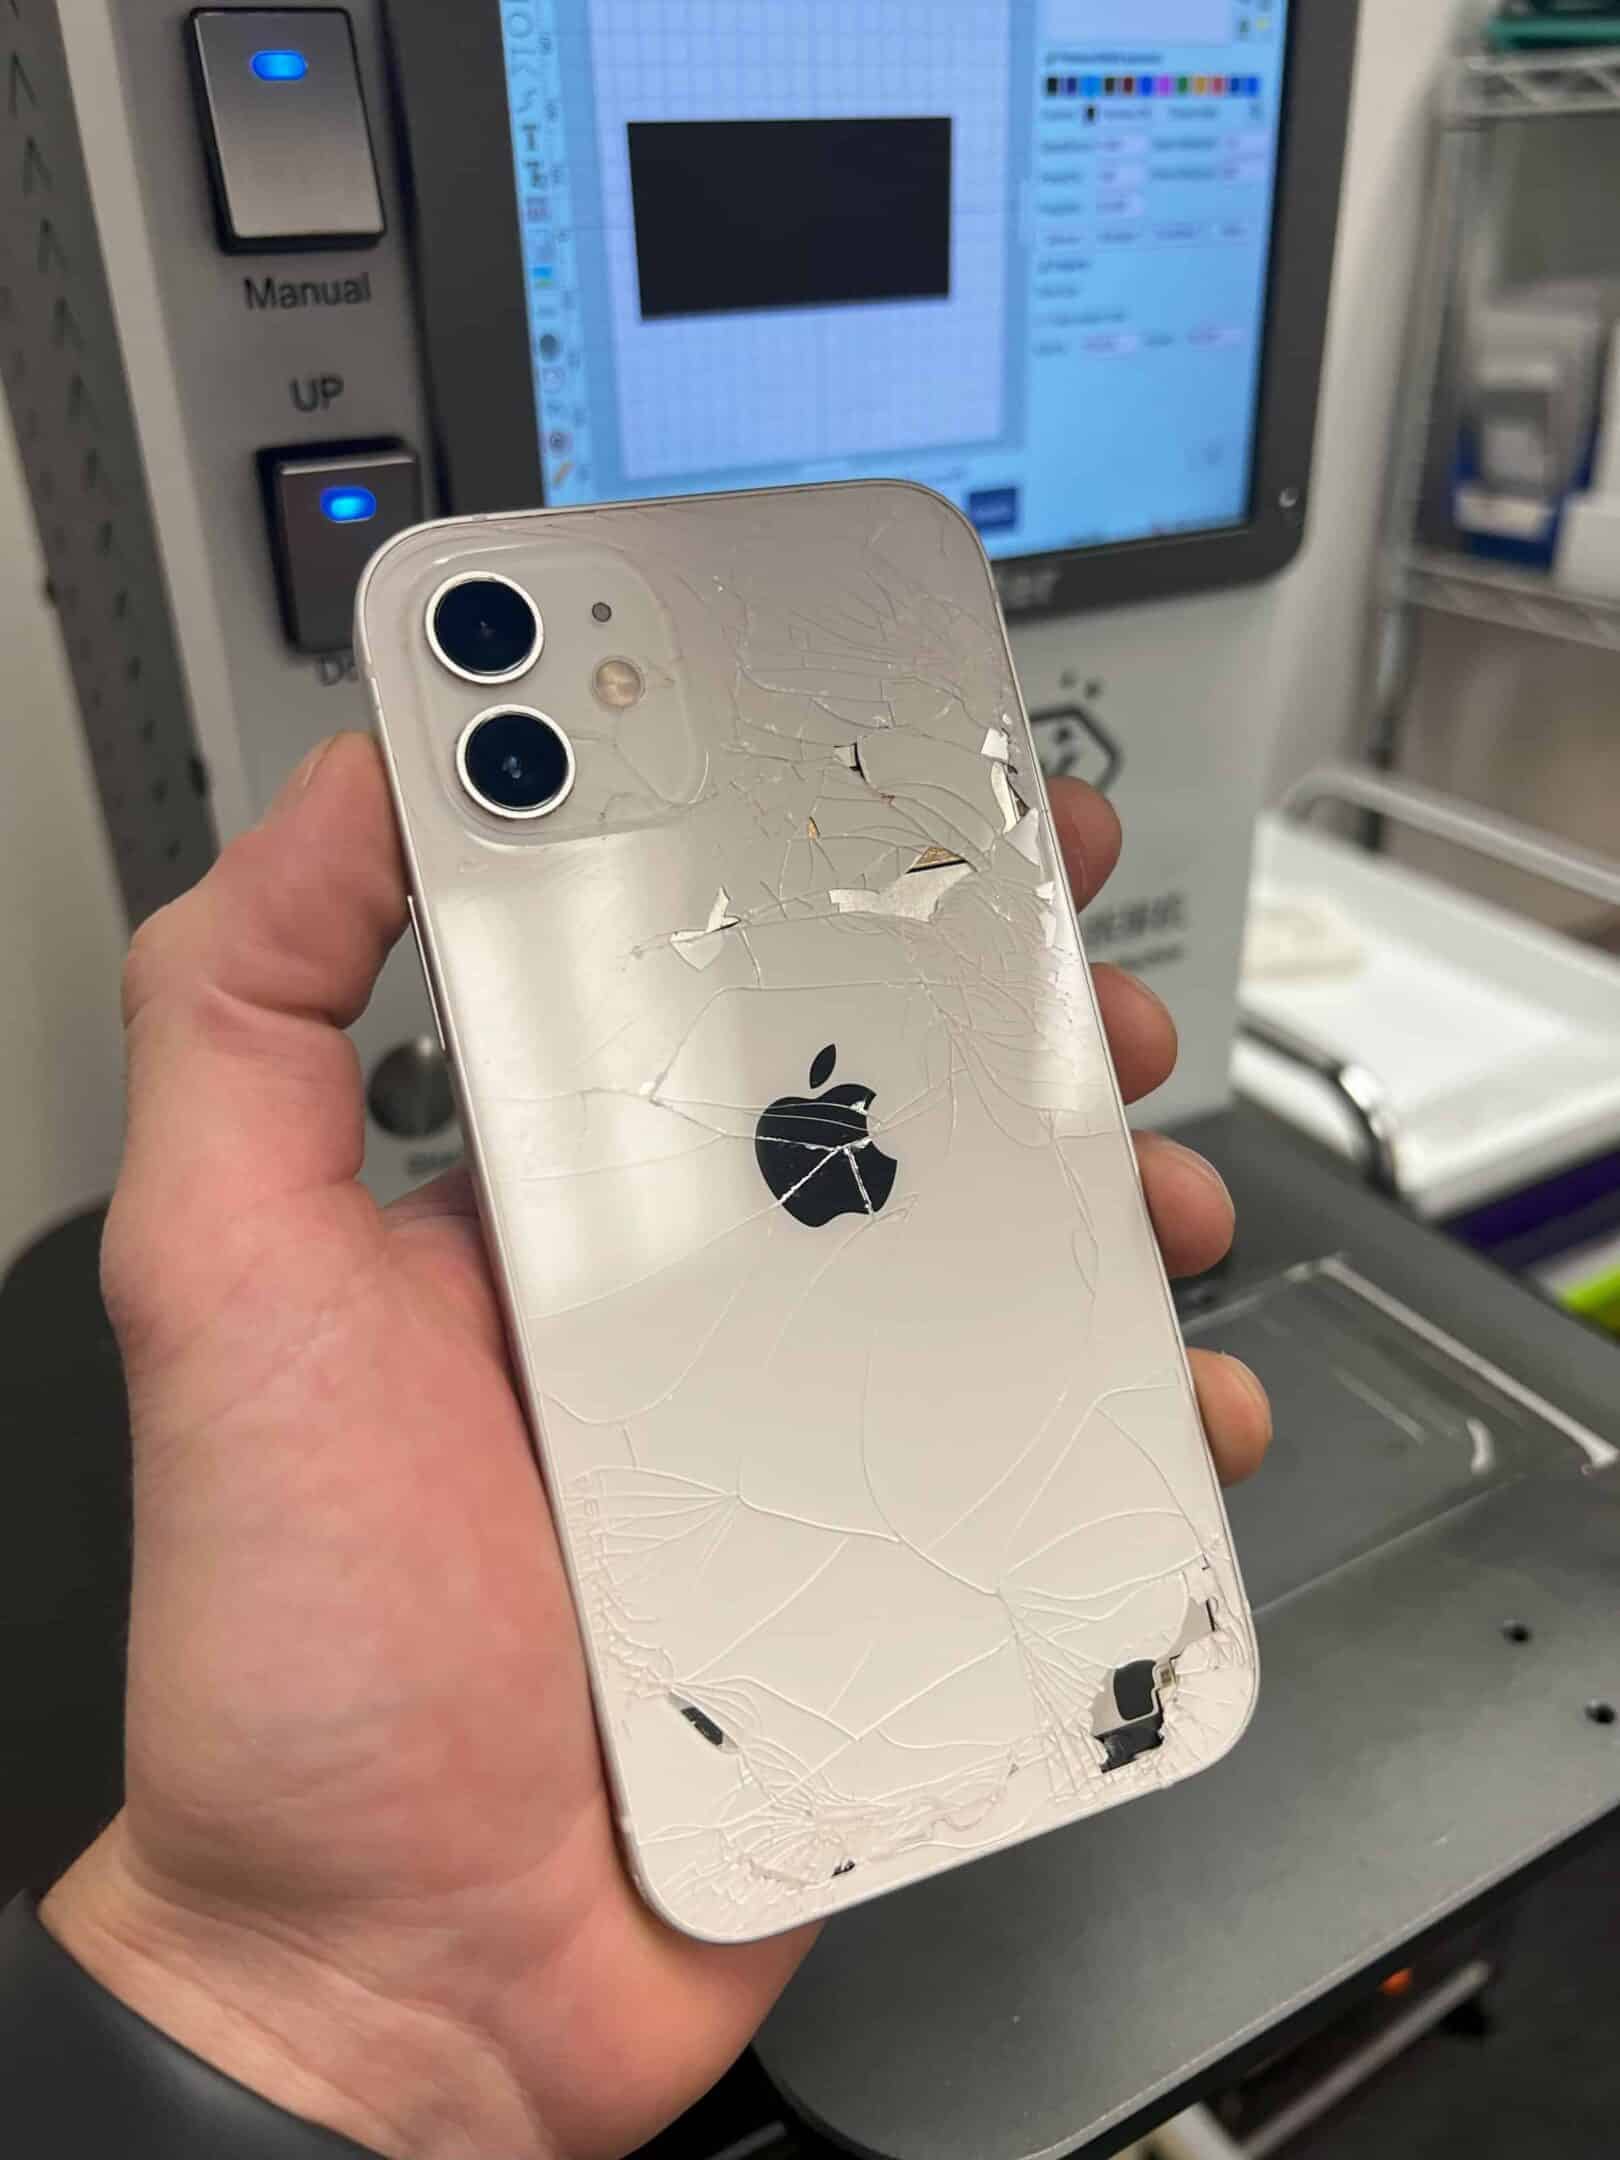
When faced with a cracked back glass on an iPhone 12, quality repairs are a must for restoring the device’s integrity and aesthetics. The back glass replacement process can be intricate, as it involves carefully removing the damaged glass without causing further harm to the phone. It is essential that those looking to perform this repair have an understanding of the procedure and the right tools at hand. This ensures the iPhone retains its sleek design and functionality post-repair.
Safety is the top priority before tackling the physical replacement. Users must power down their iPhone 12 to prevent any electrical issues or damage to its internal components. The replacement process itself involves precision; handling the glass, protecting the camera area, and ensuring the wireless charging coil is not disrupted are all vital steps. It is the attention to detail during these steps that defines the experience of the repair.
DIY vs. Professional Repair
Replacing the back glass of an iPhone 12 presents a decision: go the DIY route or choose professional repair. Here’s a breakdown of considerations for each:
DIY Repair
- Cost: Repair kits are usually cheaper than paying for a professional service.
- Technical Expertise: Requires some technical knowledge and comfort working with small parts.
- Risk: Potential for further damage if not done carefully.
- Tools: You’ll need specific tools like heat guns, suction cups, and precision screwdrivers.
Professional Repair
- Quality: Experienced technicians ensure a proper fix.
- Warranty: Many repair shops offer warranties.
- Time: They can often complete the repair quickly.
- Cost: Costs more than attempting the fix yourself.
Step-by-Step iPhone 12 Back Glass Replacement
Disclaimer: These instructions offer a general outline. For greater detail and visuals, consult online tutorials or videos. Always proceed with caution when doing your own repairs.
1. Preparation
- Backup: Backup your iPhone data before starting any repairs.
- Tools: Gather the necessary tools like a heat gun, suction cup, prying tool, tweezers, and replacement back glass.
- Power Down: Fully turn off your iPhone.
2. Glass Removal
- Heat Application: Apply heat around the edges of the back glass to soften the adhesive.
- Suction and Prying: Use a suction cup to gently pull up a corner while carefully prying the edges with a prying tool.
- Removal: Once a gap is created, work your way around, gently separating the broken glass.
3. Cleaning
- Adhesive Removal: Meticulously remove all old adhesive residue using appropriate tools and solvents.
- Thorough Cleaning: Clean the surface with a microfiber cloth and ensure no debris remains.
4. New Glass Installation
- Adhesive Application: Apply new adhesive provided with the replacement back glass kit.
- Placement: Carefully align the new back glass.
- Pressing: Apply firm pressure to secure the new glass in place.
5. Post-Repair
- Curing: Allow ample time for the adhesive to cure before using your phone.
- Testing: Once the adhesive is set, ensure all buttons and camera functions are operating correctly.
Table: Essential Tools
| Tool | Purpose |
|---|---|
| Heat gun | Soften the adhesive to aid glass removal |
| Suction cup | Lift the glass to create a gap |
| Prying tool | Gently separate the glass from the frame |
| Tweezers | Remove stubborn adhesive or debris |
| Replacement glass | The new back glass panel |
| Adhesive | Secure the new glass |
| Microfiber cloth | Cleaning the surface |
Important: If you lack experience or confidence, seeking professional assistance is always safer to avoid further damage to your iPhone.
Key Takeaways
- Cracked iPhone 12 back glass requires careful replacement to ensure device integrity.
- Power off the iPhone 12 and prepare the necessary tools for a safe replacement process.
- Handle the repair with precision to protect the camera and internal components.
Preparing for iPhone 12 Back Glass Replacement
Before you start replacing your iPhone 12’s back glass, it’s important to understand your warranty status, gather the necessary tools, and assess the damage. Being well-prepared can save time and prevent further damage to your iPhone.
Understanding Warranty and AppleCare+
Check if your iPhone is under warranty or covered by AppleCare+. Apple’s limited warranty or AppleCare+ may cover the cost of repairs. If your warranty has expired or doesn’t cover accidental damage, you’ll need to pay for the replacement. Take note that unauthorized repairs could void any existing warranty. Apple has over 700 locations in the United States where you can seek service if needed.
Gathering the Required Tools
You’ll need the following tools for iPhone 12 back glass replacement:
- Heat gun or hairdryer to soften the adhesive
- Suction cup or strong tape for lifting the glass
- Pry tools to separate the glass from the frame
- Gloves to protect your hands from sharp edges
Ensure you have replacement parts that are compatible with the iPhone 12. These parts should include the back glass, which may have Magsafe components integrated.
Assessing the Damage
Look carefully at the cracked back glass to see how extensive the damage is. If the glass is shattered, be cautious of loose shards. Also, check for any damage to the frame or internal components. If there’s widespread damage, more extensive repairs beyond just the back glass may be necessary.
Executing the Back Glass Replacement Process
Replacing the back glass of an iPhone 12 is a task that requires precision and care. This section outlines the procedure in a series of methodical steps to ensure success.
Disassembling the iPhone 12
Before starting the repair, gather the necessary tools such as a heat gun, pry tools, gloves, and suction cups. Power off the iPhone 12. Apply heat to the edges of the back glass to loosen the adhesive. Using gloves to protect your hands, gently lift the edges with a suction cup and insert a pry tool to start separating the back glass from the frame. Detach any cables connected to the wireless charging coil before fully removing it.
Removing the Damaged Back Glass
Once the phone is disassembled, take extra care to prevent damage to internal components. Employ a laser to separate the residual adhesive, avoiding the camera area during the process. Slowly detach the remaining pieces of the damaged back glass, taking note of the placement of magnets and other small parts that will need to be re-aligned during reassembly.
Installing the New Back Glass
Clean the frame of any leftover adhesive, ensuring a smooth surface for the new back glass. Align the new back glass carefully, applying a fresh layer of adhesive. Reattach the magnets and the wireless charging coil. Ensure the placement of the new glass is precise to avoid any issues with phone functionality.
Post-Replacement Checklist
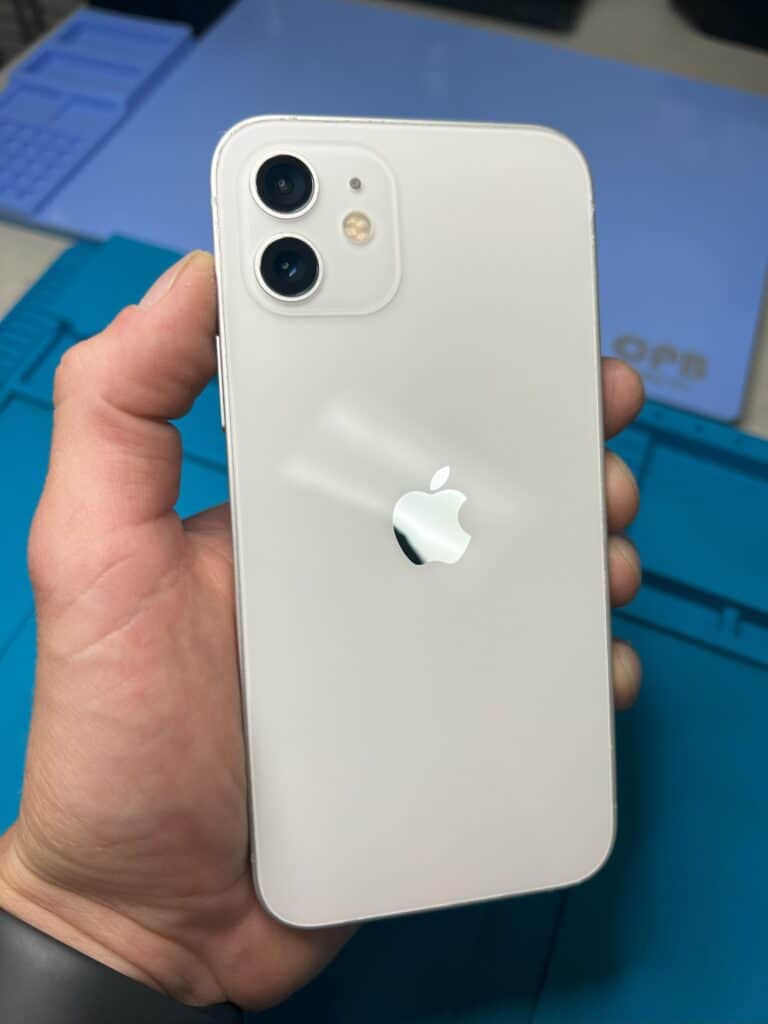
After the new back glass is in place, perform a thorough diagnostic to check for any disruptions in phone functions, particularly the wireless charging capability. Verify that the alignment is correct and that there are no gaps or raised edges. If the repair was successful, all features should work as intended.
Remember to only use genuine Apple parts to maintain the 1-year limited warranty and consider reaching out to authorized service providers if faced with significant challenges during the replacement process. These professionals offer not only quality repair but also customer service and a low price guarantee.
Frequently Asked Questions
Replacing the back glass of an iPhone 12 series can be straightforward with the right information. This section addresses common questions for those looking to repair or replace the damaged back glass on their device.
How can I find a service for iPhone 12 back glass replacement near me?
One can often find a local Apple store or authorized service provider through the support page on the Apple website. They offer professional services for iPhone repairs.
What is the cost of replacing the iPhone 12 Pro back glass?
The cost for a professional back glass replacement for the iPhone 12 Pro will vary. It typically ranges from $150 up to $600 depending on the service provider and the repair’s complexity.
Is it possible to replace the iPhone 12 back glass by oneself?
Self-replacement is possible with the right tools and a careful approach. However, it’s a challenging task that could void the warranty or cause further damage if not done correctly.
What is the average price for iPhone 12 Pro Max back glass replacement?
Replacing the iPhone 12 Pro Max’s back glass will generally cost between $200 and $550. The price can be influenced by factors such as location or whether one uses genuine parts.
Can you get an original back glass replacement for the iPhone 12 Pro Max?
Original back glass replacements for the iPhone 12 Pro Max are available at certified Apple service providers. They ensure the replacement meets Apple’s quality standards.
How much is the iPhone 12 Mini back glass replacement estimated to cost?
The estimated cost for replacing the back glass on an iPhone 12 Mini can range from $100 to $400. It’s best to consult with a professional for an accurate quote.

