
Stress testing your PC helps ensure its stability and performance under heavy loads. Stress tests push your computer’s components to their limits, revealing potential issues before they cause problems during regular use. This process is useful for new builds, overclocked systems, or diagnosing hardware problems.
You can stress test various components of your PC, including the CPU, GPU, RAM, and power supply. Each test serves a unique purpose, from checking thermal performance to verifying system stability. By running these tests, you can spot weak points in your setup and make necessary adjustments.
Several tools are available for stress testing, ranging from simple applications to comprehensive suites. Some popular options include OCCT for all-in-one testing and Prime95 for CPU-specific tests. The right choice depends on your needs and the components you want to evaluate.
| Component | Popular Stress Test Tool | Purpose |
|---|---|---|
| CPU | Prime95 | Stability and temperature |
| GPU | FurMark | Graphics card stress |
| RAM | MemTest86 | Memory errors |
| System | AIDA64 | Overall stability |
Key Reasons to Stress Test Your PC
Stress testing isn’t just for overclockers or performance junkies—it’s a valuable diagnostic step for anyone building, upgrading, or troubleshooting a PC. Here’s what it helps with:
- Stability testing after new builds or upgrades
- Thermal assessment of your CPU, GPU, and overall cooling solution
- Power delivery verification, ensuring your PSU handles load properly
- Error checking in memory and storage devices
- Overclock validation, if you’re pushing hardware beyond stock specs
By applying a synthetic workload, stress tests reveal system weaknesses you wouldn’t spot under normal usage.
What You Need Before You Begin
Before jumping into the tests, make sure your system is ready:
| Requirement | Why It Matters |
|---|---|
| All drivers up to date | Prevents crashes due to outdated software |
| Clean airflow and fans | Reduces the risk of thermal throttling or shutdown |
| Monitoring software installed | Allows real-time tracking of temps and voltages |
| A backup of important files | Always a good idea before pushing hardware to limits |
Recommended monitoring tools include HWiNFO64, HWMonitor, and MSI Afterburner (for GPU and CPU telemetry).
Best Stress Test Tools by Component
CPU
You want something that pushes the processor to 100% usage on all cores for an extended period:
- Prime95 (Small FFTs test): Brutal for thermal testing, great for detecting weak cooling or voltage instability.
- OCCT: Easier on the interface, but powerful. Includes AVX testing, power draw simulation, and thermal analysis.
- Cinebench R23: Useful for quick multi-core vs single-core comparisons under load.
| Tool | Strengths | Ideal Use Case |
|---|---|---|
| Prime95 | Extreme thermal load | Finding cooling or PSU issues |
| OCCT | Power & thermal simulations | General CPU and PSU testing |
| Cinebench | Performance benchmarking | Score-based comparison |
GPU
If your system includes a discrete GPU, these tools help test graphical performance and heat tolerance:
- FurMark: Demands a lot from the GPU. Use with caution—it pushes thermals hard.
- 3DMark Time Spy / Fire Strike: Performance-focused and realistic gaming scenarios.
- Unigine Heaven or Superposition: Long-running loops ideal for real-world stability validation.
| Tool | Strengths | Best For |
|---|---|---|
| FurMark | Max heat and power draw | Thermal and fan testing |
| 3DMark | Visual benchmarking | Comparing GPU performance |
| Unigine Heaven | Game-like stress with visuals | Stability during gaming use |
RAM
Bad memory causes all kinds of instability—random reboots, BSODs, app crashes. Here’s what to use:
- MemTest86: Gold standard, boots from USB, catches memory errors early.
- Windows Memory Diagnostic: Built-in and basic, but worth a quick run if you’re short on time.
Tips:
- Run at least 2 full passes with MemTest86.
- Always test with XMP/DOCP enabled if you use memory overclock profiles.
Storage
Not all stress is about heat—SSD/HDD performance matters too:
- CrystalDiskMark: Measures read/write speeds for benchmarking.
- DiskSpd: Microsoft’s utility for simulating heavy disk I/O loads.
- HDDScan or Hard Disk Sentinel: Check for SMART health and surface errors.
How Long Should You Stress Test?
The duration depends on the goal. Use this guide:
| Goal | Duration |
|---|---|
| Quick sanity check | 15–30 minutes |
| Thermal testing | 1–2 hours |
| Full stability validation | 8+ hours |
| Memory integrity testing | Overnight (6–12 hrs) |
Don’t walk away from your PC during the first 10 minutes—this is when catastrophic issues like overheating or voltage drops show up.
Signs Your System Is Failing the Test
During or after stress testing, watch for:
- System crashes or restarts
- BSODs with memory or CPU-related error codes
- Throttling due to high temps (temps dropping but performance tanking)
- Fan speeds maxing out without cooling results
- Unusual artifacting during GPU tests
If any of these show up, stop the test immediately and re-evaluate your cooling, voltages, or overclock settings.
Safety Tips and Best Practices
- Don’t run multiple stress tests at once. You won’t get reliable data and might overload your PSU.
- Monitor in real-time. Use tools like MSI Afterburner or HWiNFO to track temp and power draw.
- Know your hardware limits. Don’t go beyond safe thermal thresholds—typically:
- CPU: 85–95°C
- GPU: 80–85°C
- Use stress testing in moderation. It’s a diagnostic tool, not a daily routine.
Troubleshooting Based on Test Results
| Symptom | Possible Cause | Fix |
|---|---|---|
| PC shuts down or restarts | Overheating or PSU overload | Improve cooling or upgrade power supply |
| BSOD during RAM test | Faulty memory or bad timings | Replace RAM or tune timings manually |
| GPU artifacts in FurMark | Overheating or unstable OC | Lower clock speeds or clean GPU cooler |
| Disk errors or low speeds | Failing drive or bad cable | Replace cable or consider SSD/HDD replacement |
Understanding Stress Testing
Stress testing evaluates your PC’s stability under heavy loads. It helps identify hardware issues and ensures reliable performance.
Types of Stress Tests
CPU stress tests push processors to their limits. Prime95 is a popular tool that uses complex calculations to maximize CPU usage. GPU tests like FurMark render intense graphics to strain video cards.
RAM tests check memory stability. MemTest86 is widely used for this purpose. Storage tests verify hard drive and SSD health through read/write operations.
Full system tests combine multiple components. AIDA64 offers a comprehensive stability test that stresses CPU, GPU, and memory simultaneously.
| Test Type | Popular Tools |
|---|---|
| CPU | Prime95, OCCT |
| GPU | FurMark, MSI Kombustor |
| RAM | MemTest86, HCI DesignMemtest |
| Full System | AIDA64, OCCT |
Importance of Stress Testing
Stress testing helps detect hardware issues before they cause problems. It’s crucial for new builds and overclocked systems. Regular tests can catch failing components early.
For overclockers, stress tests verify stability at higher speeds. They ensure your PC can handle demanding tasks without crashes or data loss.
Stress tests also help diagnose intermittent problems. By pushing components to their limits, hidden issues often surface. This makes troubleshooting easier and more effective.
Businesses rely on stress tests to ensure system reliability. It’s vital for servers and workstations that need to run continuously without errors.
Preparing for a Stress Test
Before running a stress test, proper preparation is crucial. This involves choosing the right tools, establishing baseline performance, and setting up monitoring systems.
Selecting the Right Tools
Stress test tools are essential for pushing your PC to its limits. Popular options include Prime95 for CPU testing and FurMark for GPU stress testing. AIDA64 offers a comprehensive suite for testing multiple components.
Choose tools that match your testing goals. For CPU-focused tests, Prime95 is highly effective. GPU stress testing often relies on FurMark or MSI Kombustor.
Consider using a mix of synthetic and real-world benchmarks. This approach provides a more complete picture of your system’s performance under various conditions.
Benchmarking Before Testing
Establish a performance baseline before stress testing. This lets you compare results and identify potential issues.
Run benchmarks for your CPU, GPU, and storage devices. Tools like Cinebench for CPU and 3DMark for GPU offer standardized tests.
Record your system’s normal operating temperatures and clock speeds. This information serves as a reference point during stress testing.
Create a simple table to log your baseline results:
| Component | Benchmark | Score | Temperature |
|---|---|---|---|
| CPU | Cinebench | 10000 | 65°C |
| GPU | 3DMark | 8500 | 70°C |
Monitoring Software and Metrics
Set up monitoring software to track key metrics during stress tests. HWiNFO64 and MSI Afterburner are popular choices for comprehensive system monitoring.
Focus on tracking:
- CPU and GPU temperatures
- Clock speeds
- Voltages
- Power consumption
Use CPU-Z and GPU-Z for detailed component information. These tools provide real-time data on clock speeds, voltages, and other critical parameters.
Set up on-screen displays or secondary monitor readouts for easy metric tracking. This allows you to quickly spot any concerning trends during testing.
Executing the Stress Test
Stress testing your PC components requires careful planning and execution. The process involves pushing your CPU, GPU, RAM, and storage to their limits to assess stability and performance.
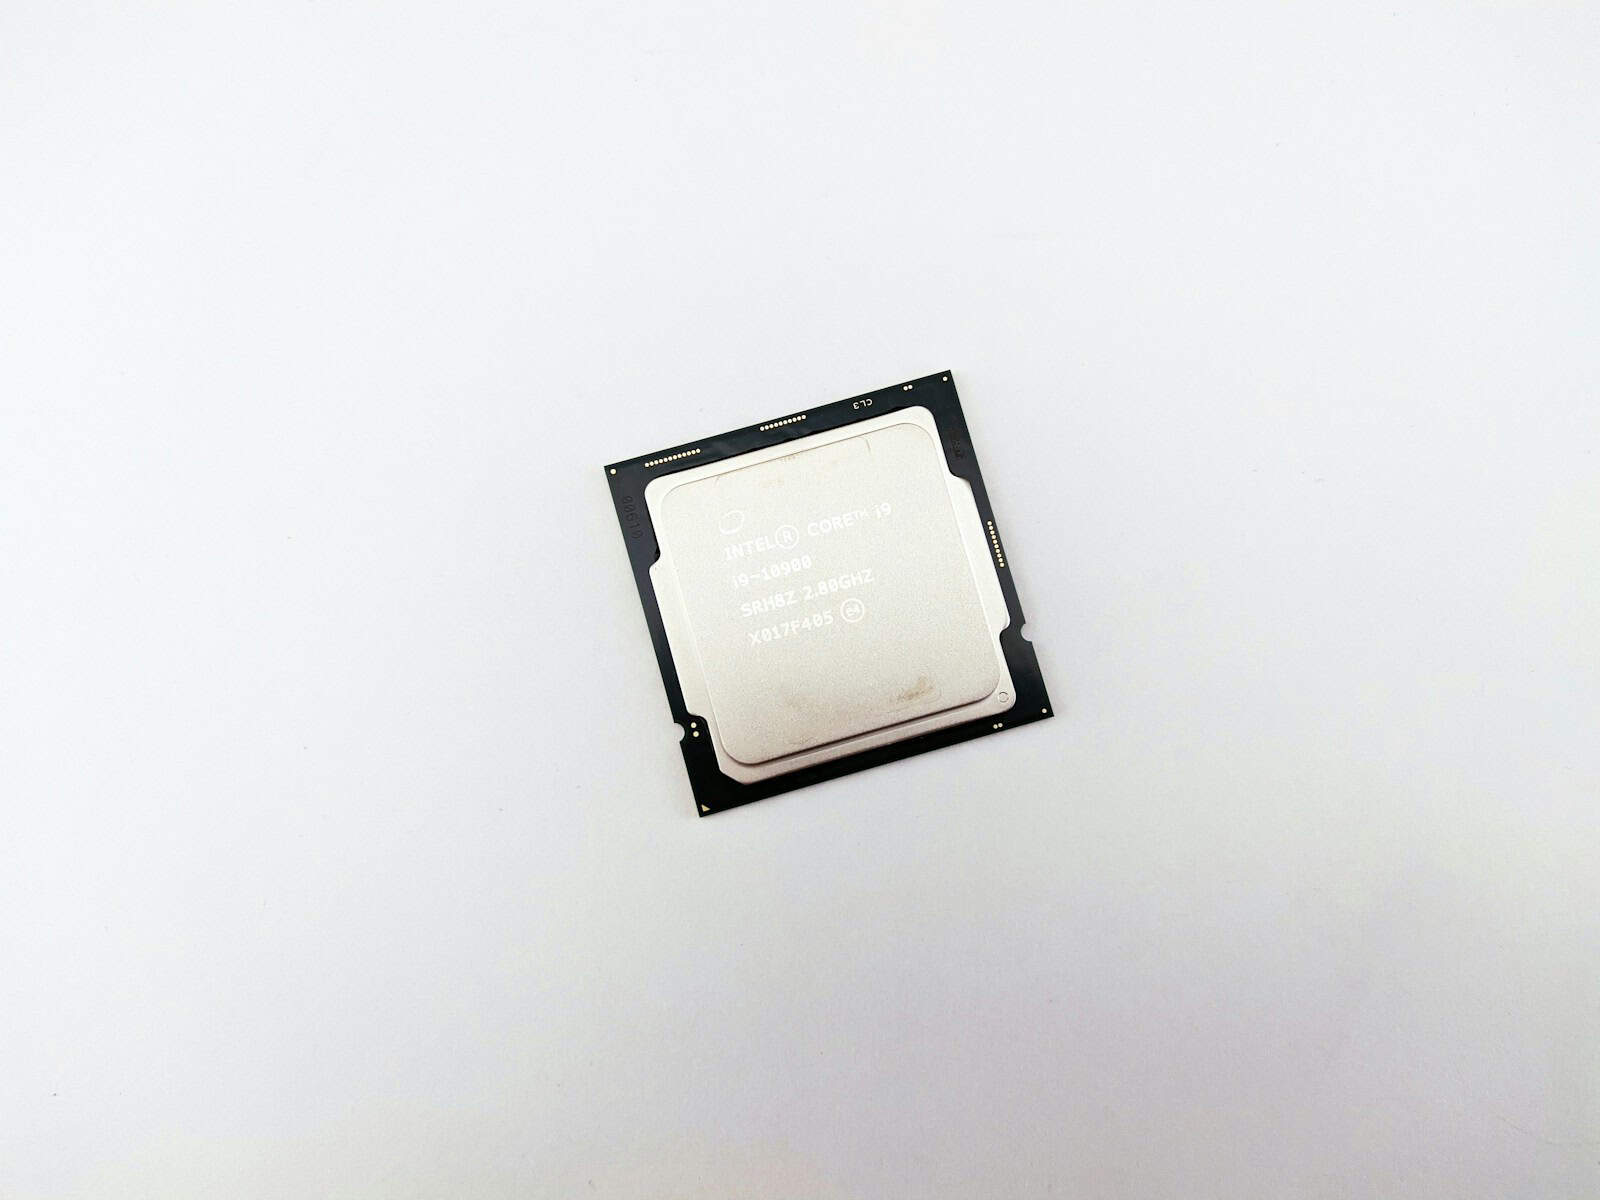
CPU Stress Testing
To stress test your CPU, use specialized software like Prime95 or AIDA64. These tools create heavy workloads to test your processor’s stability.
Start with a short 15-minute test. Monitor temperatures using Core Temp or HWMonitor. If temps stay below 80°C, extend the test to 1 hour.
For more intense testing, try IntelBurnTest. It pushes CPUs harder than Prime95. Run it for 10-20 passes on maximum stress level.
OCCT offers a user-friendly interface for CPU testing. It includes various test modes and built-in temperature monitoring.
GPU Stress Testing
FurMark is a popular tool for GPU stress testing. It renders a furry donut to create maximum GPU load.
Run FurMark for 30 minutes. Watch for artifacts or crashes. Monitor GPU temps – they should stay under 85°C.
3DMark and Unigine Heaven provide benchmarks that stress your GPU while simulating real-world gaming scenarios.
MSI Kombustor offers both stress tests and benchmarks. It’s useful for testing GPU stability after overclocking.
RAM and Storage Testing
For RAM testing, use MemTest86+. Boot from a USB drive and run the test overnight. Any errors indicate faulty RAM.
Windows Memory Diagnostic is a built-in tool for quick RAM checks. Access it through the Start menu.
Test SSDs with CrystalDiskMark. It measures read/write speeds and helps identify performance issues.
For HDDs, use HDDScan. It checks for bad sectors and overall drive health.
Understanding and Managing Risks
Stress testing can potentially damage hardware if not done carefully. Always monitor temperatures closely.
Start with short tests and gradually increase duration. Stop immediately if you notice unusual behavior or excessive heat.
| Component | Safe Max Temp | Dangerous Temp |
|---|---|---|
| CPU | 80°C | 90°C+ |
| GPU | 85°C | 95°C+ |
Ensure proper cooling before stress testing. Clean dust from fans and heatsinks. Consider improving case airflow.
Don’t run stress tests on laptops without external cooling. Their compact design limits heat dissipation.
Analyzing Results and Next Steps
After completing stress tests, it’s crucial to interpret the data and take appropriate action. This involves examining test outcomes, adjusting system settings, and implementing long-term maintenance strategies.
Interpreting Test Outcomes
Stress test results provide valuable insights into your PC’s performance and stability. Look for signs of thermal throttling, which occurs when components overheat and reduce their speed to cool down. Check for any crashes, freezes, or errors during the tests.
Monitor your CPU and GPU temperatures. Ideal ranges vary by component, but generally, CPUs should stay below 80°C under load. GPUs can handle slightly higher temperatures, up to 85°C.
Pay attention to frame rates in GPU tests. Consistent FPS indicates stable performance. Sudden drops may signal bottlenecks or thermal issues.
| Component | Safe Temperature Range |
|---|---|
| CPU | Below 80°C |
| GPU | Below 85°C |
| RAM | Below 85°C |
Tweaking System Settings
If your tests reveal issues, it’s time to make adjustments. Start with optimizing airflow in your case. Ensure proper cable management and consider adding more fans if needed.
For high CPU temperatures, check your CPU cooling solution. You might need to reapply thermal paste or upgrade to a more efficient cooler.
Adjust fan curves in your BIOS or using software tools. This can help balance noise levels with cooling performance.
If you’ve overclocked components, consider reducing clock speeds or voltages to improve stability. Small tweaks can often resolve instability without sacrificing much performance.
Long-Term Monitoring and Maintenance
Implement a regular testing schedule to catch potential issues early. Monthly or quarterly stress tests can help track system health over time.
Use diagnostic utilities to monitor your system during normal use. These tools can alert you to potential problems before they cause crashes or data loss.
Keep your drivers and BIOS up to date. Manufacturers often release updates that improve stability and performance.
Clean your PC regularly to prevent dust buildup. This helps maintain optimal airflow and cooling efficiency.
Consider upgrading components if you consistently encounter performance bottlenecks. Faster RAM or a more powerful GPU can significantly improve system responsiveness and gaming performance.
Frequently Asked Questions
Stress testing your PC involves various software tools and methods to evaluate performance and stability. Different components require specific approaches for thorough assessment.
What software can be used for CPU stress testing?
Prime95 is a popular choice for CPU stress testing. It offers multiple options including AVX and SSE instructions.
OCCT provides four different stress test modes for CPUs. These modes allow for comprehensive testing of processor stability.
AIDA64 is another tool that can stress test CPUs. It offers a range of features for system diagnostics and stability testing.
What are the recommended procedures for stress testing a PC on Windows 11?
Start by running Windows’ built-in memory diagnostic tool. This checks for RAM issues that could affect system stability.
Use CPU-Z to monitor your processor’s temperature during stress tests. High temperatures can indicate cooling problems.
Run Prime95 for at least an hour to thoroughly test CPU stability. Monitor temperatures to prevent overheating.
How do you perform a GPU stress test to evaluate graphics performance?
FurMark is a widely used tool for GPU stress testing. It puts heavy load on graphics cards to test stability and performance.
3DMark offers benchmark tests that simulate real-world gaming scenarios. These tests help evaluate GPU performance under various conditions.
MSI Kombustor provides GPU stress testing with different presets. It allows for quick stability checks of graphics cards.
What methods are available for benchmarking PC performance?
Cinebench tests CPU and GPU rendering capabilities. It provides scores that can be compared to other systems.
PCMark 10 evaluates overall system performance. It runs various workload simulations to measure PC capabilities.
| Benchmark Tool | Primary Focus | Test Duration |
|---|---|---|
| Cinebench | CPU/GPU | Short |
| PCMark 10 | System-wide | Medium |
| 3DMark | GPU | Medium |
| Prime95 | CPU | Long |
Are there any risks associated with conducting a stress test on your computer?
Stress tests can cause temporary system instability. Save all open work before starting any tests.
High temperatures during stress tests may reduce component lifespan. Ensure proper cooling before running extended tests.
Overclocked systems face higher risks during stress tests. Consider reverting to stock settings for initial testing.
Which benchmarks are considered best for assessing the overall stability of a PC?
MemTest86 is highly regarded for testing RAM stability. It runs extensive tests to identify memory issues.
AIDA64’s system stability test checks multiple components simultaneously. This provides a comprehensive view of system stability.
Prime95’s blend test stresses both CPU and RAM. It’s effective for identifying instabilities in core system components.


