Struggling with a PC monitor that just won’t cooperate? Whether it’s a flickering screen, a pesky stuck pixel, or a full-blown crack, there’s often hope for bringing your screen back to life. This guide will take you through the most common PC monitor ailments and their fixes, so you can get back to clear, uninterrupted viewing.
WARNING: Opening your monitor exposes you to potentially dangerous electrical components. Exercise caution and only proceed if you’re comfortable with electronics. If unsure, consulting a professional repair technician is recommended.
Troubleshooting and Fixing Your PC Monitor
Common Monitor Problems
Before you start taking things apart, it’s helpful to pinpoint the issue. Here are some common monitor maladies:
- No power: The monitor doesn’t turn on at all. No lights, no image.
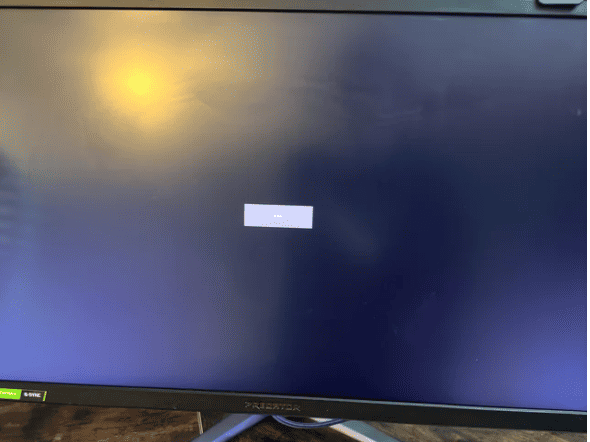
- No signal: The monitor powers on, but displays a “No Signal” message.
- Dim image: The screen is too dark to see clearly.
- Dead pixels: Tiny black or colored dots that stay on the screen permanently.
- Flickering or lines: The image flickers, shows lines, or distorts.
- Color problems: Colors appear inaccurate or washed out.
Basic Troubleshooting Steps
Often, the fix is simpler than you think. Try these first:
- Check the power cable: Make sure it’s securely plugged into both the monitor and the wall outlet.
- Test with a different cable: A faulty video cable (HDMI, DisplayPort, etc.) can cause display problems.
- Try another input source: Connect a laptop or game console to see if the monitor works with a different device.
- Adjust brightness and contrast settings: Sometimes, it’s just a matter of tweaking the display settings.
More Advanced Repairs
If basic troubleshooting doesn’t help, you might need to delve deeper. Proceed with caution!
- Internal components: Opening the monitor to access internal parts can be risky and may void your warranty. Only attempt this if you’re comfortable with electronics repair.
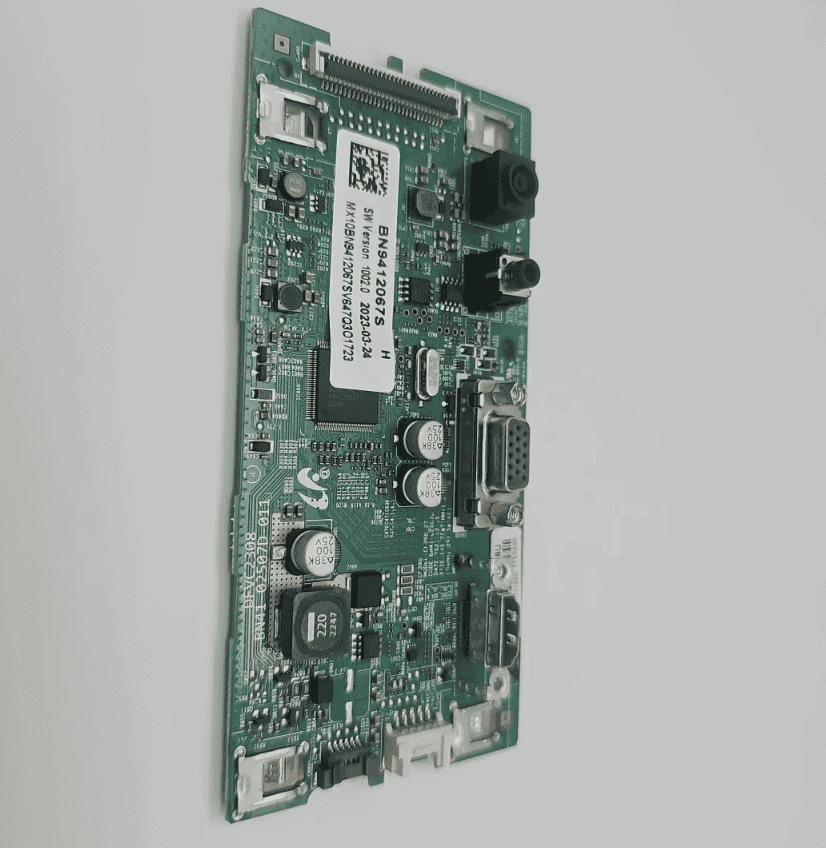
- Capacitor replacement: Bulging or leaking capacitors are a common cause of monitor failure. These can be replaced with some soldering skills.
- Backlight issues: Problems with the backlight can cause dimness or uneven lighting. This often requires specialized parts and expertise.
Troubleshooting Table
| Problem | Possible Causes | Solutions |
|---|---|---|
| No power | Faulty power cable, power supply issue | Check cable connections, test with a different cable, consider professional repair if power supply is faulty |
| No signal | Incorrect input source, faulty cable, graphics card issue | Check input source, test with a different cable, ensure graphics card is properly seated and functioning |
| Dim image | Backlight failure, brightness settings | Adjust brightness, if that fails, likely a backlight issue requiring professional repair |
| Dead pixels | Usually a panel defect | Often not repairable, may be covered under warranty |
| Flickering/lines | Loose connections, faulty cable, graphics card problem | Check cable connections, test with a different cable, reseat graphics card, consider professional help if problem persists |
| Color problems | Incorrect color settings, graphics card issue, monitor settings | Adjust color settings on the monitor and computer, check graphics card drivers, if issue remains, may require professional calibration or repair |

When to Seek Professional Help
- Warranty: If your monitor is still under warranty, contact the manufacturer for repair or replacement.
- Complex issues: For problems involving the LCD panel or other delicate components, it’s best to consult a professional repair service.
Common Monitor Issues and DIY Fixes:
| Issue | Possible Cause | Fix |
|---|---|---|
| No Power/Screen Blank: | – Faulty power cable | – Check and replace if damaged. |
| – Loose connection at power outlet or monitor | – Ensure secure connections. | |
| – Faulty power adapter | – Test with a different adapter. Consider replacing if faulty. | |
| – Blown fuse in the monitor (advanced) | – Requires opening the monitor and identifying/replacing the fuse. Seek professional help if needed. | |
| Flickering Screen: | – Loose cable connection | – Check and tighten all connections (power, video). |
| – Outdated graphics drivers | – Update your graphics drivers to the latest version. | |
| – Faulty backlight inverter (advanced) | – Requires monitor disassembly and component replacement. Seek professional help if needed. | |
| Distorted Colors/Lines: | – Incorrect video settings | – Adjust brightness, contrast, and color settings on the monitor or in your operating system. |
| – Faulty video cable | – Replace the video cable (HDMI, DisplayPort, etc.) with a new one. | |
| – Pixel issues (stuck or dead) | – Try software pixel repair tools. For stuck pixels, gently massage the area with a soft cloth (not recommended for OLED displays). |
Additional Tips:
- Always unplug the monitor before performing any repairs.
- Work in a well-lit, clean area to avoid dust and debris entering the monitor.
- Take pictures of the disassembly process to aid reassembly later.
- Use appropriate tools and avoid applying excessive force.
- If you’re unsure about any step, consult a repair manual or online resources specific to your monitor model.
Understanding Monitor Issues and Solutions
Diagnosing Power Supply Problems
If your monitor is refusing to display an image, the first step is to check the power supply. Watch for the lights at the edge of the monitor when you turn it on. No lights could indicate a blown capacitor, a common culprit in power supply failures. Be aware, dealing with capacitors can be dangerous due to the high voltage involved. If you’re not experienced with electronics repair, it might be safer to consult a professional.

Fixing Backlight Issues
Is your screen just showing a black void, but the power light is on? Shine a light on the screen. If you can see a faint image, the backlight might be the problem. Backlight issues are usually fixable, but it involves a bit of delicate work with the monitor’s internals.
Dealing with Stuck or Dead Pixels
A pixel stuck on a specific color can be annoying. A simple fix is to gently rub the pixel with a cloth-covered pencil tip. There are also software solutions that cycle through colors to jolt the pixel back to life. For dead pixels, however, a screen replacement might be the only answer.
Physical Damage: To Repair or Replace?
Cracks or deep scratches often mean the end of the road for a monitor. If the damage is severe, replacing the monitor could be more cost-effective than attempting a repair.

Replacing Components
Sometimes, the only way forward is to replace faulty components. This could range from swapping out capacitors in the power supply to replacing the entire LCD panel. Remember, safety first! Always ensure you’re grounded when working on electronics, and if in doubt, seek professional help.
Repairing Your Laptop Screen: A DIY Guide
Before we dive in, remember that laptop screens are delicate and contain potentially hazardous components. Proceed with caution and only attempt this if you’re comfortable with electronics. If unsure, seeking professional help is always recommended.
Common Laptop Screen Issues and DIY Fixes:
| Issue | Possible Cause | Fix |
|---|---|---|
| Cracked/Smashed Screen: | Physical damage due to drops, impacts, etc. | Replacement is the only option for a cracked screen. Find a compatible replacement panel online or at a computer parts store. |
| Dim or Flickering Screen: | – Loose cable connection – Faulty backlight inverter – Inverter power supply issue | – Check and tighten all connections (internal display cable). – Advanced Repair: Replace the backlight inverter or troubleshoot the power supply (requires disassembly). |
| Distorted Colors/Lines: | – Incorrect display settings – Faulty video cable – Pixel issues (stuck or dead) | – Adjust brightness, contrast, and color settings. – Replace the video cable (HDMI, DisplayPort, etc.). – Try software pixel repair tools. For stuck pixels, gently massage the area with a soft cloth (not recommended for OLED displays). |
| Dead Screen (No Backlight): | – Faulty power cable – Loose internal connection – Faulty inverter or power supply (advanced) | – Check and replace the power cable if damaged. – Check and tighten internal display cable connections. – Advanced Repair: Replace the inverter or troubleshoot the power supply (requires disassembly). |
Additional Tips:
- Always unplug the laptop and remove the battery before performing any repairs.
- Work in a well-lit, clean area to avoid dust and debris entering the laptop.
- Take pictures of the disassembly process to aid reassembly later.
- Use appropriate tools and avoid applying excessive force.
- If you’re unsure about any step, consult a repair manual or online resources specific to your laptop model.
Remember, this guide is a starting point. For complex issues or if you’re uncomfortable with DIY repairs, seeking professional help is always the safest option.
Practical Tips for Monitor Care
- Regular cleaning with appropriate materials can prevent damage.
- Avoid physical impacts or pressure on the screen.
- Use surge protectors to safeguard against power surges.
Summary of Facts
- Monitor not working? Check the power supply first.
- Backlight issues are common but fixable.
- Stuck pixels can often be fixed; dead pixels usually mean a screen replacement.
- For significant physical damage, replacement is often more practical than repair.
- Safety first: when in doubt, consult a professional.
FAQs
What should I do if my monitor is flickering?
Flickering could be a sign of power supply issues or failing backlight. Check the connections first, then consider seeking professional help.
Can I fix a monitor with a broken screen?
If the screen is cracked or severely damaged, it’s usually more practical to replace the monitor.
My monitor shows a “power saving mode” message, what does this mean?
This typically indicates that the monitor is in standby due to inactivity. Check your computer and monitor settings to adjust how they respond to periods of inactivity.


