Encountering a problem where your computer says “You have no preferred wireless networks” can be confusing. This message appears when your device doesn’t automatically connect to Wi-Fi networks it has used before. This could be because your computer forgot the network, or there might be more technical issues like problems with the Wi-Fi adapter or system errors.
To fix these issues, you may need to reconnect to your wireless network, adjust settings, or troubleshoot the network adapter. You might also need to reset network configurations or prioritize networks to restore your internet access. The steps to solve these problems can vary depending on whether you have a Windows or Mac operating system, but there are some general steps that apply to both.
How to Fix “You Have No Preferred Wireless Networks”
“You Have No Preferred Wireless Networks” is a common error message users see on their computers. The message means that your computer can’t find any Wi-Fi networks that it recognizes and can connect to automatically. Don’t worry, though: it’s usually a simple fix.
Forget the Network and Reconnect
Start by making your computer “forget” the Wi-Fi network that you want to connect to. Here’s how:
- Go to your computer’s network settings.
- Find the list of your saved Wi-Fi networks.
- Click on the Wi-Fi network that you want to connect to and choose the option to forget it.
- Try reconnecting to the network. You will need to enter the password again.
Update Your Network Drivers
Outdated or corrupted network drivers can cause problems with connectivity. Here’s how to update your network drivers:
- Open the Device Manager on your computer.
- Find the network adapters section and expand it.
- Right-click on your wireless network adapter and select “Update Driver.”
- Follow the instructions for updating the driver.
Check Your Network Settings
Double-check that your computer’s Wi-Fi is turned on and that your network settings are configured properly. Here’s how to find that information:
- Wi-Fi toggle Look for a physical switch on your computer or a software toggle in your settings.
- Network Settings: Navigate to your Network and Internet settings in Windows or System Preferences on a Mac.
Troubleshooting Table
Here’s a quick table of simple troubleshooting solutions for the “You Have No Preferred Wireless Networks” error:
| Problem | Solution |
|---|---|
| Wi-Fi is turned off | Turn Wi-Fi on in your computer’s settings |
| Network is out of range | Move closer to the router |
| Obstructions are blocking the signal | Remove or reposition objects blocking the Wi-Fi signal |
| The router has problems | Restart your router |
Still Having Trouble?
If you’re still experiencing problems connecting to a Wi-Fi network, consult the manual for your router or reach out to your internet service provider (ISP) for help.
Key Takeaways
- Wireless network issues can stem from simple configuration errors to hardware malfunctions.
- Corrective measures include re-establishing connections and troubleshooting network adapters.
- A methodical approach is key to resolving Wi-Fi connectivity problems.
Understanding Wireless Network Issues
Wireless network issues can disrupt your internet experience by causing a failure to connect to Wi-Fi networks, which can be due to a variety of reasons such as poor signal strength or problems with the network adapter.
Identifying Connectivity Problems
When devices fail to connect to Wi-Fi, it signals a problem. To begin troubleshooting, check if the device displays any Wi-Fi networks. If none show up, the issue might lie with the Wi-Fi adapter or the router. It’s important to ensure the router is on and properly plugged into the modem. Check the signal strength of the Wi-Fi. Low signal strength can lead to connectivity issues. If using Ethernet, ensure the cable is securely connected.
Next, verify if the problem is with the device by trying to connect with another device. If the other device also cannot connect, the problem may be with the router or the Internet Service Provider. In cases where only one device is having trouble, the issue is likely with that specific device’s network settings or hardware.
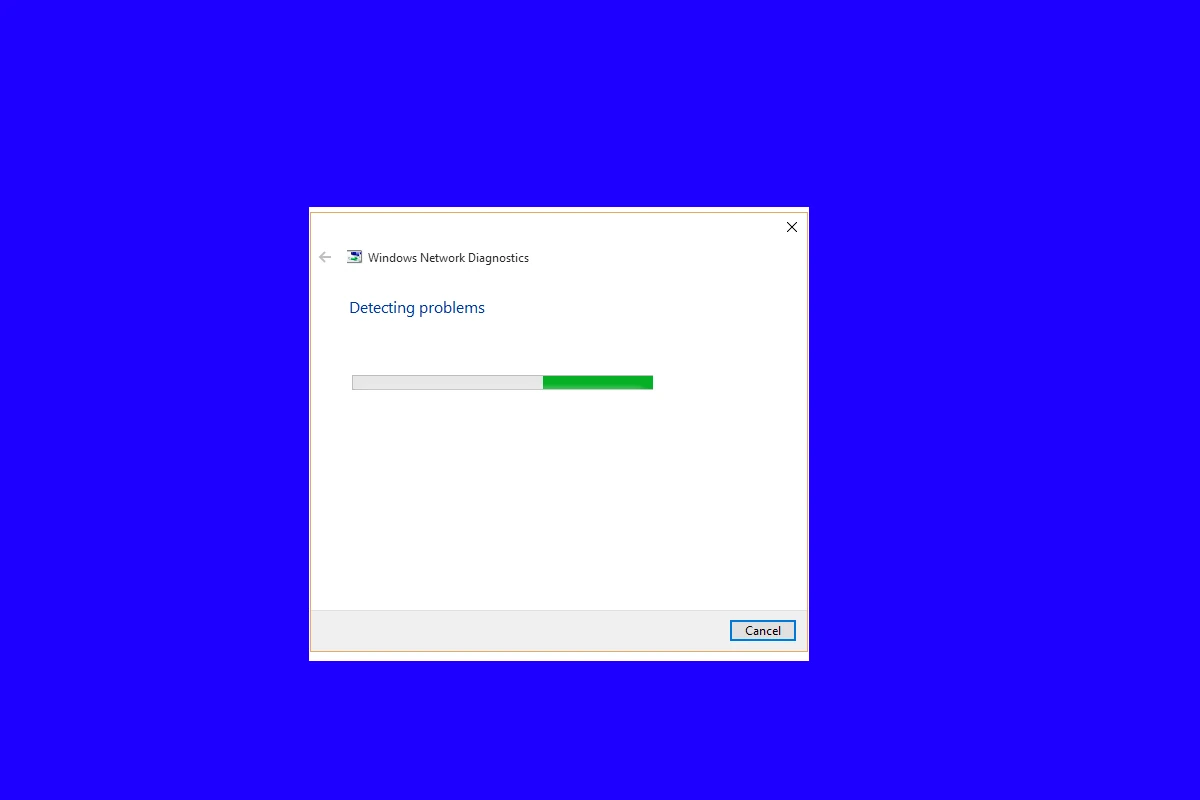
Windows Network Diagnostics
Windows includes a built-in tool called Network Troubleshooter that can help identify and solve common network connectivity issues. For Windows 10 and Windows 11, one can access this tool by going to Settings > Network & Internet > Status. Here, select the ‘Network troubleshooter’ to start the diagnostic process. This tool runs checks on various network components, including the network adapter. It can sometimes automatically fix detected issues or at least point out where the problem might be, which can be a helpful lead in fixing connectivity issues.
Resolving Connection Failures
When your wireless network does not appear as preferred, it can prevent you from easily reconnecting. This section walks you through effective ways to address these issues.
Resetting Network Components
Resetting your network components is a simple yet effective first step. Follow these:
- Power off the modem and router. Wait for 30 seconds.
- Power on the modem. Wait for 60 seconds.
- Turn on the router. Allow it to fully start.
After these steps, check if your wireless network appears.
Resetting network software can also help. To reset TCP/IP stack and Winsock, open Command Prompt as an administrator and type in netsh int ip reset followed by netsh winsock reset and press Enter after each one.
Driver and Software Solutions
Outdated or incorrect drivers can cause network issues. Here’s what you can do:
- Update Network Adapter Driver: Go to Device Manager, expand Network adapters, right-click your wireless network adapter, and select Update driver.
- Roll Back Driver: If issues arose after an update, select Roll Back Driver in the driver’s properties.
- Uninstall Device: Sometimes, uninstalling the network device in Device Manager can help. After uninstalling, reboot your PC. Windows will attempt to reinstall the driver upon startup.
Remember that some issues stem from outdated software. Run Windows Update to ensure your system has the latest bug fixes and improvements.
Network Adapter Management
Proper network adapter settings are crucial for a stable connection. Here are steps to manage them:
- Quick Settings: Use Windows Quick Settings to check Airplane Mode is off and Wifi is on.
- Private Network Profile: Ensure your network connection is set to Private in Network Settings. This setting is more secure and allows device discovery.
- Wireless Router Settings: Verify the firmware of your wireless router is current. If not, update it following the manufacturer’s instructions.
Occasionally, Ethernet can be a more reliable connection than Wi-Fi. If you continue to face issues, consider using an Ethernet cable as a workaround.
Frequently Asked Questions
Setting up and resolving concerns with wireless networks on a Windows computer can often raise questions. Here are some answers to common queries.
How do I add a preferred wireless network in Windows?
Open the Network and Sharing Center, click on ‘Set up a new connection or network,’ then choose ‘Manually connect to a wireless network.’ Fill in the network name, security type, and key. Check ‘Start this connection automatically’ to make it a preferred network.
How can I fix issues with my preferred wireless network not being available?
Verify that your wireless adapter is enabled. You can do this by going to ‘Network Connections,’ right-clicking your Wi-Fi adapter and selecting ‘Enable.’ Also, ensure that airplane mode is turned off and the wireless switch on your computer is in the on position.
Why is my computer not connecting to previously connected wireless networks?
Check if the network profile is set to “connect automatically” when in range. If not, open Wi-Fi settings, click on ‘Manage known networks,’ select the network, and choose ‘Properties’ to set it to auto-connect.
What steps should be taken to set up a preferred wireless network on Windows 10?
Go to ‘Settings,’ then ‘Network & Internet.’ Click on ‘Wi-Fi’ and then ‘Manage known networks.’ Add a new network by entering its details, and make sure to set it as a preferred network.
How do I troubleshoot wireless networks that my PC won’t connect to?
Run the built-in Windows Network Troubleshooter by right-clicking on the network icon in the system tray and selecting ‘Troubleshoot problems.’ Follow the prompts to diagnose and resolve connectivity issues.
Why might a Windows computer fail to display available preferred wireless networks?
Interference or a weak signal can cause this issue. Move closer to the router, remove obstructions, and check for potential wireless interference from other devices. Upgrading your Wi-Fi adapter drivers may also help.