Many people find headphones essential for enjoying music and podcasts privately. However, when headphones break, repairing them can save money and reduce waste. Like any electronic devices, headphones can develop issues over time. Before throwing them out and buying new ones, consider simple repairs that might bring them back to life. This guide provides troubleshooting tips and solutions for common headphone problems, helping you save money and extend the life of your favorite audio companion.
Common headphone issues such as frayed wires, loose connections, and worn ear pads are often easy to fix at home. With basic tools and know-how, you can get your headphones working again. Learning to repair headphones is a useful skill as it helps you understand how they work and allows you to keep your favorite pair working for longer. This guide will show you how to tackle common headphone repairs step-by-step.
Resurrecting Your Headphones: A DIY Repair Guide
Diagnosing the Problem
Before diving into repairs, identify the issue. Is one earbud silent? Is the sound distorted? Is the cable frayed? Pinpointing the problem will guide you towards the right solution.
Common Headphone Issues and Fixes
| Issue | Possible Cause | Solution |
|---|---|---|
| One earbud not working | Loose connection, damaged wire, driver malfunction | Check connections, wiggle wires, test on another device, replace driver if necessary |
| Sound distortion | Damaged driver, debris in earbud, software issue | Clean earbuds, test on another device, update/reinstall audio drivers |
| Low volume | Clogged mesh, software issue, low battery (wireless) | Clean mesh with a soft brush, check volume settings, charge headphones (if applicable) |
| Microphone not working | Loose connection, debris in mic, software issue | Check connections, clean mic with a soft brush, update/reinstall audio drivers |
| Cable damage | Frayed or broken wires | Replace the cable or solder broken wires (if experienced) |
| Connection issues (wireless) | Pairing problems, interference | Reset connection, try a different location, update firmware |
General Tips
- Cleanliness is Key: Regularly clean your headphones to prevent dust and debris from affecting sound quality and connections.
- Handle with Care: Avoid yanking or twisting the cables to prevent damage.
- Store Properly: When not in use, store your headphones in a case or pouch to protect them from damage.
- DIY Repairs: If you’re comfortable with basic soldering and electronics, many repairs can be done at home.
Key Takeaways
- Many headphone problems can be fixed at home with basic tools
- Repairing headphones saves money and reduces electronic waste
- Learning headphone repair helps you understand how they work
Understanding Headphone Components and Common Issues
Headphones have many parts that can break. Knowing how they work helps fix them. Common problems include sound issues and broken wires.
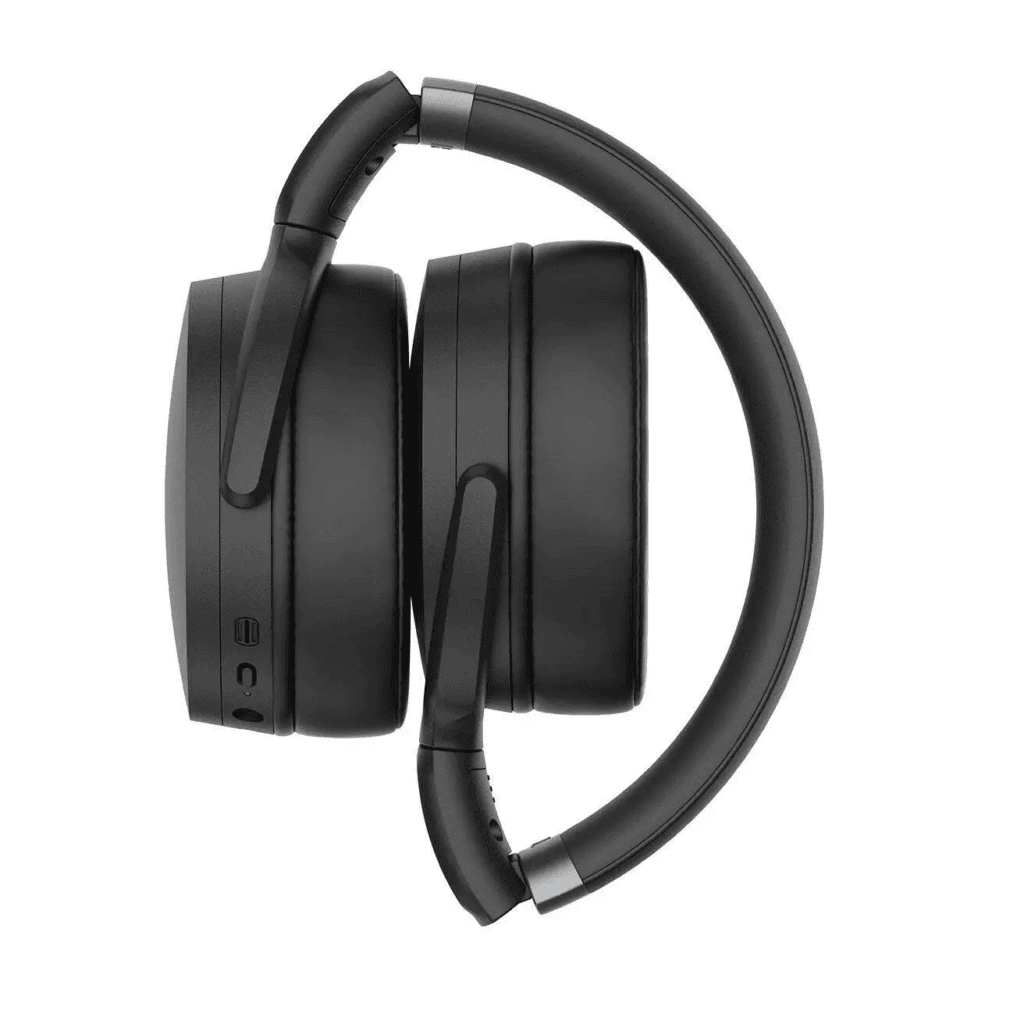
Headphone Anatomy and Design Features
Headphones have drivers that make sound. These sit in cups or buds. A band connects the cups in over-ear and on-ear styles. In-ear models fit inside the ear canal. Cables carry audio signals from the source to the drivers. Some headphones are wireless and use Bluetooth.
Most headphones have a 3.5mm jack to plug into devices. This jack has three parts for left audio, right audio, and ground. Wireless models have batteries and circuits for Bluetooth. Earpads or tips make headphones comfy to wear.
The design affects sound quality and comfort. Over-ear headphones cover the whole ear. On-ear sit on top. In-ear buds go inside. Each type has pros and cons for sound and fit.
Diagnosing Common Headphone Problems
Sound issues are frequent problems. No sound in one ear often means a loose wire. Crackling or static points to a faulty connection. Low volume can be from dirt in the jack or weak batteries.
Physical damage is also common. Broken bands make headphones unwearable. Frayed cables cause sound loss. Torn earpads affect comfort and sound quality.
For wireless models, pairing troubles are typical. This can be from low batteries or bugs in the Bluetooth connection. Some devices don’t work well with certain headphone models.
To find the problem, check each part. Test the cable, jack, and each earbud. For wireless models, try resetting and re-pairing.
Tools and Materials for Headphone Repair
Basic tools for headphone repair include:
- Small screwdrivers
- Wire strippers
- Soldering iron
- Electrical tape
- Replacement cables
For cleaning, use:
- Cotton swabs
- Isopropyl alcohol
- Compressed air
Replacement parts may include:
- New earpads or tips
- Spare jacks
- Extra wires
Safety gear like gloves and safety glasses is smart. A multimeter helps test connections. For serious repairs, get a magnifying glass to see small parts.
Keep a clean, well-lit workspace. Good lighting and a steady hand are key for small repairs. Store spare parts in labeled containers to stay organized.
Step-by-Step Headphone Repair Techniques
Fixing headphones can save money and extend their life. These methods cover common issues like broken wires and worn-out parts. With the right tools and care, many repairs can be done at home.
Repairing Cable and Jack Issues
Check the cable for breaks or frays. If found, cut the damaged part with wire cutters. Strip the ends of the wire with wire strippers. Twist matching colored wires together. Cover each connection with electrical tape.
For jack problems, unscrew the plug if possible. Look for loose wires inside. Resolder any detached wires to the correct spots on the jack. If the jack is beyond repair, buy a new one. Solder the wires to the new jack in the same order as before.
Clean dirty jacks with a cotton swab dipped in rubbing alcohol. Gently remove any lint or dirt. Let it dry before testing.
Soldering Techniques for Wire Repairs
Soldering fixes loose wire connections. You’ll need a soldering iron, solder, and helping hands to hold wires.
First, strip the wire ends. Twist matching wires together. Heat the soldering iron. Touch the iron to the wires and apply solder. The solder should melt and flow into the connection. Let it cool without moving.
Cover the joint with heat shrink tubing. Use a heat gun to shrink it tight. This protects the repair and prevents shorts.
Always work in a well-ventilated area. Wear safety glasses to protect your eyes from solder splatter.
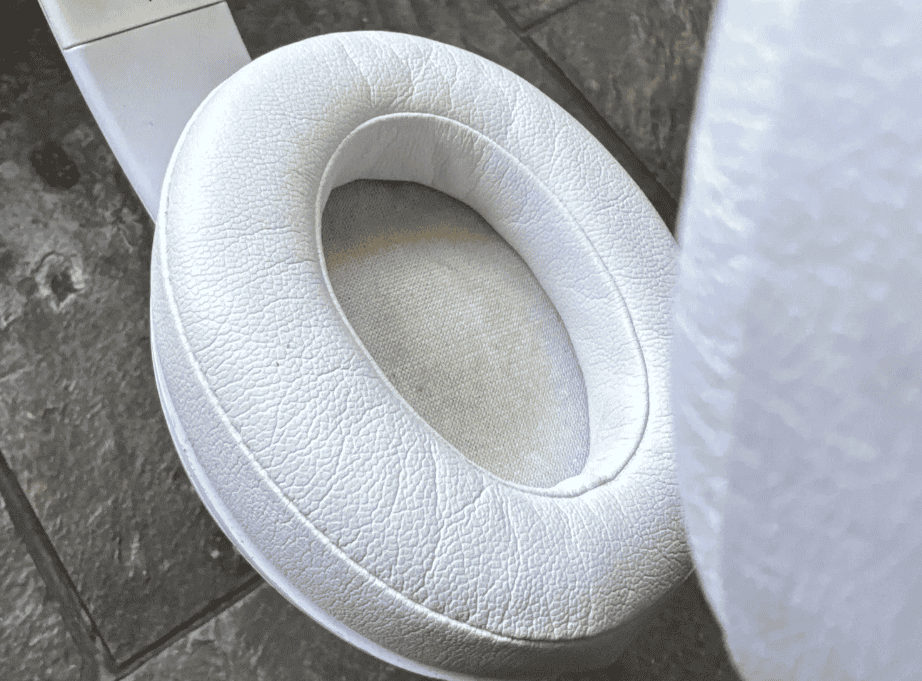
Replacing Earbuds and Earpads
Worn earpads affect comfort and sound. Most snap or pull off. Check the manufacturer’s site for the right replacement. Clean the speaker grilles before putting on new pads.
For in-ear types, remove old tips. Clean the nozzles with a soft brush. Slide on new tips that fit snugly.
If an earbud stops working, open the casing carefully. Look for loose wires on the speaker. Resolder if needed. If the speaker is damaged, replace the whole unit.
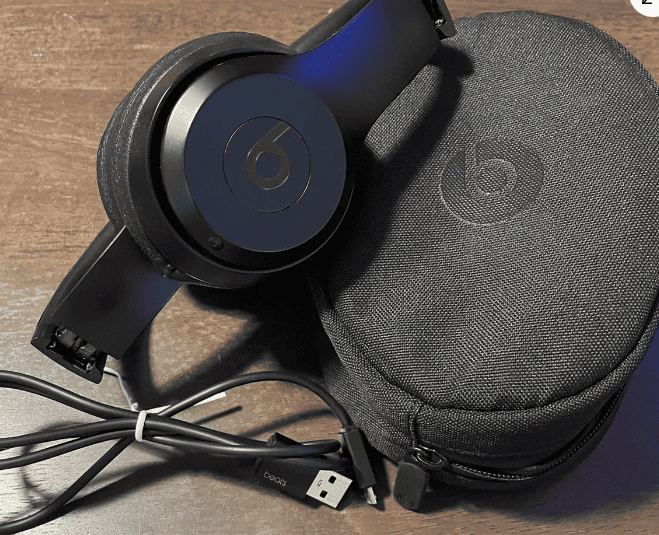
Battery Replacement for Wireless Devices
Wireless headphones need new batteries over time. Find the battery compartment. It’s often behind an earcup or in the headband.
Open the case carefully. Note how the old battery connects. Unplug it gently. Put in the new battery the same way. Make sure it’s the right type and voltage.
Close everything up tight. Charge fully before use. If unsure, check the manual or maker’s website for guides.
Finalizing the Repair and Testing
After any repair, test thoroughly. Play music at different volumes. Move the cable around to check for shorts. For wireless types, test all functions like power and pairing.
Listen for clear sound in both ears. Check that buttons and controls work right. Make sure the fit is still good.
If problems persist, double-check your work. You might need to redo a step. For complex issues, consider professional repair or replacement.
Keep your fixed headphones clean. Store them properly to avoid future damage. Regular care helps them last longer after repairs.
Frequently Asked Questions
Headphone repair costs, shops, and methods vary widely. Some fixes are simple while others require professional help. Brand and type of headphones also affect repair options.
What is the typical cost for repairing headphones?
Repair costs depend on the problem and headphone model. Simple fixes like replacing cables can cost $20-$50. More complex repairs may run $100 or more. Some high-end headphones have repair costs close to their original price.
How can I find a reputable headphone repair shop?
Look for shops with good reviews and experience with your headphone brand. Ask about their warranty on repairs. Check if they use genuine parts. Local electronics stores may offer repair services or recommendations.
What should I include in a headphone repair kit?
A basic kit should have small screwdrivers, tweezers, and a multimeter. Include wire strippers, solder, and a soldering iron for cable repairs. Add spare earpads and cables if available for your model.
Is it possible to repair over-ear headphones?
Yes, over-ear headphones can often be repaired. Common fixes include replacing cables, earpads, and headbands. Internal issues like driver damage may be harder to fix without professional help.
How does the brand of headphones affect repair possibilities?
Some brands make repairs easier by using standard parts and providing repair guides. Others use proprietary parts that are hard to replace. High-end brands may offer their own repair services.
Are headphones worth the investment for repairs?
It depends on the headphone quality and repair cost. Fixing expensive headphones is often worth it. For cheap headphones, replacement might be more cost-effective than repair. Consider the sentimental value and environmental impact too.