Faux finishing is a versatile and creative way to transform your walls from plain to extraordinary. Techniques like sponging, ragging, and stenciling can create stunning results. By combining these methods and adding textured glazes, color washes, and distressing effects, you can achieve a unique look that reflects your style. Faux finish painting can make your walls look amazing and fancy using different tricks.
You can mix different faux finish methods to make your walls look even better. This lets you make a unique look for your room. You might use one method on most of the wall. Then you could add a second method in some spots.
Trying new things with paint can be fun. You could use a sponge to add texture. Or you might make your wall look like wood. There are many ways to paint walls. Mix them up to make your home special.
Beyond Basics: Creative Combinations for Stunning Faux Finishes
Layering Techniques: Adding Depth and Complexity
Layering different faux finishes creates a multi-dimensional and textured look. Start with a base coat, then apply one or more techniques like sponging, ragging, or color washing. Experiment with different colors and textures to achieve a unique and personalized effect.
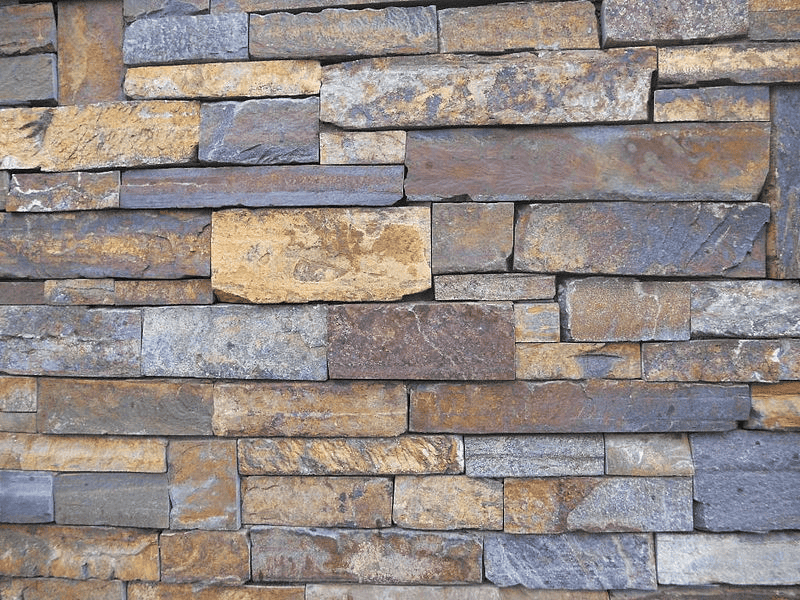
Image Credit: Michael Coghlan, CC BY-SA 2.0 https://creativecommons.org/licenses/by-sa/2.0, via Wikimedia Commons
Combining Patterns: Stripes, Diamonds, and More
Mix and match patterns for a visually interesting design. For example, create vertical stripes with a strié technique and then overlay a diamond pattern using stencils. This combination adds visual depth and texture to your walls.
Textured Finishes with Glazes: Metallic, Pearlescent, and More
Incorporate textured glazes with your chosen faux finish technique. Metallic or pearlescent glazes can add shimmer and shine, while textured glazes can mimic the look of stone or fabric. Experiment with different glaze types and application methods for a truly unique effect.
Distressed and Aged Looks: Combining Crackling and Antiquing
For a vintage or rustic vibe, combine crackling and antiquing techniques. Start by creating a crackle finish, then apply an antiquing glaze to add depth and age to the cracks. This combination gives your walls a weathered and charming appearance.
Color Washing Over Other Techniques: Adding Subtle Color Variations
Apply a color wash over another faux finish technique to create subtle color variations. This can enhance the depth and texture of the base technique, adding a touch of warmth or coolness to the overall look.
Customizing Your Faux Finish: Tips and Tricks
- Experiment with tools: Use different brushes, sponges, rags, and other tools to create unique textures and patterns.
- Vary your strokes: Apply glazes and paints with different strokes (e.g., vertical, horizontal, circular) to add visual interest.
- Practice on a sample board: Test your chosen techniques and color combinations before applying them to your walls.
- Don’t be afraid to make mistakes: Faux finishes are forgiving, and imperfections can often add to the charm and uniqueness of the look.
Fundamentals of Combining Faux Finish Techniques
Faux finish techniques can create beautiful textures and looks on walls and furniture. Mixing different methods can make unique designs. Let’s explore the basics of blending faux finishes.
Understanding Faux Finishes and Their Applications
Faux finishes mimic other materials. Common types include:
- Sponging: Creates a mottled look
- Ragging: Makes a soft, fabric-like texture
- Color washing: Gives a worn, aged effect
These work well on walls, doors, and ceilings. You can use them to add depth to a room. Faux finishes also hide flaws in drywall.
Combining methods adds interest. Try sponging over a color wash. Or use ragging with stencils. The options are endless. Pick finishes that work well together. Test them on a small area first.
Essential Tools and Materials for Faux Painting
You’ll need some basic items to start faux painting:
- Glaze
- Paint
- Sea sponges
- Rags
- Paint brushes
- Plastic wrap
- Sponge rollers
Glaze is key for most faux finishes. It helps the paint blend and move. Mix it with paint to make custom colors.
Keep a variety of tools on hand. Different items create unique textures. Natural sea sponges work best for sponging. Old t-shirts make great rags for ragging.
Clean your tools well after use. This helps them last longer.
Preparing Surfaces for Faux Finishing
Good prep is vital for faux finishes. Start with a clean, smooth surface. Fix any holes or cracks in the wall. Sand rough spots.
Apply a base coat of paint first. Let it dry fully. This can take a day or two. The base color will show through your faux finish. Choose it wisely.
Test your faux finish on a spare board. This lets you practice the technique. It also shows how the colors will look. Make changes before you start on the real surface.
Protect floors and furniture with drop cloths. Use painter’s tape to cover trim and edges. Work in small sections at a time. This keeps the glaze from drying too fast.
Advanced Techniques and Combinations for Enhanced Effects
Mixing faux finish methods can create stunning wall designs. Let’s explore some complex techniques and ways to blend them for unique looks.
Creating Textured and Dimensional Faux Finishes
Textured finishes add depth to walls. Rag painting is a simple way to start. Dip a cloth in paint and dab it on the wall. This creates a soft texture.
For more drama try layering techniques. Start with a base color. Then add a glaze in a different shade. Use tools like sponges or brushes to create patterns. This builds up texture and depth.
Stenciling works well with textured finishes. Apply a stencil over a textured base. The result is a raised pattern that pops off the wall.
Imitating Natural Materials with Faux Painting
Faux painting can mimic expensive materials. Wood graining is a popular choice. Start with a base coat that matches light wood. Use a graining tool to add darker streaks. This creates a wood-like look.
Faux marble is another option. Paint a light base. Then use feathers or special brushes to add veins. The key is to study real marble and copy its patterns.
Stone effects work well in bathrooms or kitchens. Sponge on different shades of gray or tan. Then use a cloth to soften the edges. This creates a natural stone look.
Tips for Blending Techniques to Achieve Unique Finishes
Mixing methods leads to one-of-a-kind walls. Try combining color washing with stenciling. First wash the wall with a thin glaze. Then stencil a pattern on top. The result is a subtle background with crisp designs.
Layering is key for rich finishes. Start with a smooth base coat. Add texture with a sponge or rag. Then use glazes to build up color. Finally add details with a brush or stencil.
Don’t be afraid to experiment. Test ideas on a board before trying them on walls. This helps you perfect your technique. With practice you can create amazing custom finishes.
Frequently Asked Questions
Combining faux finish techniques can create stunning effects. Here are some key tips and tricks to help you get the best results.
What are the best practices for combining different faux finish techniques?
Test your ideas on scrap materials first. This lets you see how techniques work together. Allow each layer to dry fully before adding the next. Start with lighter colors and build up to darker shades.
How do I prepare surfaces for multiple faux painting methods?
Clean walls well. Fill any holes or cracks. Sand rough spots smooth. Apply primer that works for all your planned techniques. Let the primer dry for at least 24 hours before starting.
What tools are essential for creating a layered faux finish effect?
You’ll need various brushes and rollers. Sponges and rags are useful too. Get painter’s tape to protect edges. Have plenty of paint trays and mixing containers ready.
Are there specific color schemes recommended when blending faux painting techniques?
Choose colors that work well together. Stick to 2-3 main colors plus accent shades. Earth tones often blend nicely. Try a color wheel to find matching hues.
How can I integrate the Strie effect with other faux finishing styles?
Apply Strie as a base layer. Let it dry fully. Then add other techniques on top. It works well under color washing or sponging. The striped texture adds depth to your final look.
What protective finishes should be applied after combining various faux painting techniques?
Use a clear sealer to protect your work. Choose matte or glossy based on your desired look. Apply thin coats with a foam roller. Let each coat dry before adding another.