
Connecting your Dell pen to your laptop enhances productivity and creativity. The process is straightforward, but it varies slightly depending on your specific Dell pen model.
To connect your Dell Active Pen to your laptop, insert the battery, press the top button for 3 seconds to enable pairing mode, then select the pen from your laptop’s Bluetooth devices list. This simple setup allows you to start using your pen for drawing, writing, and navigating your Dell laptop’s touchscreen.
Different Dell pen models may have unique features or pairing steps. The Dell Active Pen PN557W, for example, offers customizable buttons and pressure sensitivity settings. Check your pen’s user guide for model-specific instructions to get the most out of your device.
| Dell Pen Model | Key Features | Compatibility |
|---|---|---|
| PN557W | Bluetooth, customizable buttons | Most recent Dell 2-in-1 laptops |
| PN350M | Tilt support, palm rejection | Select Inspiron and Latitude models |
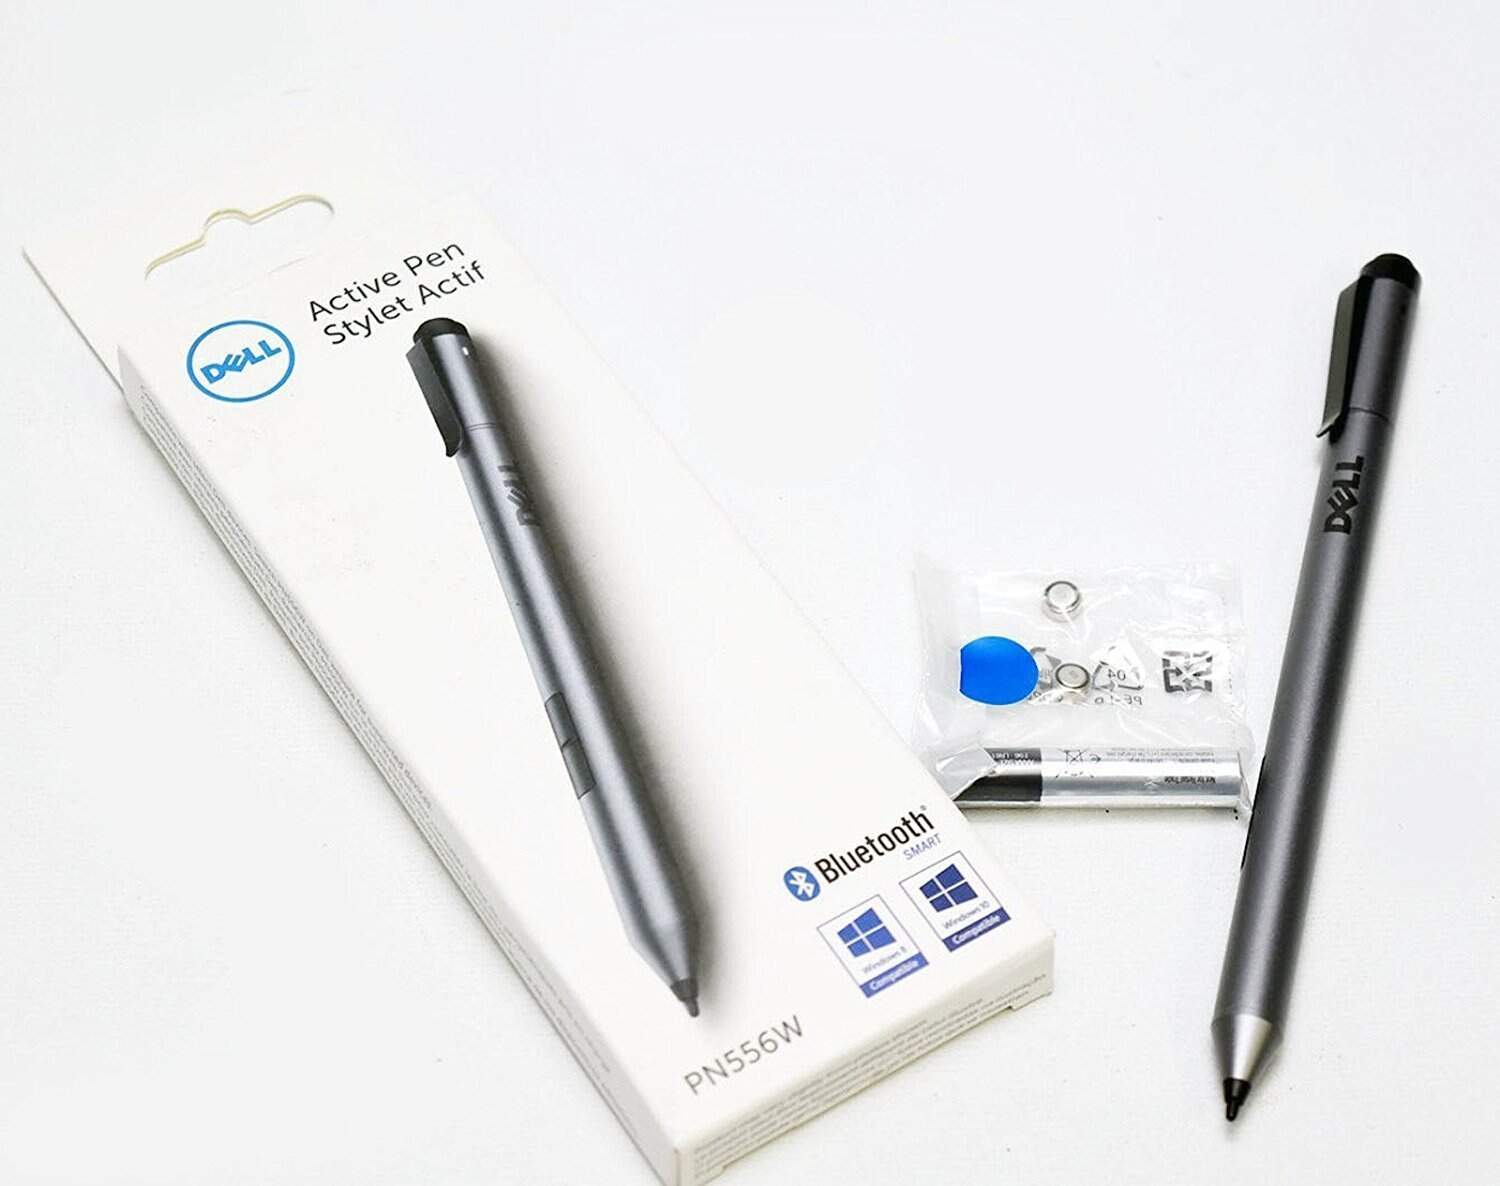
| PN556W | 4096 pressure levels, magnetic attachment | Compatible with various Dell tablets |
How to Connect a Dell Pen to a Laptop: Quick Setup Guide
1. Identify Your Dell Pen Model
Before connecting, check which model you have — it determines whether the pen uses Bluetooth or active capacitive technology.
You can find your model number printed on the pen or its packaging (e.g., PN350M, PN557W, PN579X, etc.).
👉 See Dell’s official identification guide for reference: Dell Active Pen Models.
2. Check Laptop Compatibility
Not all Dell laptops support every pen model.
You can confirm compatibility here: Dell Active Pen PN350M Support Center.
Generally:
- PN350M → Works with most Dell 2-in-1 laptops using MPP (Microsoft Pen Protocol).
- PN557W / PN579X → Require Bluetooth for full functionality (buttons, shortcuts, etc.).
3. Prepare Your Pen
- Insert or check the battery (usually an AAAA battery for PN350M, AAA for others).
- If your pen has Bluetooth, press and hold the top button until the LED starts blinking — this puts it in pairing mode.
4. Enable Bluetooth on Your Laptop
- Go to Settings → Bluetooth & devices → Add device.
- Turn on Bluetooth if it’s off.
- Select Add device → Bluetooth.
- Choose your pen (e.g., “Dell PN557W”) from the list.
- Wait for it to pair successfully.
💡 If your pen doesn’t appear, restart Bluetooth or reinsert the battery.
5. Test the Pen
- Open Microsoft Whiteboard, OneNote, or Paint to test writing and pressure sensitivity.
- For advanced settings (button mapping, pressure curve), download the Dell Active Pen Control Panel from Dell Support.
6. Troubleshooting Tips
If your pen doesn’t work:
- Make sure your laptop’s BIOS and drivers are updated (use Dell SupportAssist).
- Check that the pen tip isn’t worn out or damaged.
- Re-pair the pen if Bluetooth functions (like shortcuts) aren’t responding.
- Reset the pen by removing and reinserting the battery.
✅ You’re All Set!
Once connected, your Dell pen should automatically work with compatible apps and touchscreens — perfect for note-taking, drawing, and navigation.
Sources:
- Dell Active Pen Models: Identification & Troubleshooting
- Dell Active Pen PN350M Support Center
- How to Connect Dell Pen to Laptop – CLRN
Preparing Your Dell Pen and Laptop
Before connecting your Dell pen to your laptop, you need to ensure compatibility and prepare both devices. This involves identifying the correct pen model, checking system requirements, and installing batteries.
Identifying Compatible Dell Pens and Laptops
Dell offers several Active Pen models designed to work with specific laptop series. The Dell Active Pen PN557W is compatible with many recent 2-in-1 laptops. Check your laptop model against this list of compatible systems:
- Inspiron 7300 series
- Latitude 7320 Detachable
- Latitude 5320 2-in-1
- Latitude 7210 2-in-1
To find your exact pen model, look for a label on the pen itself or check your laptop’s documentation. If you’re unsure, contact Dell Support for assistance.
Checking System Requirements
Your laptop needs to meet certain requirements to work with a Dell Active Pen. Here’s what to check:
- Operating System: Ensure you’re running Windows 11 or a compatible version.
- Bluetooth: Your laptop must have Bluetooth capability for wireless connectivity.
- Drivers: Install the latest pen drivers from Dell’s support website.
Update your system if needed before proceeding with the pen setup.
Installing Required Batteries
Most Dell Active Pens use AAAA batteries. Here’s how to install them:
- Unscrew the pen cap.
- Insert the AAAA battery with the positive end facing the pen tip.
- Replace the cap and tighten it securely.
Some models may have different battery requirements. Check your pen’s user guide for specific instructions. Always use fresh batteries to ensure optimal performance.
| Pen Model | Battery Type | Number of Batteries |
|---|---|---|
| PN557W | AAAA | 1 |
| PN5122W | AAAA | 1 |
| PN556W | AAAA | 1 |
With your pen and laptop prepared, you’re ready to start the connection process.
Initial Setup and Pairing
Connecting your Dell pen to your laptop involves activating the pen, pairing it via Bluetooth, and confirming the connection. This process ensures your pen works seamlessly with your device.
Activating the Dell Pen
To start using your Dell Active Pen, you’ll need to activate it. Remove the top cover of the pen to access the battery compartment. Insert the AAAA battery if it’s not already installed. Some models like the PN557W require pressing the top button for 3.5 seconds to enable pairing mode.
For the PN350M, PN5122W, and PN7320A models, the activation process is similar. Press and hold the top button until the LED light indicates it’s ready to pair.
Bluetooth Pairing Process
Pairing your Dell pen uses Bluetooth technology. On your laptop, open the Bluetooth settings. Click “Add Bluetooth or other device” and select “Bluetooth” from the options.
With your pen in pairing mode, it should appear in the list of available devices. Select your pen model to initiate the connection. Follow any on-screen prompts to complete the pairing.
| Pen Model | Pairing Button | Hold Duration |
|---|---|---|
| PN557W | Top button | 3.5 seconds |
| PN579X | Top button | 3-5 seconds |
| PN350M | Top button | 3-5 seconds |
Verifying Connection Status
After pairing, you’ll want to verify the connection. Look for a confirmation message on your laptop screen. The pen’s LED light may also indicate a successful connection.
Test the pen by drawing on a compatible app. If it works, you’re all set. If not, try these steps:
- Restart your laptop
- Remove and re-add the pen in Bluetooth settings
- Check for driver updates
Remember, some Dell pens have a power-off option to save battery. To turn it back on, simply press any button on the pen.
Optimizing Pen Performance
Maximize your Dell pen’s functionality by fine-tuning its settings and sensitivity. These adjustments will enhance your digital writing and drawing experience.
Adjusting Pressure Sensitivity
Pressure sensitivity allows your Dell pen to create thinner or thicker lines based on how hard you press. To adjust this:
- Open the Dell Pen control panel
- Look for the “Pressure Sensitivity” slider
- Move it left for lighter touch or right for firmer press
Test different settings on a blank canvas. Find the sweet spot that matches your natural writing style. Remember that optimal sensitivity varies between applications.
Some Dell pens offer customizable pressure curves. These let you fine-tune how the pen responds across its pressure range.
Customizing Pen Settings
Your Dell pen likely has buttons that can be programmed for various functions. Here’s how to set them up:
- Launch the Dell Pen control panel
- Find the “Button Configuration” section
- Click on each button to assign actions
Common button functions include:
- Eraser
- Right-click
- Page up/down
- Undo/Redo
Check your pen’s user guide for model-specific features. Some Dell pens use Bluetooth and offer extra customization options.
| Pen Model | Buttons | Bluetooth | Pressure Levels |
|---|---|---|---|
| PN557W | 2 | Yes | 4096 |
| PN5122W | 3 | Yes | 4096 |
| PN350M | 1 | No | 1024 |
Keep your pen’s firmware updated for best performance. Replace the alkaline battery when needed to maintain responsiveness.
Troubleshooting Common Issues
Connecting your Dell pen to your laptop can sometimes be tricky. Here are solutions to frequent problems you might encounter with connectivity, power, and other issues.
Addressing Connectivity Problems
If your Dell pen isn’t connecting to your laptop, try these steps:
- Restart your laptop
- Check for Windows updates
- Reinstall pen drivers
Ensure Bluetooth is enabled on your laptop. Go to Settings > Devices > Bluetooth & other devices. Turn on Bluetooth if it’s off.
Put your pen in pairing mode. Press and hold the top button for 3-5 seconds until the LED light blinks. On your laptop, click “Add Bluetooth or other device” and select your pen from the list.
If pairing fails, remove the pen from your laptop’s Bluetooth devices and try again. Update your laptop’s Bluetooth drivers if issues persist.
Resolving Power and Battery Life Concerns
To maximize your Dell pen’s battery life:
- Turn off the pen when not in use
- Avoid storing it near heat sources
- Replace batteries promptly when low
For rechargeable models, use the provided USB-C cable to charge. If charging fails, try a different cable or USB port.
Check battery levels in Windows Ink Workspace or Dell PenPlus. Replace disposable batteries if power issues continue.
Table: Dell Pen Battery Types
| Pen Model | Battery Type |
|---|---|
| PN350M | AAAA |
| PN5122W | Rechargeable |
| PN7522W | Rechargeable |
Seeking Further Assistance
If problems persist, visit Dell’s support website. Search for your specific pen model to find detailed guides and drivers.
Contact Dell Tech Support for personalized help. Provide your pen’s model number and describe the issue clearly.
Consider checking online forums or Dell community pages. Other users may have encountered and solved similar problems.
For video tutorials, search “Dell Active Pen troubleshooting” on YouTube. Look for videos with captions for easier following.
Remember to check your warranty status. Dell may offer free repairs or replacements for eligible devices.
Frequently Asked Questions
Connecting and using a Dell Active Pen with your laptop involves several key steps and considerations. Here are answers to common questions users have about pairing, troubleshooting, and maintaining these digital styluses.
What are the steps to pair a Dell Active Pen with a compatible laptop?
To pair a Dell Active Pen:
- Turn on Bluetooth on your laptop.
- Press and hold the top button on the pen for 3-5 seconds.
- Look for “Dell PN556W Pen” in your laptop’s Bluetooth devices list.
- Select the pen and click “Pair”.
The Bluetooth-pairing light will turn solid white briefly to confirm successful pairing.
How can I troubleshoot issues with my Dell pen not functioning correctly?
If your Dell pen isn’t working:
- Check the battery level.
- Ensure Bluetooth is on and the pen is paired.
- Restart your laptop.
- Update pen drivers and firmware.
For more help, consult the Dell Active Pen Support Center.
Is there a specific way to charge the Dell Active Stylus pen, and how is it done?
Most Dell Active Pens use replaceable AAAA batteries. Some models have rechargeable batteries. For rechargeable pens:
- Connect the charging cable to the pen.
- Plug the other end into a USB port.
- A LED light will indicate charging status.
Check your pen’s user guide for specific charging instructions.
What is the process to open and replace the battery in a Dell Active Pen?
To replace the battery:
- Unscrew the pen cap.
- Remove the old AAAA battery.
- Insert the new battery, positive end first.
- Screw the cap back on securely.
Always use fresh, high-quality batteries for optimal performance.
Are there different procedures to connect various models of Dell pens, such as the PN350M and PN7522W, to a laptop?
Yes, connection procedures can vary. For example:
- The PN350M uses two barrel buttons for functions like erasing and right-clicking.
- The PN5122W requires the Dell Peripheral Manager app for customization.
Always refer to your specific pen’s user guide for accurate pairing instructions.
What should be done if a Dell pen is connected but not writing or responding on a laptop?
If your pen is connected but not responding:
- Check pen tip pressure sensitivity settings.
- Reinstall pen drivers.
- Test on another application.
- Verify your laptop’s touch screen is working.
If issues persist, contact Dell support for further assistance.
| Pen Model | Connectivity | Battery Type | Key Features |
|---|---|---|---|
| PN350M | Bluetooth | AAAA | Dual barrel buttons |
| PN5122W | Bluetooth | Rechargeable | Customizable via app |
| PN556W | Bluetooth | AAAA | Palm rejection technology |


