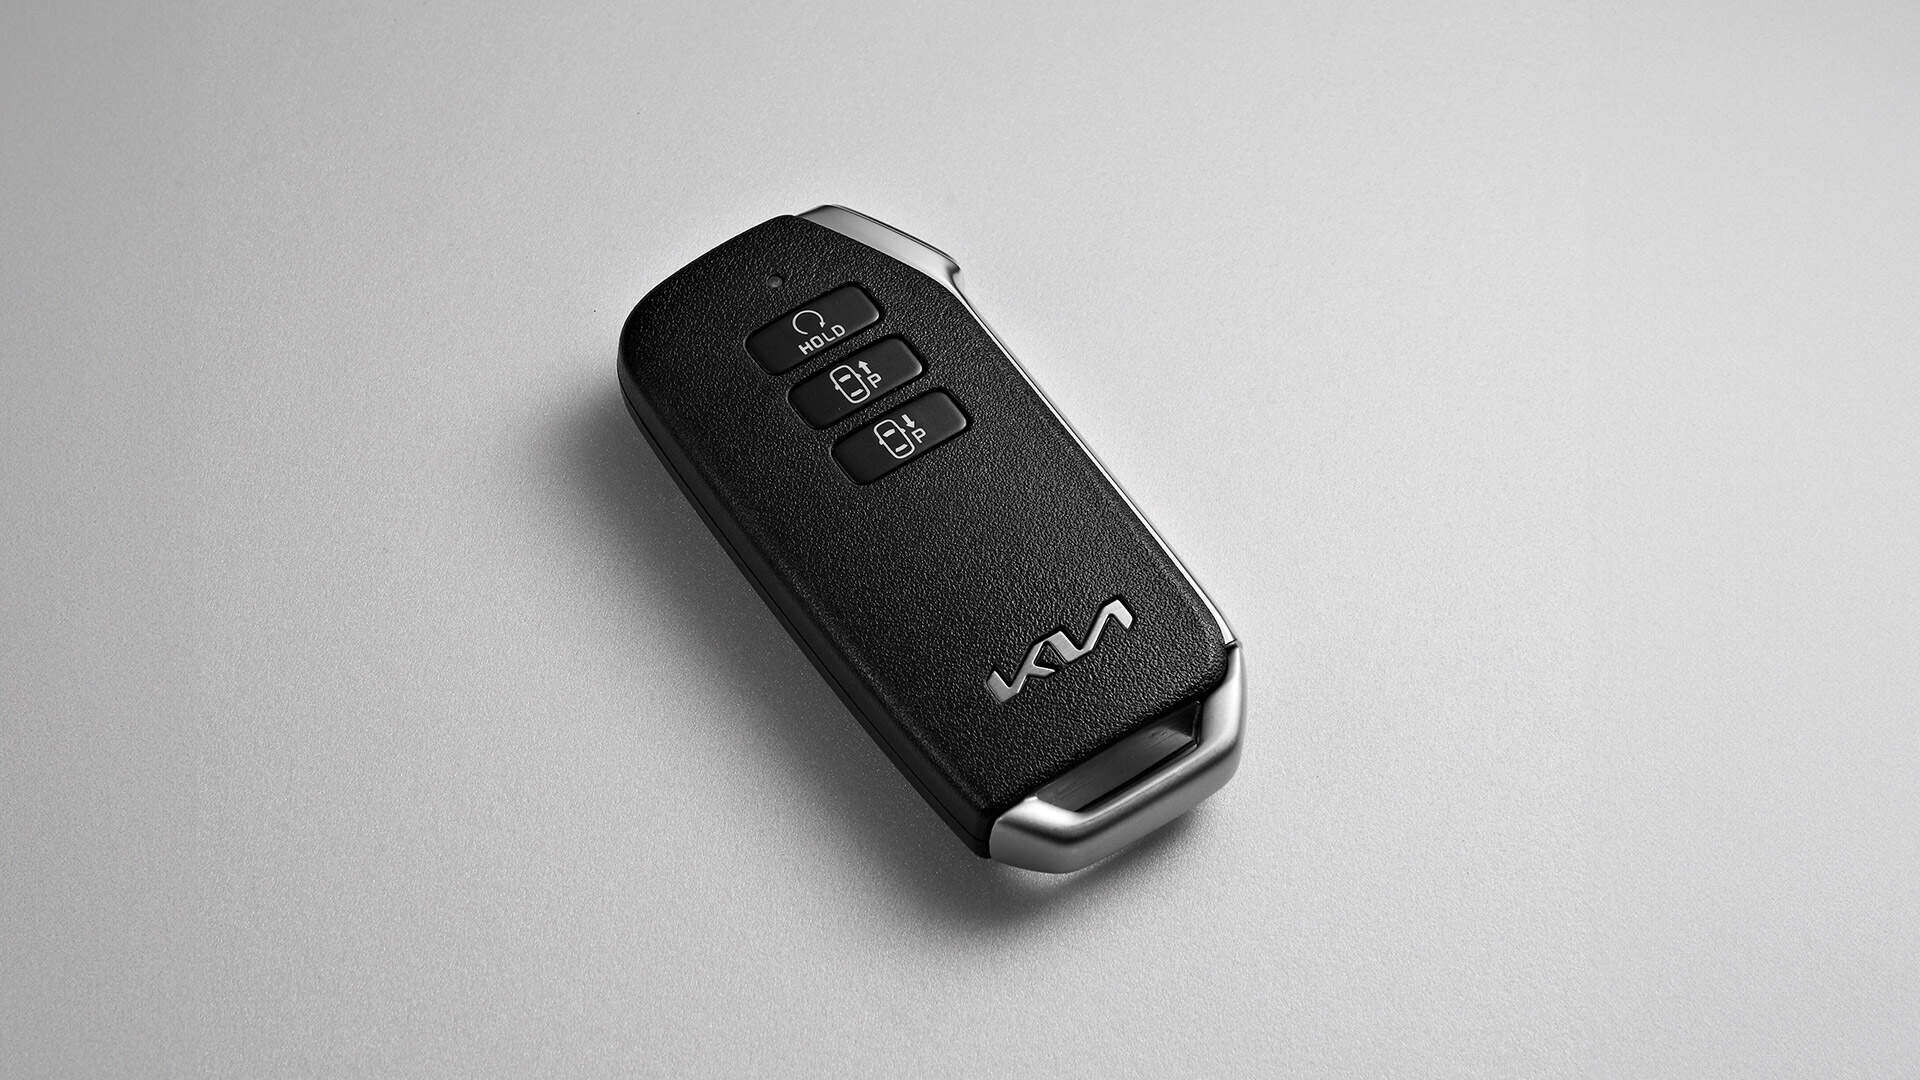
A malfunctioning Kia key fob (aka Smart Key or Kia Keyfob) can be a frustrating experience, leaving you stranded or unable to access your car. However, before you head to the dealership for a costly replacement, consider a simple DIY fix: replacing the battery. With just a few tools and a little know-how, you can restore your key fob’s functionality in minutes and get back on the road.
If your keyfob for your Kia Telluride, Sportage, Sorento, or any Kia model isn’t sending a strong enough signal to the car to unlock the doors, you more than likely have a weak or dead battery. The good news is that you can easily replace the battery yourself without needing to go to the dealer. This guide will walk you through the steps to replace the battery and provide some useful tips to make the process even easier.
Kia Key Fob Battery Replacement: General Guide
Is your Kia key fob acting up? Before you rush to the dealership, try replacing the battery yourself. It’s a quick and easy process that can save you time and money.
Tools Needed
- A new CR2032 battery
- A flat-head screwdriver (for some models)
- The mechanical key from your fob (if applicable)
Steps to Replace the Battery
- Locate the Battery Compartment: Most Kia key fobs have a small slot or seam where the two halves of the fob connect. Some models may require you to remove the mechanical key first by pressing a small release button.
- Open the Fob:
- For fobs with a slot: Carefully insert the flat-head screwdriver into the slot and gently pry the two halves apart.
- For fobs with a mechanical key: Insert the key into the designated slot and twist to pry the fob open.
- Remove the Old Battery: Gently pop out the old battery. Note its orientation for proper replacement.
- Insert the New Battery: Place the new CR2032 battery in the compartment, making sure the positive side (+) is facing down.
- Close the Fob: Snap the two halves of the fob back together securely.
- Test the Fob: Press a button on the fob to ensure it’s working properly.

Troubleshooting
If your key fob still doesn’t work after replacing the battery, here are a few things to check:
- Battery Orientation: Make sure the new battery is inserted correctly with the positive side facing down.
- Battery Contacts: Ensure the battery contacts in the fob are clean and free of corrosion.
- Fob Programming: In rare cases, the fob may need to be reprogrammed. Consult your Kia owner’s manual or contact a dealership for assistance.
Additional Tips
- Handle with Care: Be gentle when opening and closing the fob to avoid damaging the plastic clips or internal components.
- Battery Type: Always use a CR2032 battery, as other types may not fit or function properly.
- Online Resources: If you’re unsure about the specific steps for your Kia model, search for instructional videos or guides online.
Battery Replacement: Step By Step
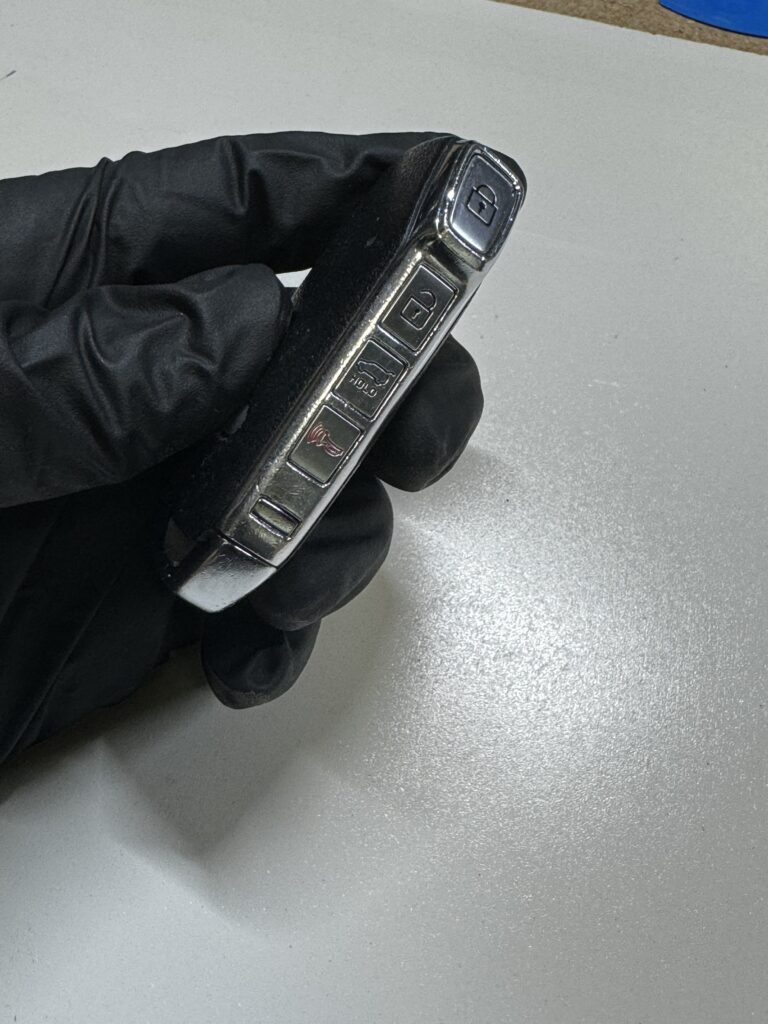
What You’ll Need
- Small Screwdriver: The type (flathead or Phillips) depends on your Kia model. Check the fob’s screws or consult your owner’s manual to be certain.
- Coin: If your fob snaps together, a coin can be a handy tool to gently pry it open.
- Replacement Battery: The most common types are CR2032 or CR2450, but double-check your Kia’s model year and owner’s manual to confirm the correct battery.
| Item | Description |
|---|---|
| Small Screwdriver | Flathead or Phillips, depending on your key fob model |
| Coin | An alternative to a screwdriver for prying |
| Replacement Battery | CR2032 or CR2450 – Check your model year! |
Key Fob Battery Replacement Steps with Images
Step 1: Release the Mechanical Key
Most Kia key fobs have a small, hidden mechanical key. Find the release button or lever on the fob, usually on the side. Press it and slide the key out. This will give you better access to the fob’s seam.
- Locate the release (small button or lever) on the side of the fob.
- Press it and slide the key out.
Step 2: Find the Fob Seam
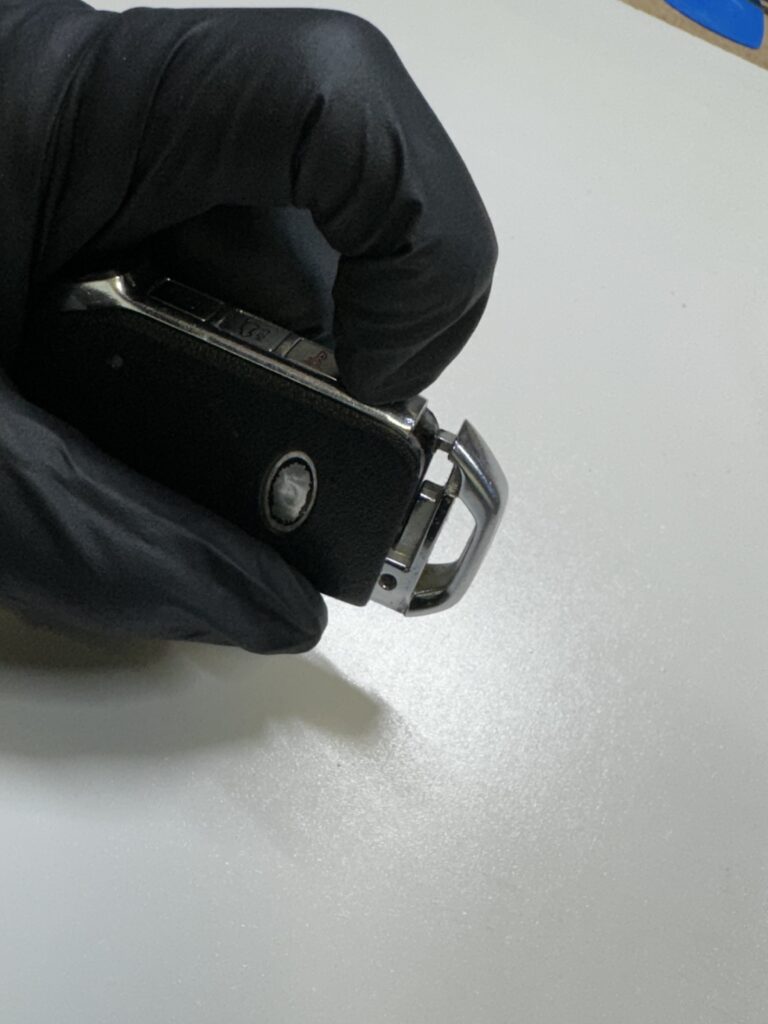
Once the key is removed, examine the fob’s edges for a thin seam where the two halves join. This is where you’ll need to apply gentle pressure to open it.
- With the key removed, look for a gap where the fob halves join.
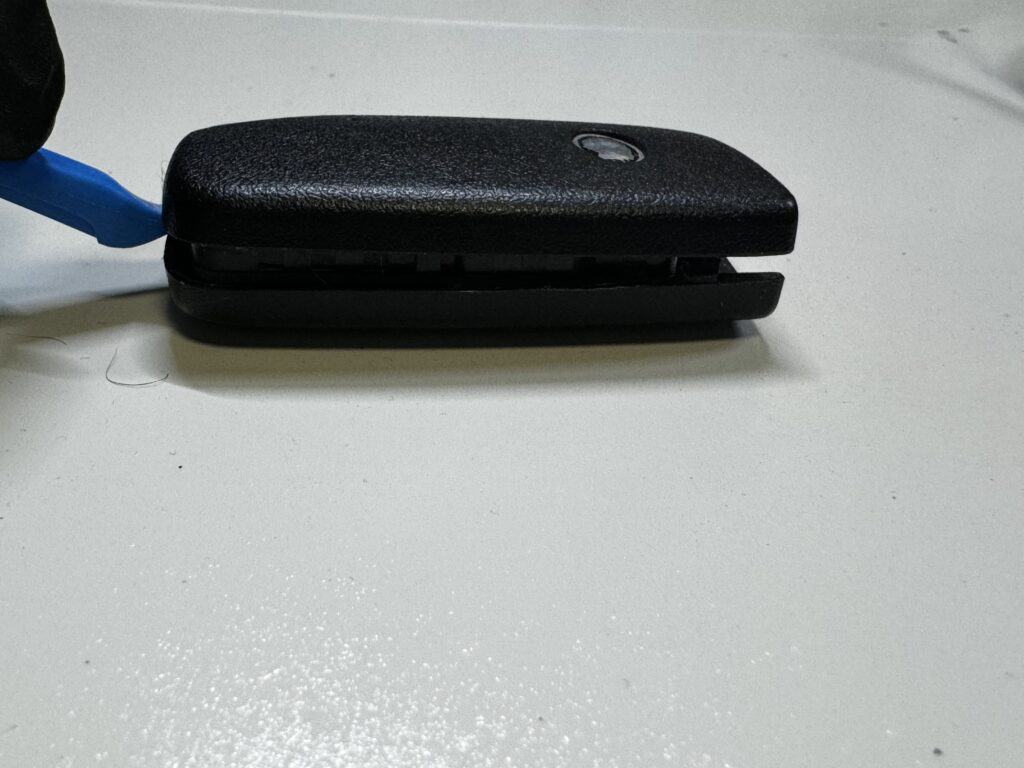
Step 3: Open the Fob
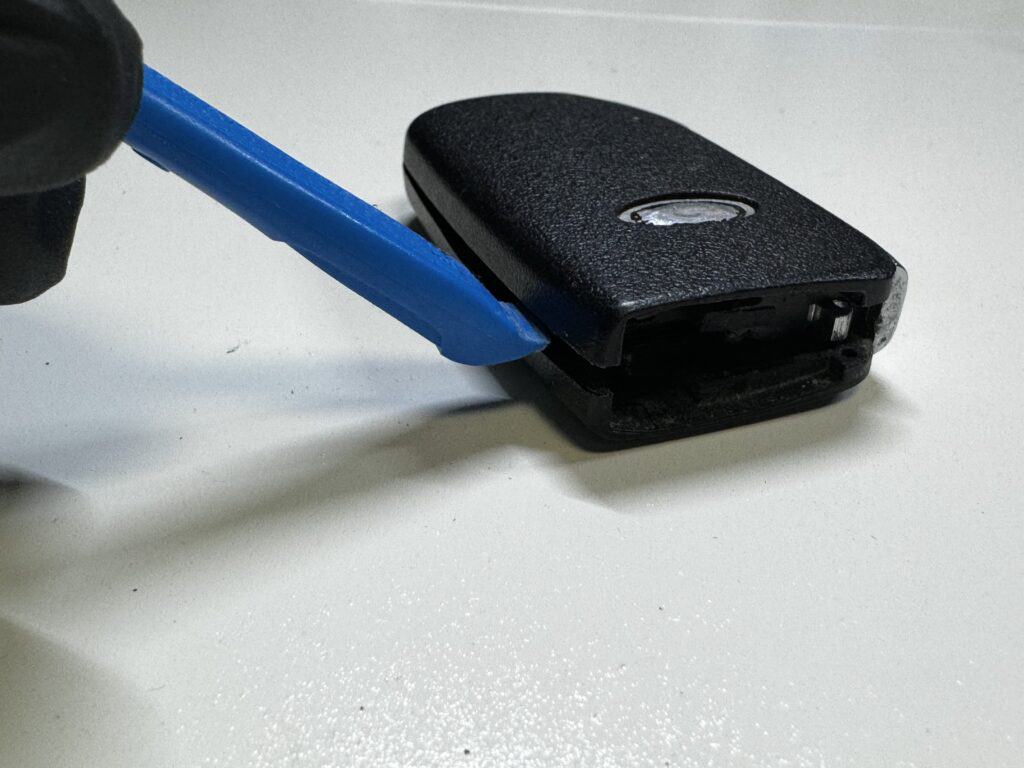
Gently open the fob without damaging it. Use as little force as is necessary so you don’t accidentally break the plastic or the clips that hold the fob together.
- Snap Design: Carefully insert your coin into the seam and gently twist or pry to separate the halves. Avoid excessive force, as you could damage the plastic.
- Screw Design: If your fob has screws, use the appropriate screwdriver to carefully remove them. Keep the screws in a safe place so you don’t lose them.
Step 4: Access the Battery
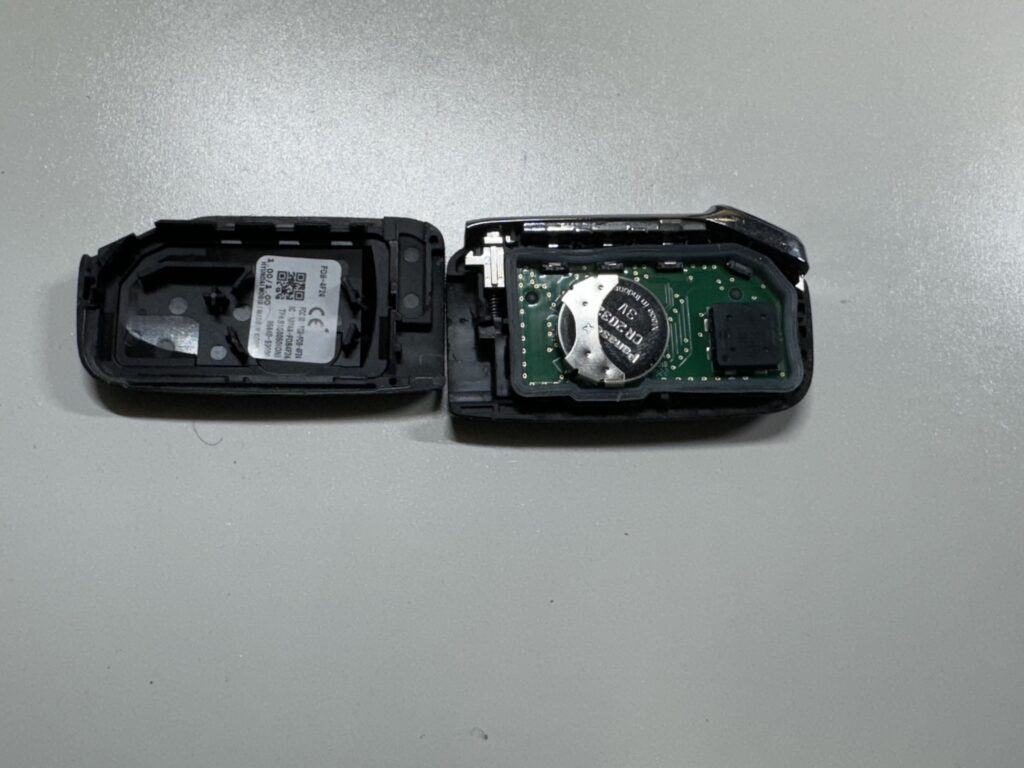
Inside the fob, you’ll find a small, round, coin-shaped battery. It’s usually held in place by a clip or small retaining tab. Take note of its orientation (+ side up) before removing it.
- Locate the coin-shaped battery inside.
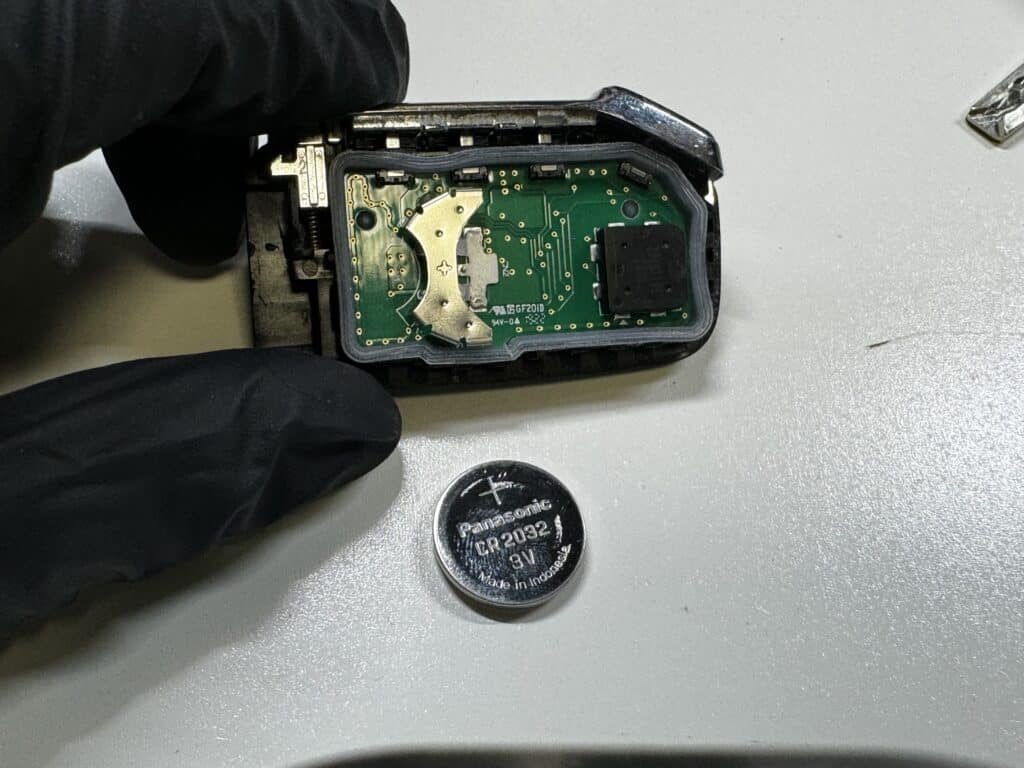
Step 5: Swap the Battery
Gently remove the old battery and insert the new one, making sure it’s positioned the same way as the old one (+ side facing up). Press it in securely until it clicks into place.
- Note the old battery’s orientation (+ side up).
- Remove it and insert the new one the same way.
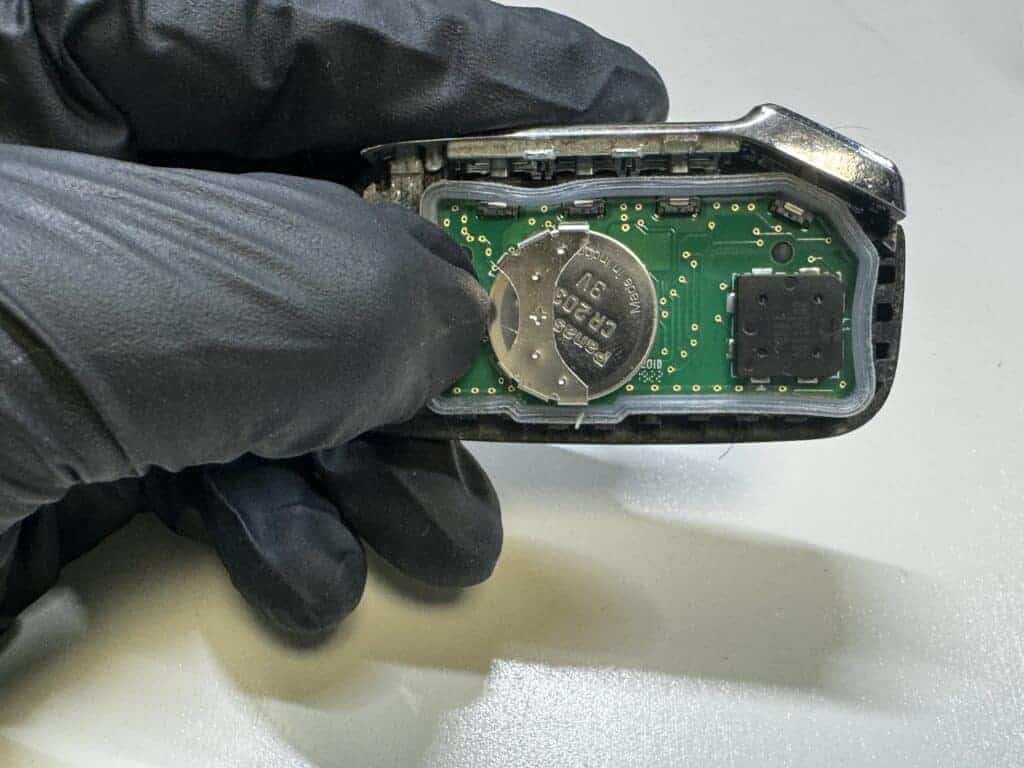
Step 6: Reassemble
Align the two halves of the fob and press them together firmly until they snap shut or reinsert the screws if applicable. Then, slide the mechanical key back into its slot until it clicks securely.
- Align the fob halves and press firmly until they click.
- Reinsert the mechanical key securely.
Step 7: Test Time
Press the buttons on your key fob to test its functionality. If everything is working correctly, you’re all set and your fob should work like new.
NOTE: Some models have key fobs with tiny screws instead of a snap design. Consult your owner’s manual to be sure.
Expert Tips
- Wear gloves: The oils from your skin can shorten the battery’s lifespan. Consider wearing gloves when handling the new battery.
- Be gentle: Key fobs are delicate. Avoid using excessive force when opening or reassembling them.
- Recycle: Dispose of the old battery responsibly at a designated battery recycling location.
Important Reminders
- Battery Type: Double-check your Kia’s model year to get the right battery type. Your owner’s manual will have this information.
- Delicate Work: Handle the fob’s internal components with care to avoid damage.
- Old Battery Disposal: Recycle your old battery to protect the environment.
And that’s it! Replacing your Kia Telluride key fob battery is a quick DIY fix that keeps your keyless entry system working smoothly.
Fixing A Water Damaged Key Fob
If your Kia key fob has taken an unexpected dip, don’t panic. There’s a chance you can revive it with some quick action and a bit of patience.
- Remove the Battery Immediately: The first and most crucial step is to remove the battery as soon as possible. This prevents further damage to the internal circuitry.
- Disassemble the Fob: Carefully pry open the fob using the methods described earlier. If there’s a mechanical key, remove it first.
- Dry the Components: Gently shake out any excess water and use a clean, absorbent cloth to dry all the parts, including the circuit board and battery contacts. Avoid using heat sources like hair dryers, as they can damage delicate electronics.
- Submerge in Rice or Desiccant: Place the disassembled fob and battery in a container filled with uncooked rice or silica gel packets. These materials absorb moisture and help dry the internal components. Leave it for at least 24-48 hours.
- Clean with Isopropyl Alcohol (Optional): If you notice any corrosion or residue on the circuit board, you can carefully clean it with a cotton swab dipped in 90% or higher isopropyl alcohol. Allow it to dry completely before reassembling.
- Reassemble and Test: Once everything is dry, reassemble the fob, insert a new battery, and test its functionality. If it still doesn’t work, you may need to consult a professional or consider replacing the fob.
Remember, time is of the essence when dealing with water damage. The sooner you take action, the better your chances of saving your key fob.
FAQs
What kind of battery does a Kia key fob use?
Kia key fobs typically use a CR2032 3-volt lithium battery.
Can I replace the key fob battery myself?
Yes, you can replace the battery in your Kia key fob yourself. It’s a simple process that requires minimal tools and can be done in a few minutes.
How do I open my Kia key fob?
The method to open your Kia key fob might vary slightly depending on the model, but generally:
- For fobs with a slot: Use a flat-head screwdriver to gently pry open the two halves of the fob at the seam.
- For fobs with a mechanical key: Insert the key into the designated slot and twist to release the fob’s back cover.
How long does a Kia key fob battery last?
A Kia key fob battery typically lasts for 5-10 years, but its lifespan can vary depending on usage and environmental factors.
What happens if my car key fob battery dies?
If your Kia key fob battery dies, you’ll lose the ability to remotely lock/unlock your car and start the engine with the push-button start. However, you can still use the mechanical key (if your fob has one) to unlock the driver’s side door and start the car by inserting the key fob into the designated slot near the steering wheel.

