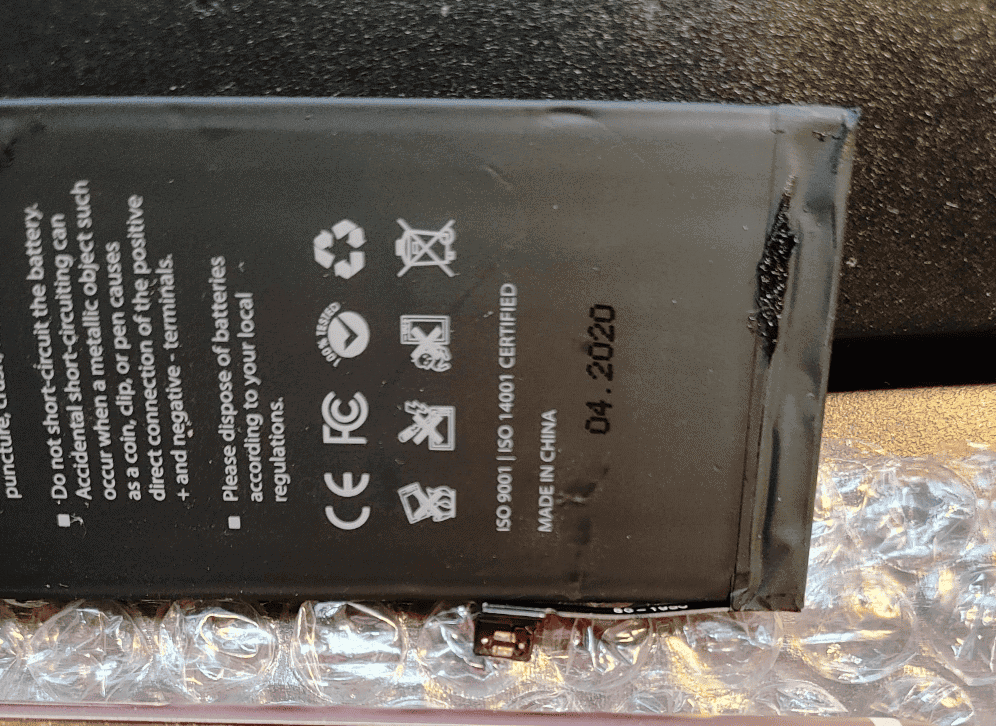
Removing battery adhesive is one of the trickiest parts of replacing a smartphone, tablet, or laptop battery. Modern devices use strong stretch-release adhesive strips or industrial glue to secure batteries tightly in place. If removed incorrectly, you risk puncturing the battery — which can cause fire, toxic fumes, or permanent device damage.
This guide explains safe methods to remove battery adhesive, tools you’ll need, and what to avoid.
⚠️ Safety Warning: Lithium-ion batteries are flammable if punctured or bent. Work slowly, avoid sharp metal tools, and stop immediately if the battery starts swelling, smoking, or overheating.
Tools You May Need
- Plastic spudger or pry tool
- Plastic cards (old credit card works well)
- Tweezers
- Isopropyl alcohol (90% or higher)
- Heat source (heat gun or hair dryer)
- Nitrile gloves (optional but recommended)
- Safety glasses
Avoid metal tools whenever possible.
Step 1: Power Off the Device
Before starting:
- Turn off the device completely.
- Disconnect from any power source.
- If possible, discharge the battery below 25% to reduce fire risk.
Lower charge = safer removal.
Step 2: Access the Battery
Disassemble the device according to manufacturer guidelines:
- Remove screws carefully
- Use plastic tools to separate the casing
- Disconnect the battery connector before touching the adhesive
Never work on a battery that’s still connected to the motherboard.
Step 3: Identify the Type of Adhesive
There are typically two types:
✅ Stretch-Release Adhesive Strips
Common in iPhones and some Android devices. These have pull tabs at the bottom of the battery.
✅ Strong Fixed Adhesive (Glue)
Common in tablets and laptops. No pull tabs — requires heat and solvent.
Method 1: Removing Stretch-Release Adhesive (Best Case Scenario)
- Locate the adhesive pull tabs.
- Use tweezers to gently grab the tab.
- Pull slowly at a low angle (parallel to the battery).
- Keep steady tension — do not jerk or pull upward.
The adhesive will stretch and release from under the battery.
⚠️ If the strip snaps, you’ll need to switch to the heat/alcohol method.
Method 2: Removing Strong Battery Adhesive
If there are no pull tabs:
Step 1: Apply Gentle Heat
Use a heat gun or hair dryer on low heat:
- Warm the back of the device for 1–2 minutes
- Do not overheat — it should be warm, not hot to the touch
Heat softens the adhesive.
Step 2: Apply Isopropyl Alcohol
- Use a dropper to apply a few drops of 90%+ isopropyl alcohol along the battery edges.
- Let it seep underneath for 1–2 minutes.
- Alcohol helps dissolve the adhesive safely.
Avoid excessive liquid.
Step 3: Pry Slowly with Plastic Tool
- Insert a plastic card under the battery
- Gently slide it back and forth
- Avoid bending or puncturing the battery
Work gradually around the edges.
Never force the battery out.
What NOT to Do
🚫 Do not use metal screwdrivers under the battery
🚫 Do not puncture or bend the battery
🚫 Do not use excessive heat
🚫 Do not rush the process
If the battery begins swelling or leaking, move it to a non-flammable surface immediately.
How to Remove Leftover Adhesive
After removing the battery:
- Apply small amounts of isopropyl alcohol
- Use a plastic scraper to lift residue
- Wipe clean with a lint-free cloth
Ensure the surface is clean before installing the new battery.
Installing the New Battery
- Use new adhesive strips (never reuse old ones)
- Align carefully before pressing down
- Reconnect battery connector
- Test device before sealing it fully
When to Stop and Seek Professional Help
Consider professional repair if:
- The battery is swollen
- Adhesive won’t loosen despite heat and alcohol
- You smell chemicals
- You feel uncomfortable performing the repair
Battery replacement at a repair shop may cost less than replacing a damaged device.
Frequently Asked Questions
Can I use acetone to remove battery adhesive?
No. Acetone can damage internal components and plastic parts. Use high-percentage isopropyl alcohol instead.
Is heat necessary?
Not always. Stretch-release adhesive strips don’t require heat. Strong glue does.
What happens if I puncture the battery?
It may ignite, smoke, or release toxic fumes. Move away immediately and place the device on a fire-safe surface.
How long does battery adhesive removal take?
Typically 10–30 minutes depending on device and adhesive strength.
Final Thoughts
Removing battery adhesive requires patience and caution. The safest method is always:
- Power off
- Disconnect battery
- Use plastic tools
- Apply gentle heat if necessary
- Work slowly
Rushing increases the risk of damaging the device or causing injury.
If done carefully, battery adhesive removal is manageable for DIY repairs — but safety should always come first.


