
Encountering an “Invalid IMEI” error on your Samsung phone can be frustrating. This article can help you understand the causes of the issue and potential solutions. It will guide you through troubleshooting steps, preventive measures, and when to seek professional assistance. Repairing the IMEI number on a Samsung Galaxy can seem challenging, but it’s essential if your phone isn’t recognized by your network. A corrupted or missing IMEI number can prevent a phone from connecting to any mobile network, making it useless for calls and texts.
This problem often occurs after software updates, improper flashing, or other technical issues. To start, you’ll need to check if your IMEI number is valid. Dial *#06# on your phone, and the IMEI should appear. If it’s missing or shows “null,” you have an issue. Fortunately, there are several methods to fix this, often involving specific software tools designed for Android devices. Some methods involve using tools like Chimera or Odin for repairs. Tools like Chimera can patch certificates and repair the IMEI on Samsung phones. For those comfortable with a bit of tech work, these tools offer a way to solve this problem without needing to visit a professional repair shop.
Troubleshooting Invalid IMEI Errors
Invalid IMEI (International Mobile Equipment Identity) errors on Samsung phones can disrupt cellular service and prevent access to certain features. Various factors, including software glitches, failed updates, or hardware issues, can cause this problem.
Understanding the IMEI Number
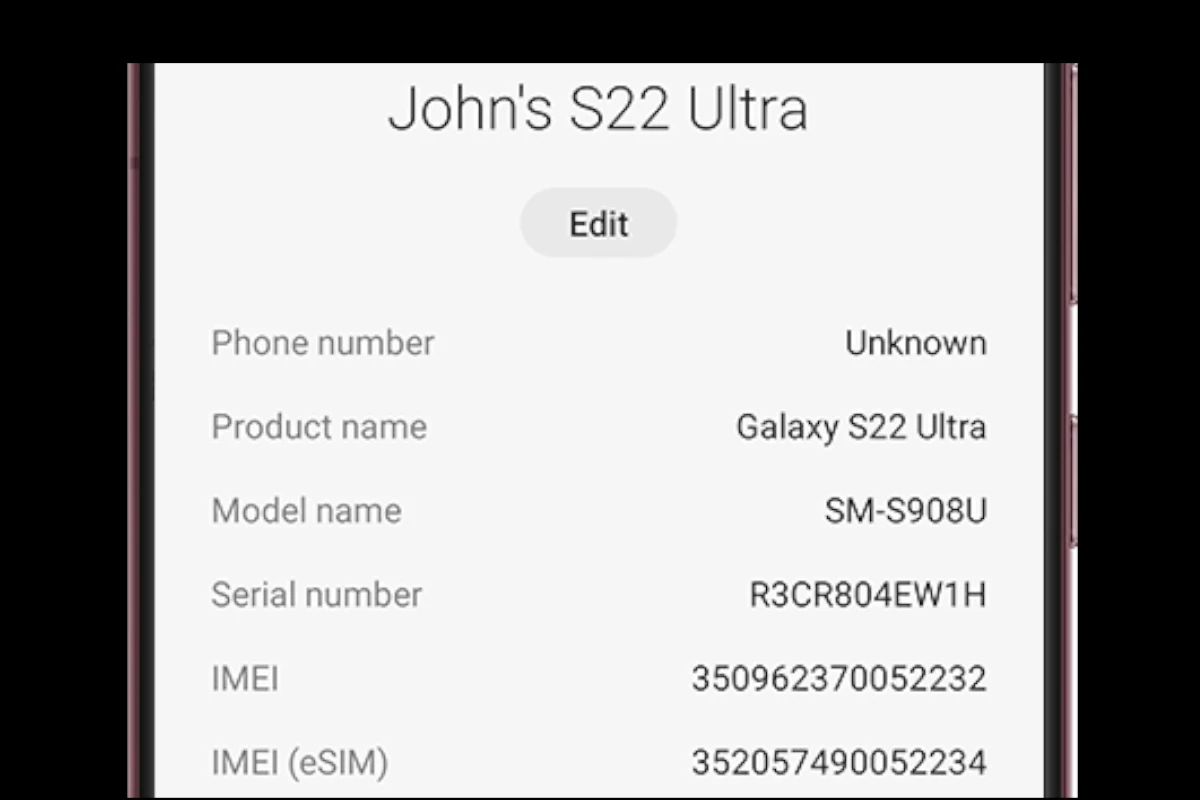
The IMEI is a unique identifier for your phone, essential for network registration and device tracking. It’s usually found on the phone’s packaging, under the battery, or by dialing *#06#.
Common Causes of Invalid IMEI Errors
Invalid IMEI errors can stem from:
- Software Issues: Corrupted system files, failed updates, or rooting attempts can alter the IMEI.
- Hardware Issues: Physical damage to the IMEI chip or motherboard can render it invalid.
- Unauthorized Modifications: Tampering with the phone’s software to change the IMEI intentionally can cause issues.
Troubleshooting Steps
Before seeking professional help, try these troubleshooting steps:
- Restart Your Phone: A simple restart can sometimes resolve temporary software glitches.
- Check for Software Updates: Update your phone’s software to the latest version, as updates often include bug fixes.
- Reset Network Settings: Go to Settings > General Management > Reset > Reset Network Settings. This won’t erase personal data but will reset Wi-Fi, Bluetooth, and cellular settings.
- Dial IMEI Code: Dial *#06# to check if the IMEI is displayed. If it shows “null” or “000000,” the IMEI is likely corrupted.
- Check for Physical Damage: Inspect your phone for any signs of physical damage, particularly around the SIM card tray and battery area.
Additional Troubleshooting Methods (Advanced Users)
- Restore IMEI Using Backup: If you have a backup of your EFS (Encrypting File System) partition, you can try restoring it.
- Use IMEI Repair Tools: Several third-party tools claim to repair IMEI issues, but use them cautiously as they can void your warranty or cause further problems.
- Reinstall Firmware: Reinstalling the official firmware using Odin or Samsung Kies might restore the IMEI, but this is a complex process and should only be attempted by experienced users.
Seeking Professional Help
If the above steps fail, seek professional help from a Samsung service center or a qualified technician. They have the tools and expertise to diagnose and fix hardware-related issues.
Prevention Tips
- Avoid Unauthorized Modifications: Refrain from rooting your phone or using unofficial software to modify the IMEI.
- Back Up EFS Partition: Regularly back up your EFS partition to safeguard your IMEI information.
- Handle Your Phone with Care: Avoid dropping or exposing your phone to extreme temperatures or moisture.
Table of Troubleshooting Steps
| Step | Description | Notes |
|---|---|---|
| 1 | Restart Phone | Simple fix for temporary glitches. |
| 2 | Check for Software Updates | Updates often include bug fixes. |
| 3 | Reset Network Settings | Resets Wi-Fi, Bluetooth, and cellular settings. |
| 4 | Dial IMEI Code (*#06#) | Check if IMEI is displayed correctly. |
| 5 | Check for Physical Damage | Look for signs of damage around the SIM tray and battery. |
Remember, attempting to repair the IMEI yourself can be risky and might void your warranty. Proceed with caution and seek professional help if needed.
Understanding IMEI Repair and Legal Considerations
IMEI is crucial for a phone’s identification and its network capabilities. Knowing common IMEI issues and the legal aspects is important before attempting a repair.
What is IMEI and Why it is Important
IMEI stands for International Mobile Equipment Identity. It is a unique identification number assigned to every mobile phone. This number helps in identifying the device on a network.
Each IMEI is unique and helps prevent theft. For example, if a phone is stolen, the owner can report the IMEI to block the device from being used on any network. This makes the stolen phone worthless to thieves. The IMEI number also helps in tracking the device if lost.
It is important for network registration. Without a valid IMEI, a phone cannot connect to a mobile network. This number is crucial for the device’s functionality on the network.
Common IMEI Related Issues
Null IMEI: Sometimes a phone shows a null IMEI. This means the phone has lost its unique identification number. It can happen due to software issues or faulty updates.
Blacklist: If a phone is reported as stolen, its IMEI is added to a blacklist. This prevents the phone from connecting to any network. Even if the phone is in perfect condition, it will not work until removed from the blacklist.
Not Registered on Network: This issue occurs when a phone cannot connect to a network despite having a valid IMEI. It could be due to network problems or incorrect IMEI configuration.
Legal considerations are important in IMEI repair. Changing or tampering with the IMEI is illegal in many places. Make sure to follow local laws when attempting repairs. Always ensure you have the right to change the IMEI on the device you are repairing.
Technical Steps for IMEI Repair on Samsung Devices
Repairing the IMEI on Samsung devices can be a complex process. It involves backing up your data, accessing specific command modes, performing technical patching, and ensuring connectivity afterward.
Pre-Repair: Backup and Data Protection
Before starting the IMEI repair on a Samsung device, it’s crucial to back up all important data. This includes contacts, messages, photos, and apps. Use tools like Samsung Smart Switch or Google Drive for an easy backup process.
To ensure the safety of your data:
- Open the backup tool
- Follow the prompts to secure your data
- Save the backup file to a safe location
Backing up your data protects against potential data loss during the IMEI repair process.
Navigating to Command Mode and Debug Screen
To start the repair, put your device in Command Mode. Accessing this mode requires some technical steps:
- Turn off your Samsung device
- Press and hold Volume Down, Power, and Home buttons simultaneously
- Release the buttons when the Warning screen appears
Next, enable the ADB mode by connecting your device to a computer. Navigate to the Debug Screen by accessing Developer Options and enabling USB Debugging. This allows communication between your device and the computer necessary for the repair.
Flashing, Patching, and Troubleshooting
Flashing is a critical step in the process. Use an IMEI repair tool like ChimeraTool or Z3X:
- Download and install the tool on your computer
- Connect your Samsung device using a USB cable
- Open the tool and navigate to the IMEI Repair section
Enter the new IMEI number carefully and execute the repair. If you encounter a Backup Cert error or Unknown Baseband, ensure correct software versions are in place. Always check for Revision errors in RRc control settings.
For users of newer Samsung Galaxy S Series or Exynos Models, applying a Patch Cert may be necessary.
Post-Repair: Restoring Software and Checking Connectivity
After completing the repair, restore your software. This involves reinstalling apps, transferring your backup data back, and verifying connectivity.
Check these key points:
- Reinsert the SIM card
- Ensure RRc (HSDPA) settings are correct
- Verify NAS control settings are accurate
Turn on the device and confirm normal operation. If issues persist, it may be necessary to consult a Samsung Service Center. Troubleshoot any Flash Error by ensuring firmware compatibility across software components.
Repairing IMEI numbers on Samsung devices is vital for ensuring proper mobile network functionality and avoiding connectivity issues.
Frequently Asked Questions
This section covers common questions about repairing the IMEI on Samsung devices, including tools needed and step-by-step instructions for different models.
What are the steps to repair the IMEI on a Samsung S22?
- Download and Install Tool: Choose an IMEI repair tool and install it on your computer.
- Connect Device: Use a USB cable to connect the Samsung S22, ensuring ADB mode is enabled.
- Launch and Select Model: Open the tool, select your Samsung S22.
- Repair IMEI: Navigate to the ‘IMEI repair’ tab. Input the IMEI number and execute the repair by clicking the designated button.
Which tools are needed to unlock and repair a Samsung phone’s IMEI?
You will need a few specific tools:
- USB Cable: For connecting your phone to the computer.
- IMEI Repair Tool: Programs like ChimeraTool or Odin.
- Computer: To run the software.
Can you permanently change an IMEI number on Samsung devices, and how?
Permanently changing an IMEI number is usually not legal. Some tools might claim to do so but can lead to legal issues. Always proceed with caution and consider the legal ramifications.
How can you use Odin to alter the IMEI of a Samsung phone?
- Install Odin: Download and install Odin on your computer.
- Enable USB Debugging: Turn on USB debugging on the phone.
- Connect Device: Use a USB cable to connect to the computer.
- Flash Firmware: Use Odin to flash firmware, following specific instructions relevant to IMEI alteration.
What is the procedure for repairing the IMEI on a Samsung S21?
- Select Repair Tool: Download an appropriate IMEI repair tool.
- Connect Phone to Computer: Enable ADB mode and use a USB cable.
- Repair IMEI: Follow tool-specific instructions to enter the correct IMEI and execute the repair.
How can the IMEI on a Samsung A12 be repaired without using a box?
- Download a Software Tool: Choose a compatible IMEI repair tool.
- Enable ADB Mode: On the Samsung A12, turn on ADB mode.
- Use USB Cable: Connect the phone to a computer.
- Run Software: Open the repair tool, input IMEI details, and complete the repair process by following the on-screen prompts.


