Wiring a car stereo to a 12V battery can enhance your driving and audio experience. It’s a straightforward process that doesn’t require advanced technical skills. With the right tools and knowledge, you can set up your car stereo in no time.
To wire a car stereo to a 12V battery, connect the red wire to the positive terminal and the black wire to the negative terminal. This simple connection allows you to power your stereo directly from the battery. It’s an ideal solution for testing a new stereo or using it outside your vehicle.

Safety is key when working with car batteries. Always wear protective gear and handle the wires with care. Once connected, you can enjoy your favorite tunes with improved sound quality and volume control.
Guide to Wiring a Car Stereo to a 12V Battery
Want to enjoy your favorite tunes on the go? Wiring a car stereo to a 12V battery is a great way to do it. This guide will walk you through the process. It’s easier than you might think!
What You’ll Need
Before you start, gather these tools and materials:
- Car stereo
- 12V battery
- Wire strippers
- Screwdrivers (Phillips and flathead)
- Crimping tool
- Electrical tape
- Wire connectors
- Fuse holder
- Fuse
- Speaker wire
Wiring the Stereo
Now, let’s get to the wiring. Follow these steps carefully:
- Disconnect the negative terminal of the battery. Safety first!
- Identify the wires on the car stereo. There should be a wiring diagram in the stereo’s manual. The main wires you’ll need to connect are:
- Yellow: Constant 12V power
- Red: Switched 12V power (turns on and off with the car’s ignition)
- Black: Ground
- Connect the yellow wire to the positive terminal of the battery. Use a fuse holder in line with this wire to protect the stereo.
- Connect the red wire to a switched 12V power source. This could be a wire that comes on with the car’s ignition or a separate switch.
- Connect the black wire to the negative terminal of the battery.
- Connect the speaker wires to the corresponding terminals on the stereo and speakers. Make sure to match the polarity (positive and negative).
- Reconnect the negative terminal of the battery.
- Test the stereo to make sure it’s working properly.
Tips for a Clean Installation
Here are a few tips to make your installation look neat and professional:
- Use wire ties to keep the wires organized.
- Route the wires away from moving parts and heat sources.
- Use heat shrink tubing to protect the wire connections.
| Wire Color | Function |
| Yellow | Constant 12V power |
| Red | Switched 12V power |
| Black | Ground |
| Blue | Power antenna |
| Orange | Dimmer |
| White | Front left speaker (+) |
| White/Black | Front left speaker (-) |
| Gray | Front right speaker (+) |
| Gray/Black | Front right speaker (-) |
| Green | Rear left speaker (+) |
| Green/Black | Rear left speaker (-) |
| Purple | Rear right speaker (+) |
| Purple/Black | Rear right speaker (-) |
Key Takeaways
- Connect red wire to positive and black to negative battery terminals
- Use protective gear when handling car batteries
- Enjoy improved audio quality after proper wiring
Preparing to Wire the Car Stereo
Before you start wiring your car stereo to a 12V battery, you need to prepare. This involves safety precautions, gathering tools, and understanding the wiring.
Safety First: Disconnecting the Battery
Always disconnect the car battery before starting. This prevents electric shocks and short circuits.
Locate the negative terminal on your car battery. It’s usually marked with a minus (-) sign. Use a wrench to loosen the nut and remove the cable.
Keep the cable away from the terminal. This stops it from accidentally reconnecting.
Gathering Required Tools and Materials
You’ll need several tools for this job:
- Wire strippers
- Crimping tool
- Electrical tape
- Multimeter
- Soldering iron (optional)
For materials, gather:
- Wiring kit
- Extra wire
- Connectors
A wiring harness may also be useful. It makes connecting wires easier.
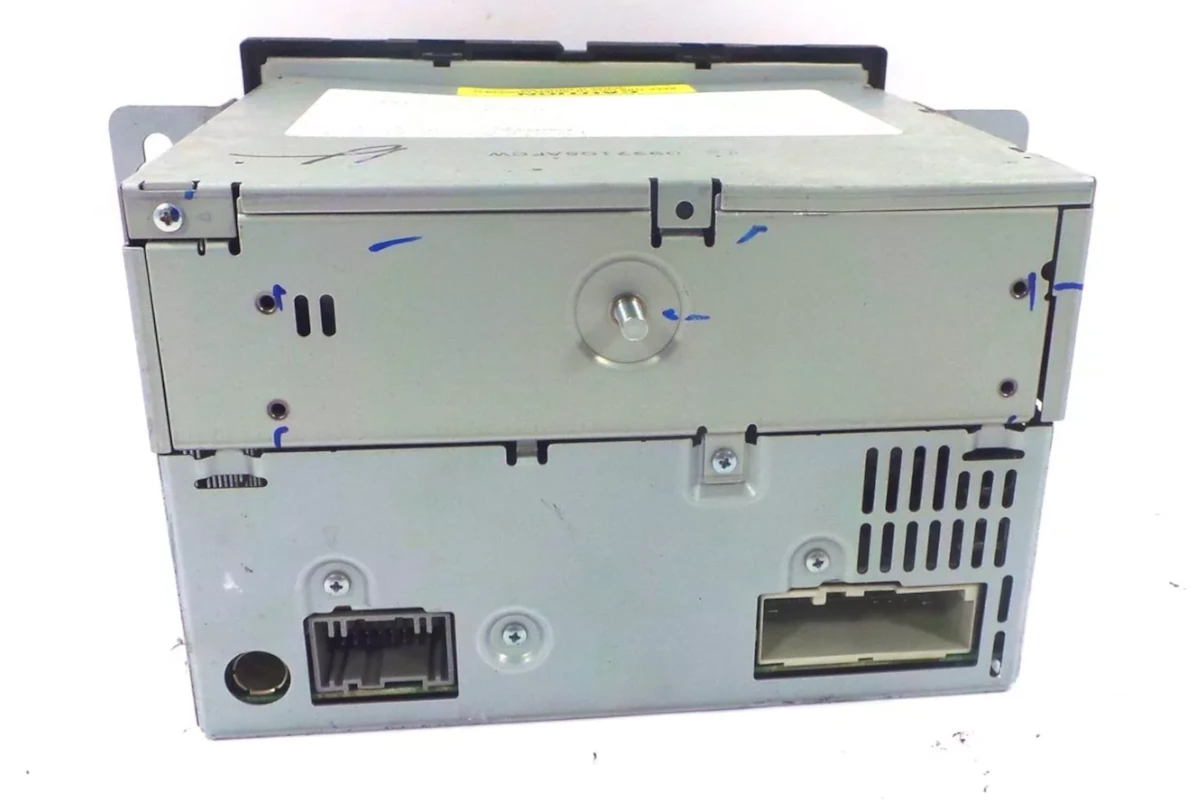
Understanding the Wiring Harness
The wiring harness connects your stereo to the car’s electrical system. It has several important wires:
- Power wire (red): Connects to the positive battery terminal
- Ground wire (black): Connects to the negative terminal or car body
- Accessory wire (yellow): Provides power when the key is turned
- Speaker wires: Connect to your car speakers
Some harnesses also have an antenna wire. This improves radio reception.
Before connecting, check your stereo’s manual. Make sure you know which wire does what. Use a multimeter to test connections if you’re unsure.
Executing the Wiring Process
Wiring a car stereo to a 12V battery requires careful steps. It’s crucial to connect the right wires and secure them properly. This ensures your new audio system works well and stays safe.
Connecting the Power and Ground Wires
Strip about an inch of insulation from the ends of the power and ground wires. The power wire is usually red. The ground wire is often black.
Connect the power wire to the positive (+) terminal of the battery. Use a crimp connector or solder the connection. Make it strong.
Attach the ground wire to the negative (-) terminal or a metal part of the car’s body. This completes the circuit.
Use a fuse holder near the battery. It protects against short circuits. Choose a fuse that matches the stereo’s power needs.
Attaching Speaker and Accessory Wires
Identify the speaker wires. They often come in pairs with color codes. Match them to the right speakers.
Strip the ends of the speaker wires. Twist each pair together. Use crimp connectors or solder them.
Find the accessory wire. It’s usually blue. Connect it to the car’s accessory power. This turns the stereo on with the ignition.
Use a wiring harness if possible. It makes connections easier and neater.
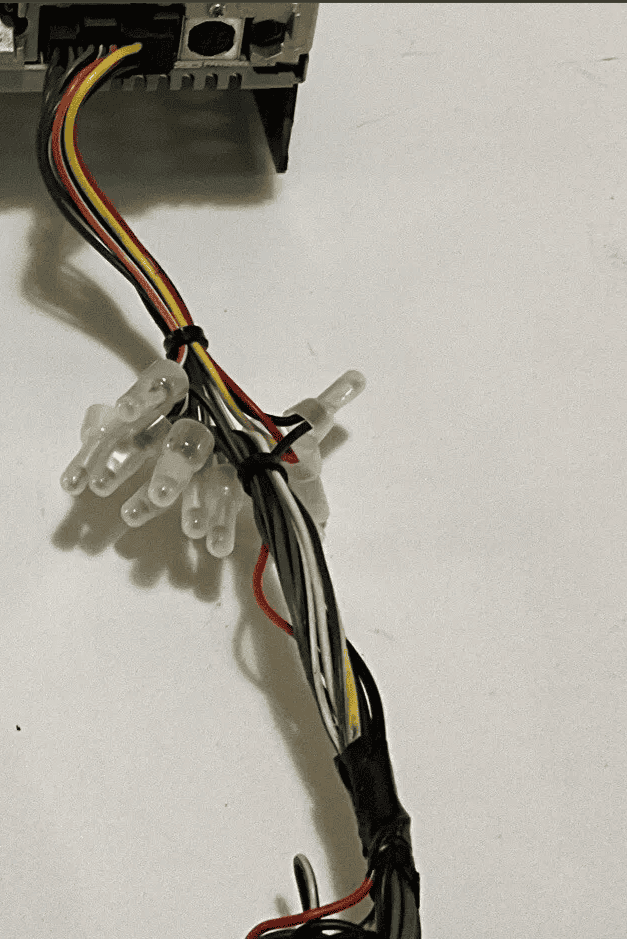
Finalizing Connections and Securing Wires
Double-check all connections. Make sure they’re tight and correct.
Wrap exposed wires with electrical tape. This prevents short circuits.
Use zip ties to bundle wires together. Keep them away from moving parts and heat sources.
Secure the stereo unit in place. Make sure it doesn’t rattle or move.
Testing and Troubleshooting
Turn on the car. Check if the stereo powers up. Listen for sound from all speakers.
If there’s no power check the fuse and power connections.
For no sound check speaker connections. Make sure the volume isn’t muted.
Use a multimeter to test for voltage at connections if needed.
If you hear static or interference check for loose connections. Move wires away from engine parts.
Test Bluetooth connectivity if your stereo has it. Pair a device and play some music.
Adjust settings for best sound quality. Set the balance fade and equalizer to your liking.
Frequently Asked Questions
Connecting a car stereo to a 12V battery involves specific steps and safety precautions. These common questions address key aspects of wiring a car radio directly to a power source.
How can a car radio be connected to a power supply without using a harness?
To connect a car radio without a harness, identify the power wires. Find the red and yellow wires from the stereo. Connect them to the positive battery terminal. Attach the black wire to the negative terminal or a ground point.
What is the correct method for direct wiring a car stereo to a 12V battery?
The correct method involves safety first. Use a fuse holder for protection. Strip the wires and connect them properly. Join the red and yellow wires to the positive terminal. Connect the black wire to the negative terminal.
What are the steps to run wiring from the battery to a car radio?
To run wiring from the battery:
- Choose a safe route for the wires
- Use wire loom for protection
- Secure wires with zip ties
- Connect to the battery last
Avoid sharp edges and hot surfaces when routing wires.
How do you identify and connect the constant 12V wire in a car stereo?
The constant 12V wire is usually yellow. It provides power to save radio presets. To connect it:
- Locate the yellow wire
- Strip the end
- Attach it to the positive battery terminal
- Use a fuse for safety
This wire keeps the stereo memory alive when the car is off.
What is the function of the yellow wire in a car stereo connection?
The yellow wire is the constant power wire. It maintains power to the stereo’s memory. This wire keeps station presets and clock settings when the car is off. It connects to the positive battery terminal through a fuse.
How to properly connect red and black wires from a car radio to a car battery?
To connect red and black wires:
- Red wire: Connect to positive terminal
- Black wire: Connect to negative terminal or ground
- Use crimp connectors or solder joints
- Cover connections with heat shrink tubing
Always disconnect the battery before working on wiring. This prevents shorts and sparks.