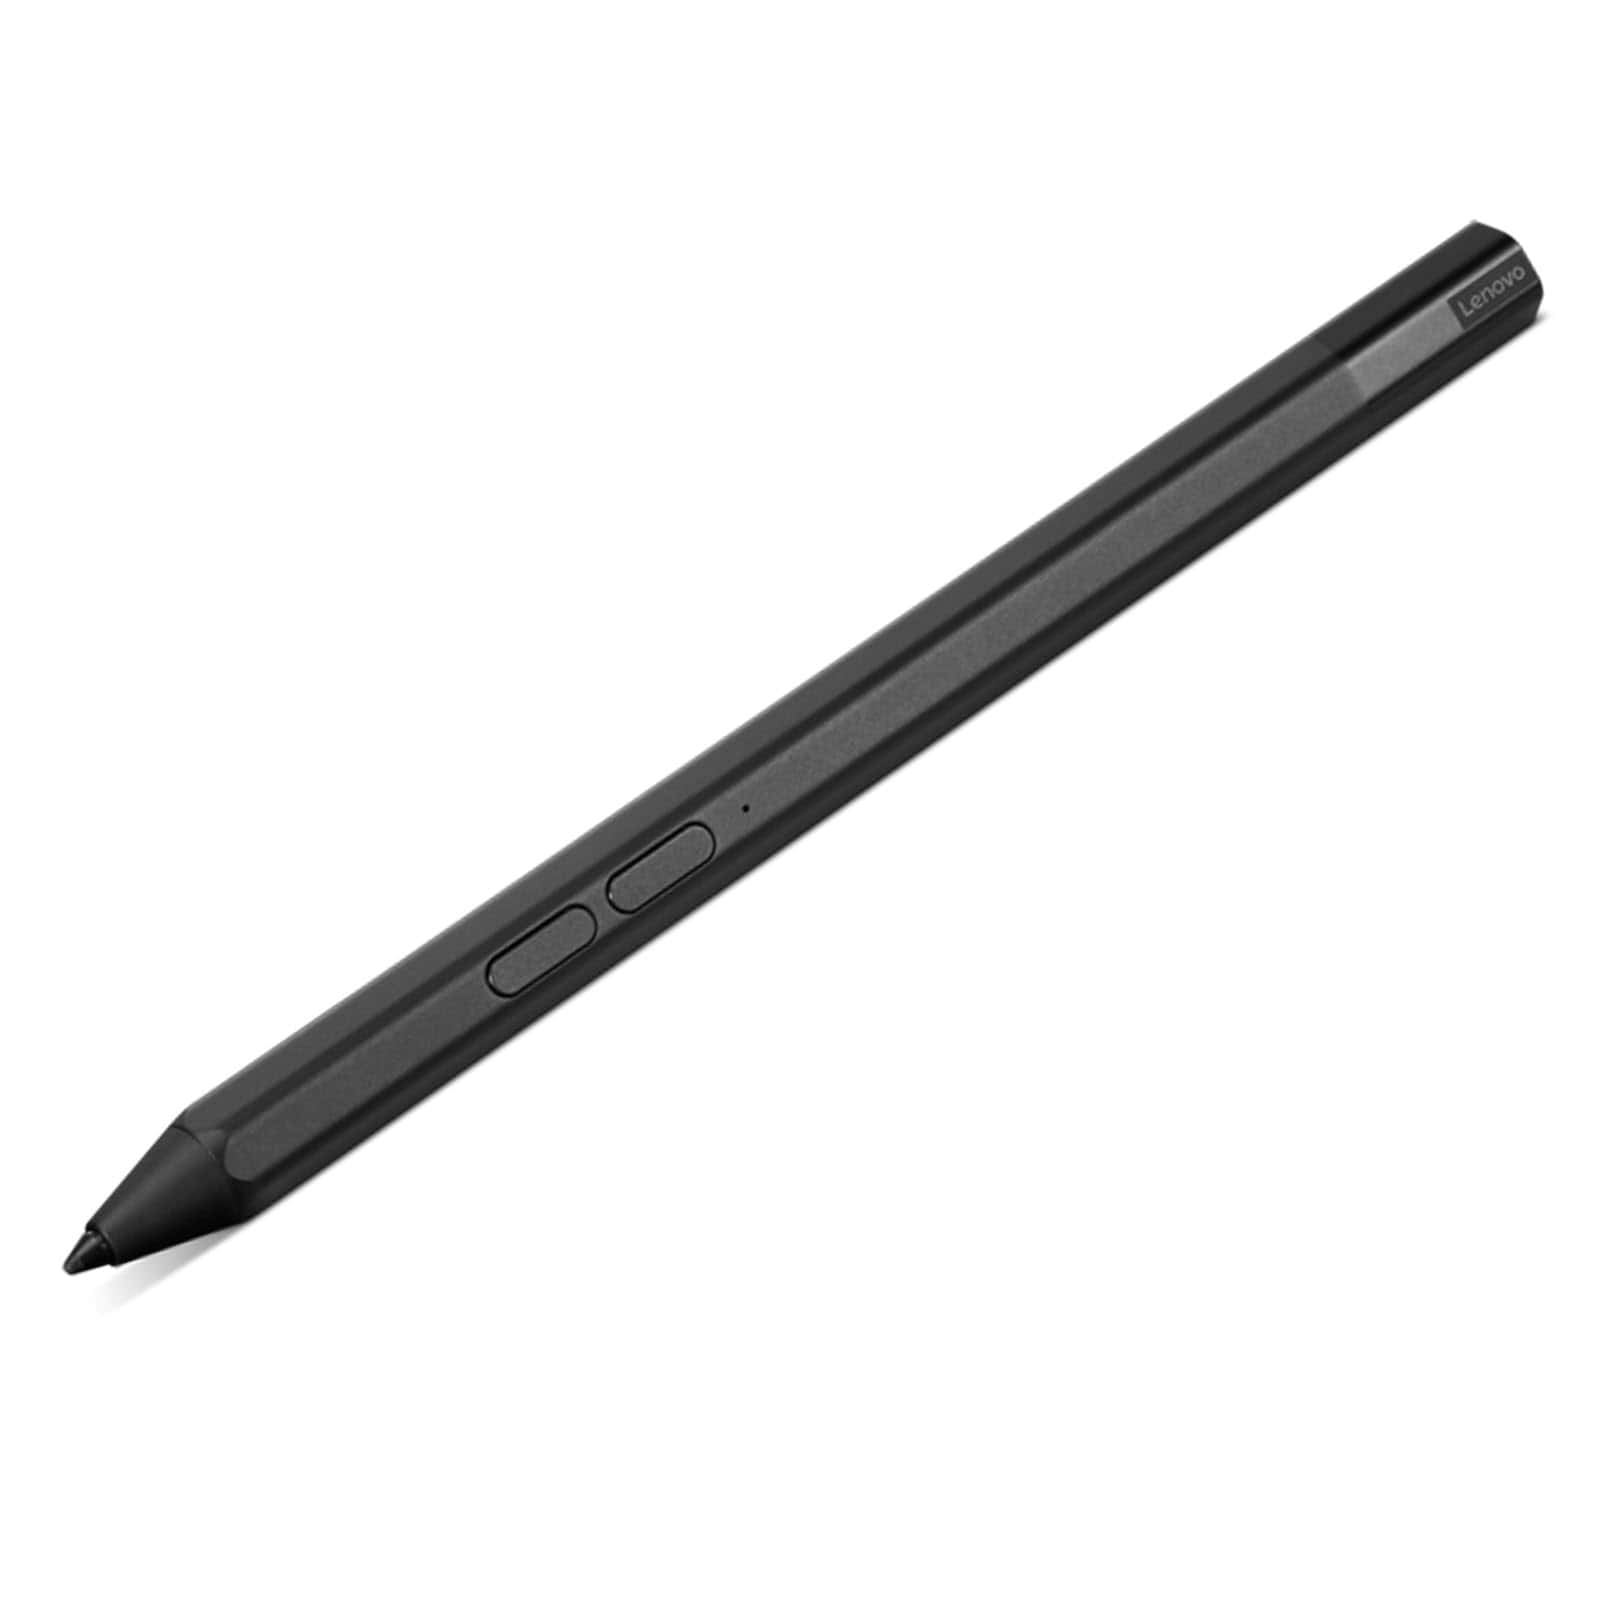
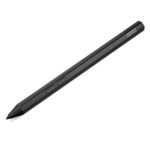
Lenovo pens offer a unique way to interact with your computer. These digital styluses enhance productivity and creativity for users of compatible Lenovo devices. Lenovo Digital Pens let you tap, click, right-click, and erase ink directly on your screen.
You can customize the pen buttons to suit your needs. The Lenovo Pen Settings app allows you to set up functions for each button. Options include opening apps, taking screenshots, or launching the radial menu for quick access to tools.
To get started, install the AAAA battery in your pen. Then pair it with your device. Once connected, you can begin using your Lenovo pen right away. The default settings work well for most tasks, but personalizing the buttons can boost your efficiency.
| Pen Feature | Function |
|---|---|
| Top Button | Right-click |
| Bottom Button | Erase |
| Barrel Button | Open radial menu |
| Tip | Left-click/Write |
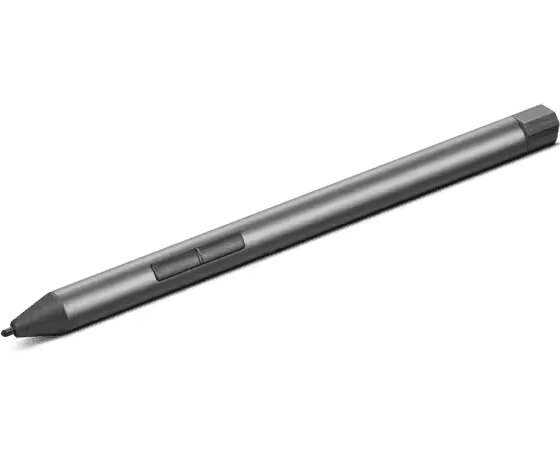
Mastering Your Lenovo Stylus Pen
Lenovo stylus pens can significantly enhance your interaction with compatible Lenovo laptops, tablets, and touchscreen devices. They offer precision, control, and a natural writing or drawing experience. Here’s a guide to using your Lenovo stylus pen effectively:
Compatibility
First, ensure your Lenovo device supports an active stylus. Look for features like “Lenovo Pen Support” or “Active Pen Technology” in your device’s specifications. Some popular Lenovo devices with stylus support include:
- ThinkPad X1 Yoga
- Yoga 9i
- Yoga 7i
- IdeaPad Duet 5 Chromebook
- Lenovo Tab P12 Pro
Pairing
Pairing your stylus with your Lenovo device is usually straightforward:
- Bluetooth Pairing:
- Turn on your stylus.
- On your Lenovo device, go to Settings > Bluetooth and search for available devices.
- Select your stylus from the list and follow the on-screen pairing instructions.
- Other Pairing Methods:
- Some styluses might pair automatically when you bring them close to the screen.
- Others might require you to install specific drivers or software.
Refer to your stylus and device user manuals for detailed pairing instructions.
Basic Functionality
Once paired, you can use your stylus for various tasks:
- Navigation: Use the stylus to navigate menus, tap on icons, and scroll through web pages.
- Writing and drawing: Open a note-taking app or drawing program and use the stylus to write or draw directly on the screen.
- Annotating: Annotate documents, screenshots, or images with the stylus.
- Precision tasks: Use the stylus for tasks that require fine-grained control, like photo editing or graphic design.
Stylus Features
Many Lenovo styluses offer additional features:
- Pressure sensitivity: The stylus can detect varying levels of pressure, allowing for natural-looking strokes when drawing or writing.
- Palm rejection: The device can ignore accidental touches from your palm while you’re using the stylus.
- Tilt support: Some styluses can detect the angle at which you’re holding the pen, enabling shading and other artistic effects.
- Buttons and shortcuts: Many styluses have buttons that can be customized for specific actions, like erasing, right-clicking, or launching apps.
Tips for Optimal Use
- Calibrate your stylus: Some devices allow you to calibrate the stylus for improved accuracy.
- Adjust pressure sensitivity: Experiment with different pressure sensitivity settings to find what feels most natural for you.
- Use screen protectors: Consider using a screen protector designed for stylus use. This can help prevent scratches and provide a smoother writing surface.
- Keep your stylus charged: Ensure your stylus is adequately charged to avoid interruptions.
- Explore available apps: Many apps are optimized for stylus input, offering a wide range of creative and productivity possibilities.
Troubleshooting
- Stylus not connecting:
- Check battery: Ensure the stylus has sufficient battery power.
- Bluetooth connection: Make sure Bluetooth is enabled on your device and the stylus is within range.
- Re-pair: Try unpairing and re-pairing the stylus.
- Inaccurate or erratic behavior:
- Clean the screen: A dirty screen can interfere with stylus tracking.
- Calibrate the stylus: Recalibrate the stylus if necessary.
- Check for driver updates: Ensure your stylus drivers are up to date.
By following these tips and exploring the capabilities of your Lenovo stylus pen, you can unlock new levels of creativity and productivity on your compatible Lenovo device.
Lenovo Stylus Pens
Table of currently available and recent Lenovo models, along with key specs to help you compare:
| Stylus Pen Name | Compatibility | Pressure Levels | Special Features | Connection Type | Notes |
|---|---|---|---|---|---|
| Lenovo USI Pen 2 | USI-compatible Chromebooks and tablets | 4096 | Tilt support, finer tip | USI 2.0 | Improved latency over previous gen |
| Lenovo USI Pen | USI-compatible Chromebooks and tablets | 4096 | USI 1.0 | More affordable option | |
| Lenovo Digital Pen 2 | Select Lenovo laptops (Yoga, Flex, IdeaPad) | 4096 | Two side buttons, long battery life | ||
| Lenovo ThinkPad Pen Pro-10 | Select ThinkPad laptops | 4096 | |||
| Lenovo Precision Pen 2 | Select Lenovo laptops | 4096 | Long battery life (1754 hrs) | ||
| Lenovo Integrated Pen | Select Yoga and Flex laptops | Stored within the laptop chassis | Not sold separately, feature of the laptop itself |
Things to Note about this Table:
- Compatibility is Key: Always double-check if the pen is specifically listed as compatible with YOUR Lenovo device model.
- “Select Laptops” is Vague: Lenovo’s site often uses this, meaning it’s NOT universal. Their compatibility lists are tricky to find, sadly.
- Older Pens Exist: You may find older models on resale markets, but specs and support may be limited.
To improve this table for YOUR needs, tell me:
- What Lenovo device do you have? I can then try to find definitively compatible pens.
- What features matter most? (Pressure levels, buttons, tilt, etc.) This helps narrow down the best choices.
Setting Up Your Lenovo Pen
Proper setup of your Lenovo Pen is crucial for optimal performance. This process involves installing batteries, pairing the pen with your device, and setting up necessary software.
Installing Batteries and Pairing
To begin, insert the batteries into your Lenovo Pen. The Lenovo Active Pen 2 and Lenovo Digital Pen typically use one AAAA battery and two coin-cell batteries. Remove the pen cap to access the battery compartments.
Next, pair your pen with your Lenovo device. Hold down the top button on your pen for seven seconds. The LED indicator will flash white, indicating pairing mode.
On your Lenovo device, go to Settings > Devices > Bluetooth & other devices. Select “Add Bluetooth or other device” and choose your pen from the list. Click “Pair” to complete the process.
Installing Drivers and Applications
To maximize your Lenovo Pen’s functionality, install the appropriate drivers and applications. The Lenovo Pen Settings app allows you to customize button functions and adjust pressure sensitivity.
Download the Lenovo Pen Settings app from the Microsoft Store or Lenovo’s website. Install and launch the app to configure your pen settings.
For broader compatibility, consider installing the Wacom Pen app. This software supports various pen-enabled applications and provides additional customization options.
| Application | Purpose | Key Features |
|---|---|---|
| Lenovo Pen Settings | Pen customization | Button configuration, pressure adjustment |
| Wacom Pen | Broader compatibility | Multi-app support, advanced settings |
Ensure Windows Ink Workspace is enabled for seamless pen integration with Windows features. Access it quickly by clicking the pen icon in your taskbar.
Customizing Your Lenovo Pen
Tailoring your Lenovo Pen settings enhances productivity and creativity. You can adjust button functions and pressure sensitivity to match your workflow.
Configuring Pen Buttons
Lenovo Pens typically have multiple buttons that you can customize. To set these up, use the Lenovo Pen Settings app or Windows Ink Workspace.
Open the app and select your pen model. You’ll see options for each button. Common functions include:
- Erase
- Right-click
- Open specific apps
- Take screenshots
For the top button, you might set it to launch the Radial Menu. This gives quick access to tools and settings.
To change a function, click on the button in the app. Choose from the list of available actions. Apply your changes and test the pen to ensure it works as expected.
Adjusting Pressure Sensitivity
Fine-tuning pressure sensitivity makes your pen respond better to your touch. This improves your writing and drawing experience.
Find the pressure sensitivity slider in your pen settings. Move it left for a lighter touch or right for more pressure.
Test different levels on a blank canvas. Find the setting that feels most natural for your hand.
Some apps let you adjust sensitivity within their interface. Check your favorite drawing or note-taking software for these options.
| Pressure Level | Best For |
|---|---|
| Light | Sketching, light handwriting |
| Medium | General use, most handwriting |
| Heavy | Bold lines, signatures |
Remember to save your settings after making changes. Your customized Lenovo Pen is now ready for optimal use.
Using Lenovo Pen with Applications
The Lenovo Pen enhances productivity and creativity across various Windows applications. It offers versatile functionality for writing, drawing, and navigating your device efficiently.
Writing and Drawing
The Lenovo Pen excels in note-taking and artistic tasks. In OneNote, you can write naturally and convert handwriting to text. The pen’s pressure sensitivity allows for precise strokes in drawing apps.
Use the Sketchpad app for quick doodles or brainstorming sessions. The pen’s hover feature lets you preview actions before touching the screen. This helps with accurate selections and reduces errors.
For presentations, enable Presentation Mode to use your pen as a virtual laser pointer. This keeps your audience focused on key points without obstructing the view.
Productivity and Navigation
The Lenovo Pen streamlines Windows navigation and boosts efficiency. Customize button functions in Windows 10 Settings to suit your workflow.
| Button | Action | Example Use |
|---|---|---|
| Top | Open app | Launch OneNote |
| Bottom | Right-click | Context menus |
| Hold + Tap | Erase | Remove mistakes |
Double-tap the screen to capture screenshots with Screen Sketch. Annotate images easily for clear communication. Use Sticky Notes for quick reminders – just write and pin them to your desktop.
Activate Cortana with a pen click to perform voice commands or searches hands-free. This combines the precision of pen input with the convenience of voice control.
Frequently Asked Questions
Lenovo Pen users often have questions about connectivity, activation, and functionality. These FAQs address common concerns and provide practical solutions for getting the most out of your digital pen.
How can I connect the Lenovo Pen to my tablet?
To connect your Lenovo Pen, turn on Bluetooth on your tablet. Press and hold the top button of the pen for over 3 seconds to enter pairing mode. Select the pen from the list of available devices on your tablet to complete the connection.
What steps are required to utilize the Lenovo Pen on my laptop?
Ensure your laptop supports pen input. Install any necessary drivers from Lenovo’s support website. Once installed, your Lenovo Pen should work automatically when you bring it close to the screen.
What is the process to activate the Lenovo Pen?
Most Lenovo Pens activate automatically when you start using them. If your pen isn’t responding, check the battery. Replace or recharge as needed. Some models may require you to press a button to wake the pen from sleep mode.
How does one operate the Lenovo Precision Pen 2?
The Lenovo Precision Pen 2 functions like a standard stylus for writing and drawing. Use the buttons for additional features. The top button often opens apps like Microsoft Whiteboard, while the barrel button typically acts as an eraser in supported applications.
Where can I find the settings for my Lenovo Pen in Windows 10?
Access pen settings in Windows 10 by going to Settings > Devices > Pen & Windows Ink. Here you can customize pressure sensitivity, button functions, and handwriting recognition settings for your Lenovo Pen.
What functions do the two buttons on the Lenovo pen perform?
The top button usually opens apps or takes screenshots. The barrel button often serves as an eraser. You can customize these functions in your device settings or Lenovo Pen software for a more personalized experience.
| Button | Default Function | Customizable |
|---|---|---|
| Top | Open apps/Screenshot | Yes |
| Barrel | Erase | Yes |

