Velocity switching transforms sound by changing its character based on how hard you play a key or hit a drum pad. Velocity switching alters some aspect of the sound depending on how forcefully you strike the keys. This technique mimics real instruments, where playing harder or softer affects more than just volume.
In digital keyboards and samplers, velocity switching can trigger different samples or alter the timbre. This adds depth and realism to electronic instruments. For example, a softly played piano note might sound mellow, while a hard strike produces a brighter tone with more harmonics.
Musicians and producers use velocity switching to create more expressive performances. It allows for nuanced control over sound, making digital instruments feel more like their acoustic counterparts. The table below shows common uses of velocity switching:
| Velocity Range | Sound Change |
|---|---|
| Low (1-40) | Soft sample |
| Medium (41-80) | Normal sample |
| High (81-127) | Bright sample |
Velocity Switching: Adding Dynamics and Expression to Your Sound
Velocity switching is a powerful technique that allows you to change the sound of an instrument or synthesizer based on how hard you play a MIDI keyboard or trigger a drum pad. It’s like having multiple instruments in one, opening up a world of expressive possibilities.
How Velocity Switching Works
Imagine your keyboard as having different zones. When you play softly, you trigger sounds in the low-velocity zone. As you play harder, you cross into higher-velocity zones, triggering different sounds or variations of the original sound.
This is achieved by mapping MIDI velocity values to different parameters in a synthesizer or sampler. For example, you could map velocity to:
- Sample selection: Trigger different samples at different velocities, creating a more realistic and dynamic performance.
- Filter cutoff: Open or close the filter based on velocity, adding brightness or darkness to the sound.
- Amplitude: Control the volume, making louder notes sound fuller or brighter.
- Effects parameters: Adjust effects like reverb or distortion based on velocity, creating evolving textures.
Applications of Velocity Switching
- Realistic Instruments: Create incredibly realistic emulations of acoustic instruments. For example, a piano patch might use different samples for soft, medium, and hard keystrokes, capturing the nuances of the instrument.
- Dynamic Drums: Make your drum patterns more expressive by triggering different samples or layering sounds at different velocities.
- Evolving Soundscapes: Create evolving textures and soundscapes by mapping velocity to various parameters, adding movement and depth to your music.
- Expressive Performances: Velocity switching allows for more nuanced and expressive MIDI performances, capturing the dynamics of your playing.
Examples of Velocity Switching in Action
- Drum layering: A soft hit on a snare drum might trigger a subtle brush sound, while a hard hit triggers a powerful snare sample with added reverb.
- Synth textures: A low-velocity note might produce a mellow pad sound, while a high-velocity note triggers a bright lead synth with added distortion.
- Orchestral swells: Velocity can be used to control the volume and intensity of orchestral instruments, creating realistic crescendos and diminuendos.
Implementing Velocity Switching
Many synthesizers and samplers have built-in velocity switching capabilities. You can also achieve it using MIDI effects or by carefully programming your sounds.
Tips for Using Velocity Switching
- Experiment: Try mapping velocity to different parameters to discover unique and creative sounds.
- Subtlety: Start with subtle changes and gradually increase the intensity to avoid overly drastic shifts in sound.
- Context: Consider the context of your music and how velocity switching can enhance the overall expression and dynamics.
Velocity switching is a valuable tool for adding depth, realism, and expression to your music. By understanding its capabilities and experimenting with different techniques, you can unlock new creative possibilities and elevate your sound design.
Beyond Velocity: Other MIDI Expression Tools
While velocity is a powerful tool, it’s not the only way to add expression to your MIDI performances. Here are some other MIDI controllers and techniques to explore:
- Aftertouch: This measures the pressure applied to a key after it’s been struck, allowing for further modulation of sound.
- Modulation Wheel: This wheel typically controls vibrato, tremolo, or other modulation effects.
- Pitch Bend: Bend the pitch of notes for expressive slides and vibrato effects.
- Expression Pedal: Control volume or other parameters with your foot, freeing up your hands for other tasks.
By combining these techniques with velocity switching, you can create truly dynamic and expressive MIDI performances that capture the nuances of your musical ideas.
Fundamentals of Velocity in Music Production
Velocity in music production controls note dynamics and expression. It affects volume, timbre, and overall sound quality in digital music creation.
Understanding Velocity and MIDI
Velocity refers to the force or speed with which a note is played. In MIDI, velocity values range from 0 to 127. Higher values produce louder notes while lower values create softer ones.
MIDI controllers like keyboards capture velocity data. This information is sent to virtual instruments or hardware synths. The receiving device interprets velocity to shape the sound’s characteristics.
Velocity doesn’t just control volume. It can affect a note’s timbre, attack, and decay. This feature allows for more expressive and realistic-sounding performances in digital music production.
The Role of Velocity in Sound Dynamics
Velocity is crucial for creating dynamic range in digital music. It mimics the natural variations in loudness and intensity found in live performances.
By manipulating velocity, you can add nuance to your tracks. Soft, delicate passages contrast with powerful, intense sections. This variance keeps listeners engaged and adds emotional depth to your music.
Many virtual instruments use velocity to trigger different samples. For instance, a virtual piano might play softer samples for low velocities and brighter, more resonant samples for high velocities.
| Velocity Range | Sound Characteristics |
|---|---|
| 0-31 | Very soft, muted |
| 32-63 | Soft, gentle |
| 64-95 | Moderate, balanced |
| 96-127 | Loud, intense |
Velocity editing in DAWs lets you fine-tune performances. You can adjust individual note velocities to perfect your tracks’ dynamics and expressiveness.
Velocity Switching in Practice
Velocity switching transforms digital instruments by adding dynamic range and expressiveness. This technique enhances sampled sounds to better mimic their acoustic counterparts.
Mechanics of Velocity Switching
Velocity switching alters sound based on key strike force. It divides the 0-127 MIDI velocity range into zones. Each zone triggers a different sample or set of samples.
Samplers often use 3-4 velocity layers:
- Soft (1-40)
- Medium (41-80)
- Loud (81-127)
This allows for smooth transitions between dynamics. More layers increase realism but use more sample memory.
Implementing Velocity Switching in Samplers
To set up velocity switching:
- Record multiple samples at different intensities
- Assign samples to velocity zones
- Adjust crossfade points between zones
Many software samplers offer visual editors for this process. You can fine-tune velocity curves to match your playing style.
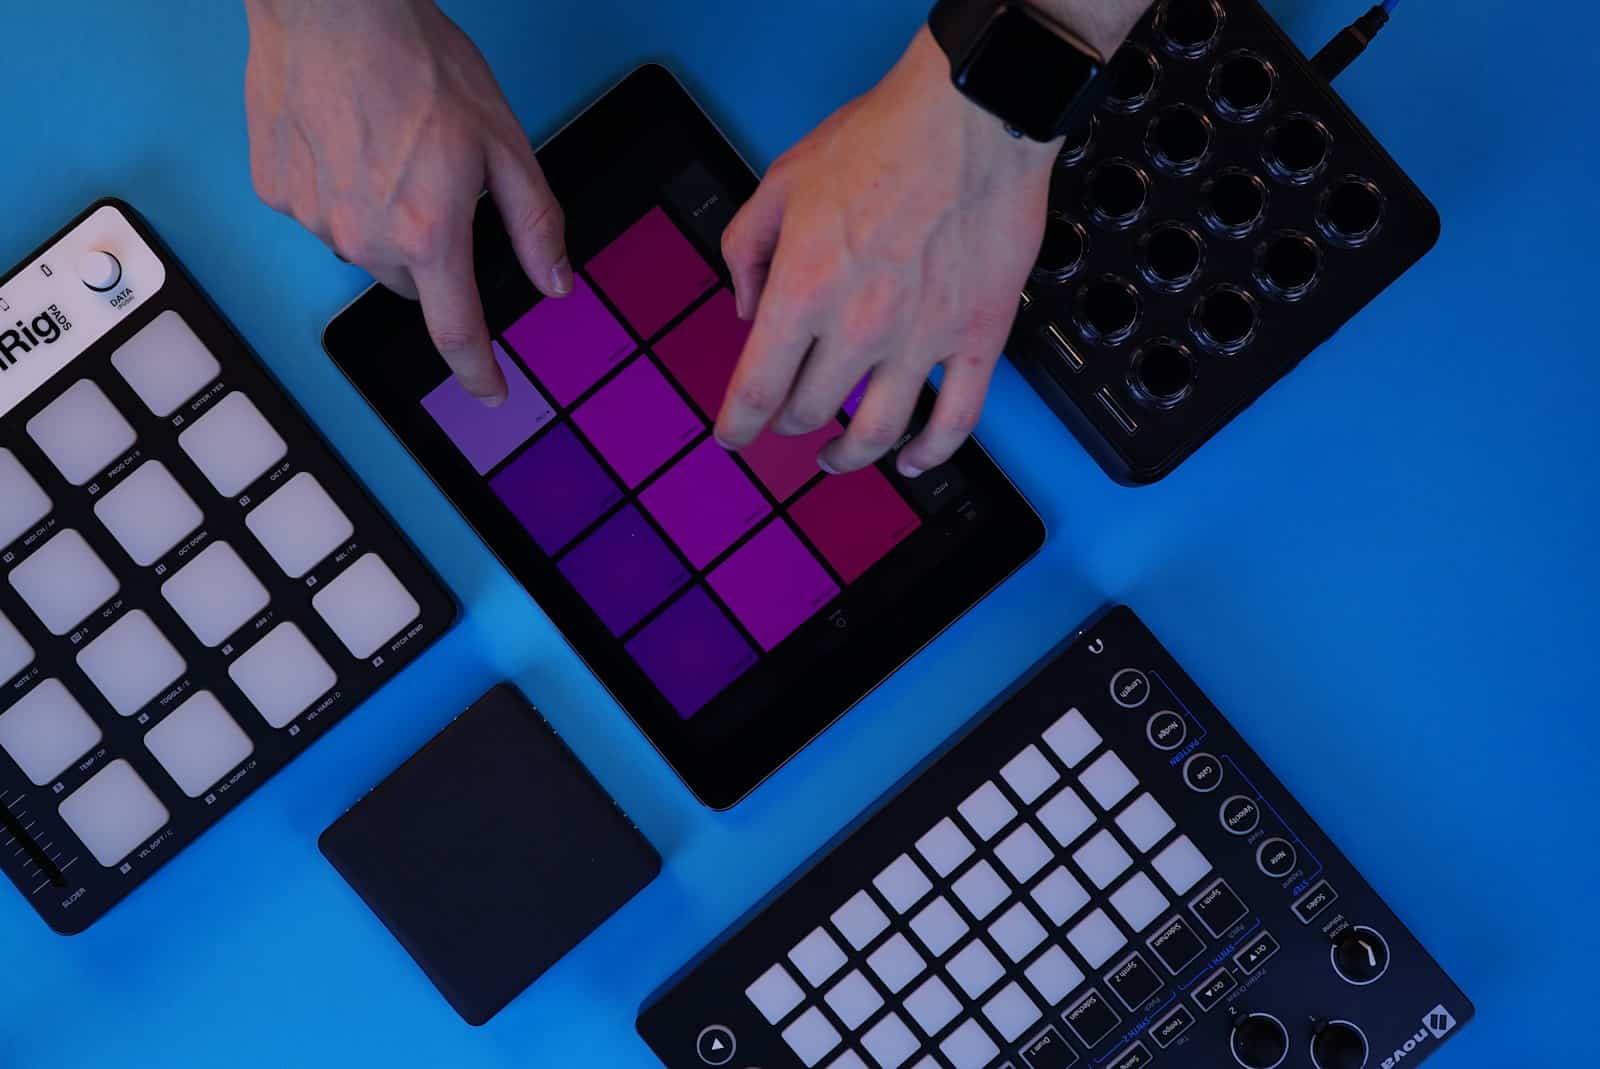
Hardware like the Akai Force and MPC also support velocity switching. These devices let you edit zones directly on their touchscreens.
Real-World Applications
Velocity switching shines in recreating acoustic instruments. Pianos, drums, and orchestral sounds benefit greatly from this technique.
| Instrument | Velocity Layers | Benefits |
|---|---|---|
| Piano | 4-8 | Captures soft to loud tones |
| Drums | 3-5 | Replicates stick dynamics |
| Strings | 3-4 | Mimics bowing intensity |
In music production, velocity switching adds life to MIDI performances. It helps create more expressive and realistic virtual instruments. You can use it to build custom multisampled drum kits with varying hit intensities.
Live performers use velocity switching to control multiple sounds from a single key. This allows for complex arrangements with minimal gear.
Velocity Modulation of Timbre and Articulations
Velocity modulation alters sound characteristics based on how hard you play notes. This technique impacts both timbre and articulations in acoustic and electronic instruments.
Acoustic versus Electronically Sampled Instruments
Acoustic instruments naturally change timbre with playing force. A piano’s hammer strikes strings harder when played forcefully. This creates brighter tones with more overtones. Soft playing produces warmer tones.
Electronic instruments use velocity to mimic this behavior. MIDI velocity values influence loudness and expressiveness. Higher velocities trigger samples with brighter timbres. Lower velocities use mellower samples.
Stringed instruments showcase this well. Plucking a guitar string hard creates a sharp attack. Gentle plucking yields a softer onset. Sample-based virtual instruments replicate this through velocity switching.
Programming Advanced Velocity-Dependent Articulations
Advanced velocity mapping assigns specific articulations to velocity ranges. This enhances realism in virtual instruments.
For drums, you might set up:
| Velocity Range | Articulation |
|---|---|
| 1-30 | Ghost note |
| 31-80 | Normal hit |
| 81-127 | Accent |
This creates dynamic drum performances. Multisampled acoustic drums often use this approach. It applies to kick drum, snare, closed hat, and open hat samples.
For melodic instruments, you can map:
- Soft velocities to legato transitions
- Medium velocities to sustained notes
- High velocities to marcato or staccato articulations
This setup allows expressive playing without manual articulation switching. You control articulations through playing dynamics alone.
Technical Aspects of Velocity Mapping
Velocity mapping involves configuring curves, ranges, and sample layers to achieve dynamic sound control. These techniques allow for precise adjustments in musical expression and tonal variation.
Configuring Velocity Curves and Ranges
Velocity curves define how MIDI input translates to sound output. Linear curves maintain a 1:1 relationship between input and output. Logarithmic curves amplify lower velocities while compressing higher ones. Exponential curves do the opposite.
To set up velocity ranges:
- Choose your MIDI controller‘s input range (usually 0-127)
- Decide on output ranges for each sample layer
- Map input values to desired output responses
Velocity switching lets you trigger different samples based on how hard you play. This mimics acoustic instruments’ tonal changes at varying intensities.
A typical velocity map might look like this:
| Velocity Range | Sample Layer |
|---|---|
| 0-31 | Soft |
| 32-95 | Medium |
| 96-127 | Loud |
Optimizing Sample Layers for Consistent Performance
Creating smooth transitions between sample layers is crucial for realistic sound. Record multiple takes of each note at different intensities. Choose the best samples for each velocity range.
Tips for optimizing layers:
- Match volume levels between adjacent layers
- Crossfade overlapping velocity ranges
- Use consistent microphone placement and room acoustics
Mapping velocity to decay time can enhance realism. Softer hits often have shorter decay times in acoustic instruments.
You can also map velocity to pitch for subtle tonal variations. Small pitch changes (1-2 cents) work well for natural-sounding results.
Consider mapping velocity to a filter cutoff to mimic how brighter tones often result from harder hits on acoustic instruments.
Frequently Asked Questions
Velocity switching significantly impacts sound production and perception in various contexts. It affects MIDI programming, sound synthesis, and instrument dynamics.
What is the impact of velocity on sound variation in MIDI programming?
Velocity in MIDI programming controls the intensity of a note. Higher velocities produce louder sounds. Lower velocities create softer tones. This allows for dynamic expression in digital music creation.
How does material state influence sound velocity?
Sound travels faster through solids than liquids or gases. Temperature also affects velocity. In air, sound speed increases with temperature.
Can sound velocity alter the timbre of an instrument?
Yes, velocity changes can alter timbre. Higher velocities often produce brighter tones. Lower velocities may result in darker or muted sounds. This effect varies by instrument.
What role does velocity play in the dynamics of sound production?
Velocity directly impacts dynamics. It controls the force applied to an instrument. This affects volume and tonal characteristics. Skilled musicians use velocity to add expression to their performances.
In what ways does changing velocity affect sound synthesis?
In synthesizers, velocity can trigger different samples or waveforms. It may also control filter cutoff, envelope times, or modulation depth. These changes create more realistic or expressive sounds.
Does the velocity of a sound wave influence its propagation in different media?
Sound wave velocity varies in different media. It affects wavelength while frequency remains constant. This impacts how sound travels and is perceived in various environments.
| Medium | Approximate Sound Velocity (m/s) |
|---|---|
| Air | 343 |
| Water | 1480 |
| Steel | 5960 |

