
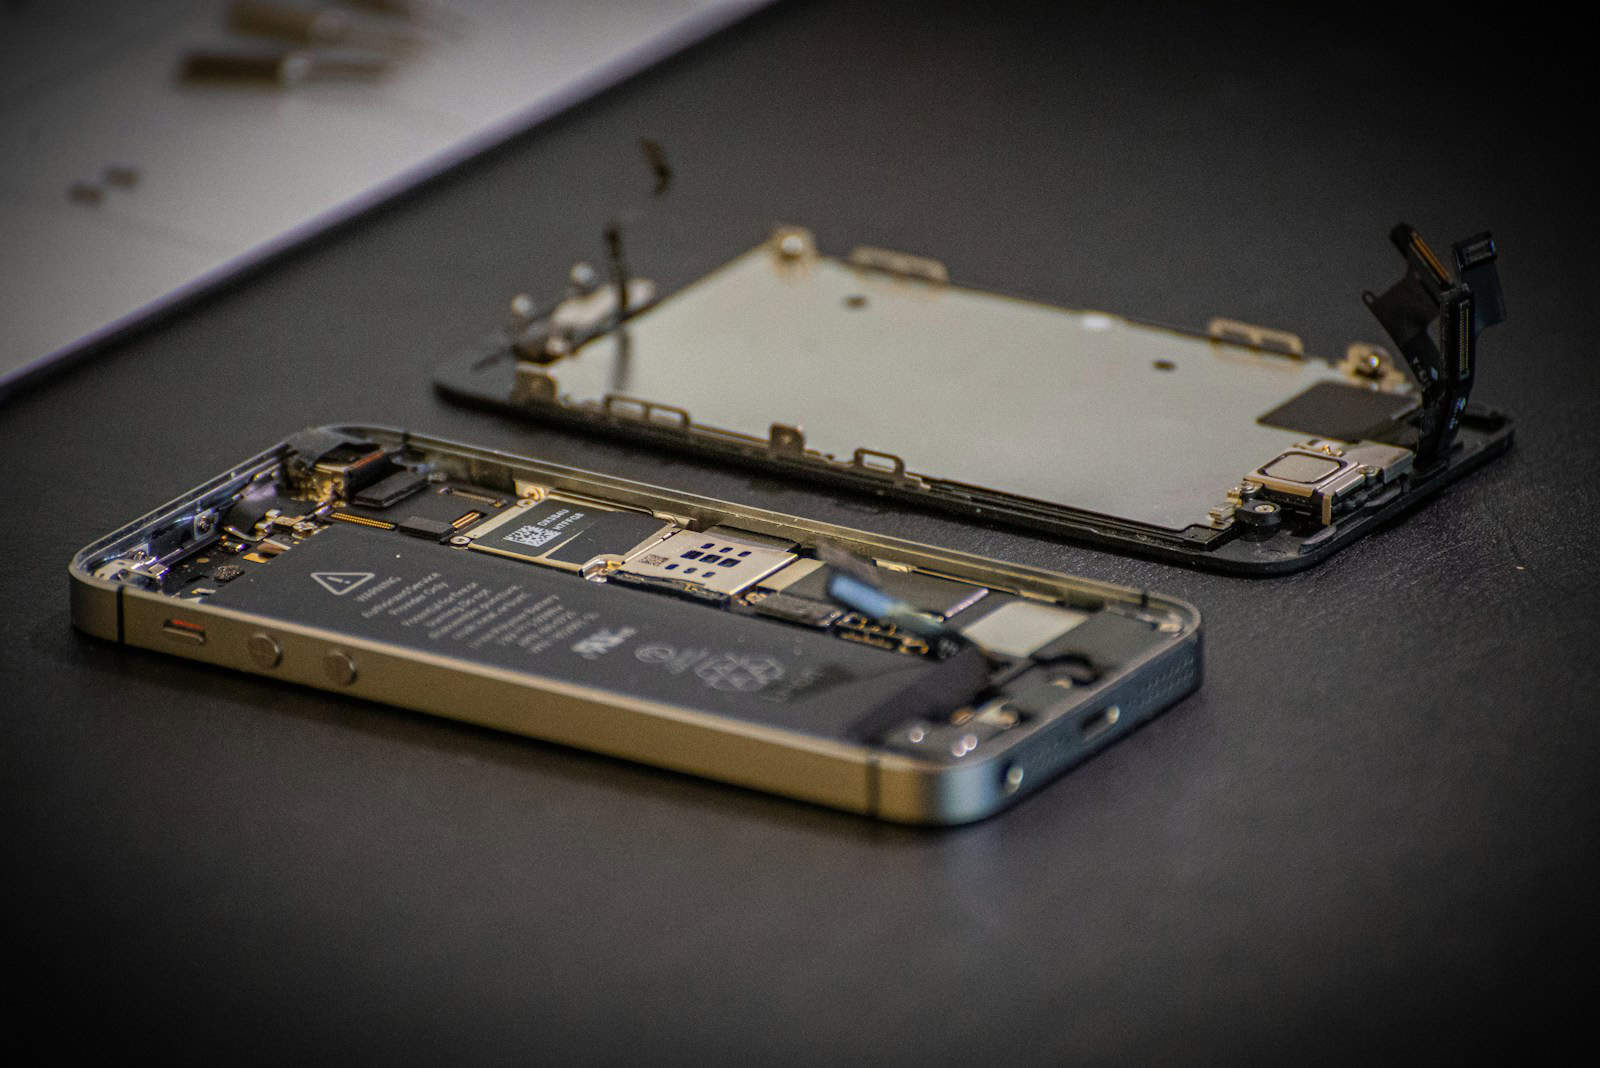
A cracked iPhone screen is a common issue, but replacing it doesn’t have to be a stressful experience. With patience, the right tools, and a bit of care, you can successfully remove and replace your iPhone screen without causing further damage. Remember to take your time, be gentle, and don’t hesitate to seek professional help if needed. Removing an iPhone screen without causing any damage is a delicate task that requires precision, patience, and the right tools. Whether you’re a professional technician or a DIY enthusiast, understanding the nuances of this process is crucial. This article combines insights from top online resources to provide a comprehensive guide on safely removing an iPhone screen.
Carefully Removing Your iPhone Screen
Replacing a cracked iPhone screen can be daunting, but with the right tools and techniques, it’s possible to do it yourself without causing further damage. Here’s a step-by-step guide to help you through the process.
Gather Your Tools
Before you start, make sure you have the necessary tools on hand:
- Screwdriver Set: You’ll need specific pentalobe and Phillips screwdrivers compatible with your iPhone model.
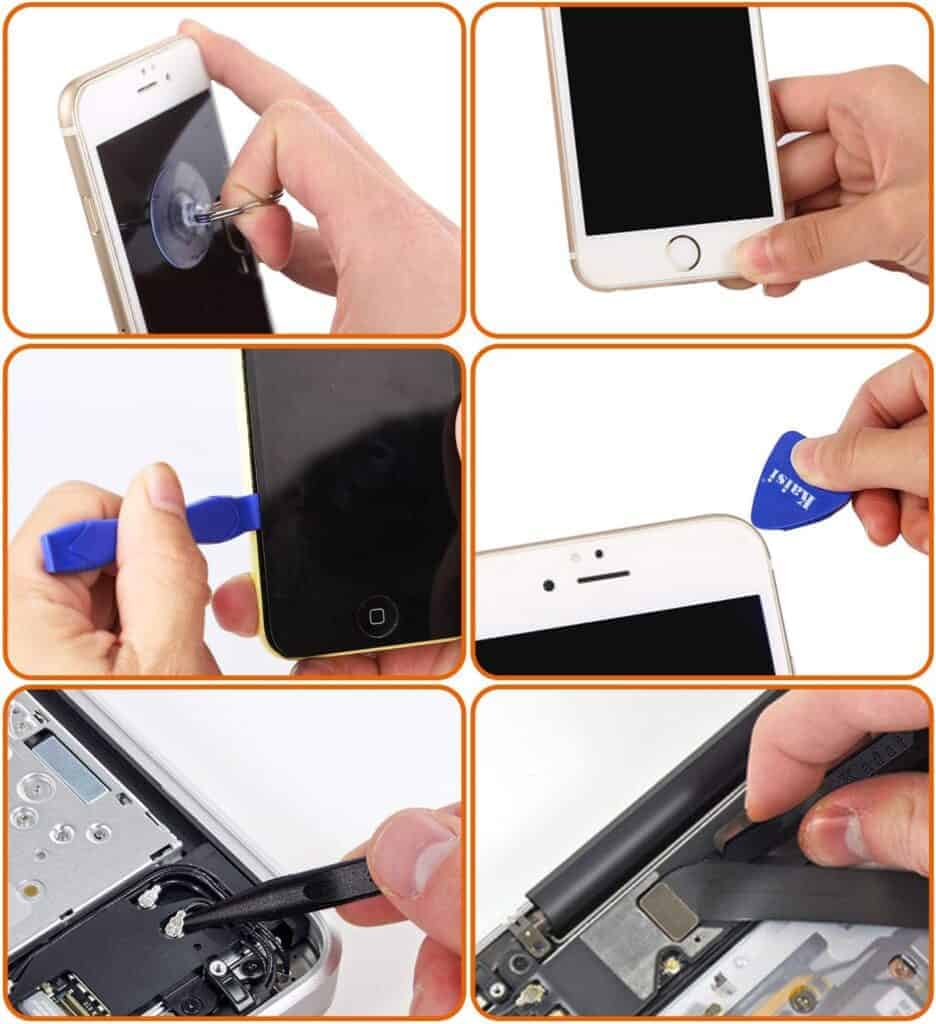
- Suction Cup: A strong suction cup will help lift the screen initially.
- Plastic Opening Tools: These thin, prying tools will help separate the screen from the frame.
- Heat Gun or Hair Dryer: Heat softens the adhesive holding the screen in place, making it easier to remove.
- Isopropyl Alcohol: Use this to clean any adhesive residue.
Step-by-Step Guide
- Power Off: Turn off your iPhone completely before starting.
- Remove Screws: Locate the two pentalobe screws at the bottom of your iPhone and remove them using the appropriate screwdriver.
- Apply Heat: Gently heat the edges of the screen with a heat gun or hair dryer. This will loosen the adhesive.
- Attach Suction Cup: Place the suction cup near the bottom edge of the screen and gently lift to create a small gap.
- Insert Opening Tools: Carefully insert a plastic opening tool into the gap and gently pry the screen up. Work your way around the edges, applying heat as needed.
- Disconnect Cables: Once the screen is lifted, carefully disconnect the flex cables connecting the screen to the motherboard.
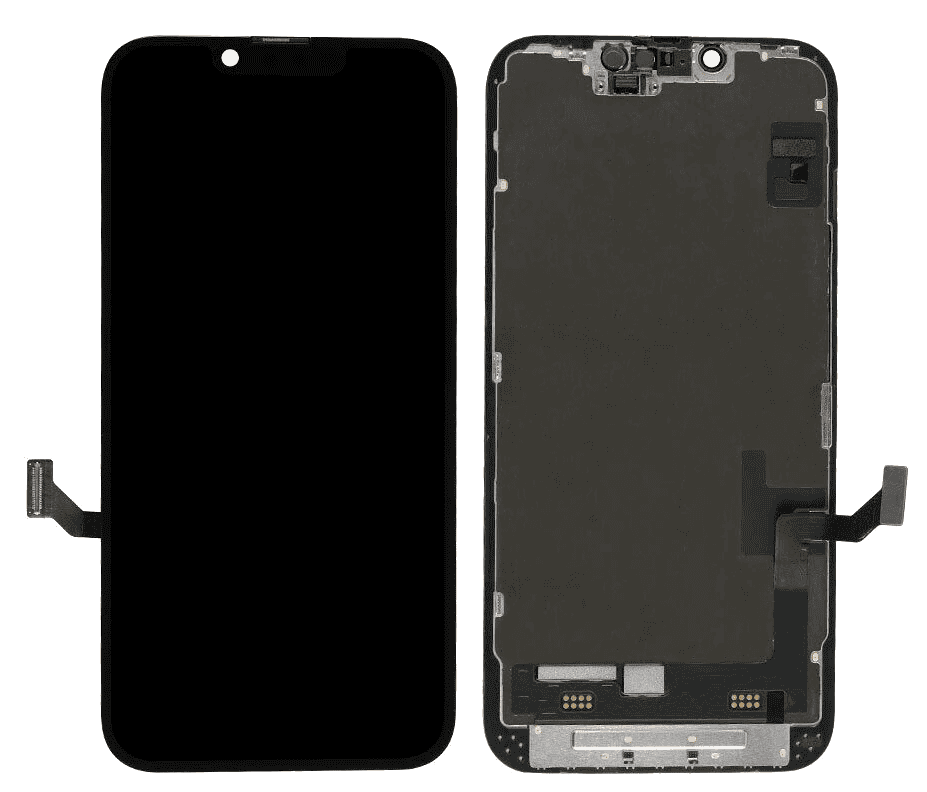
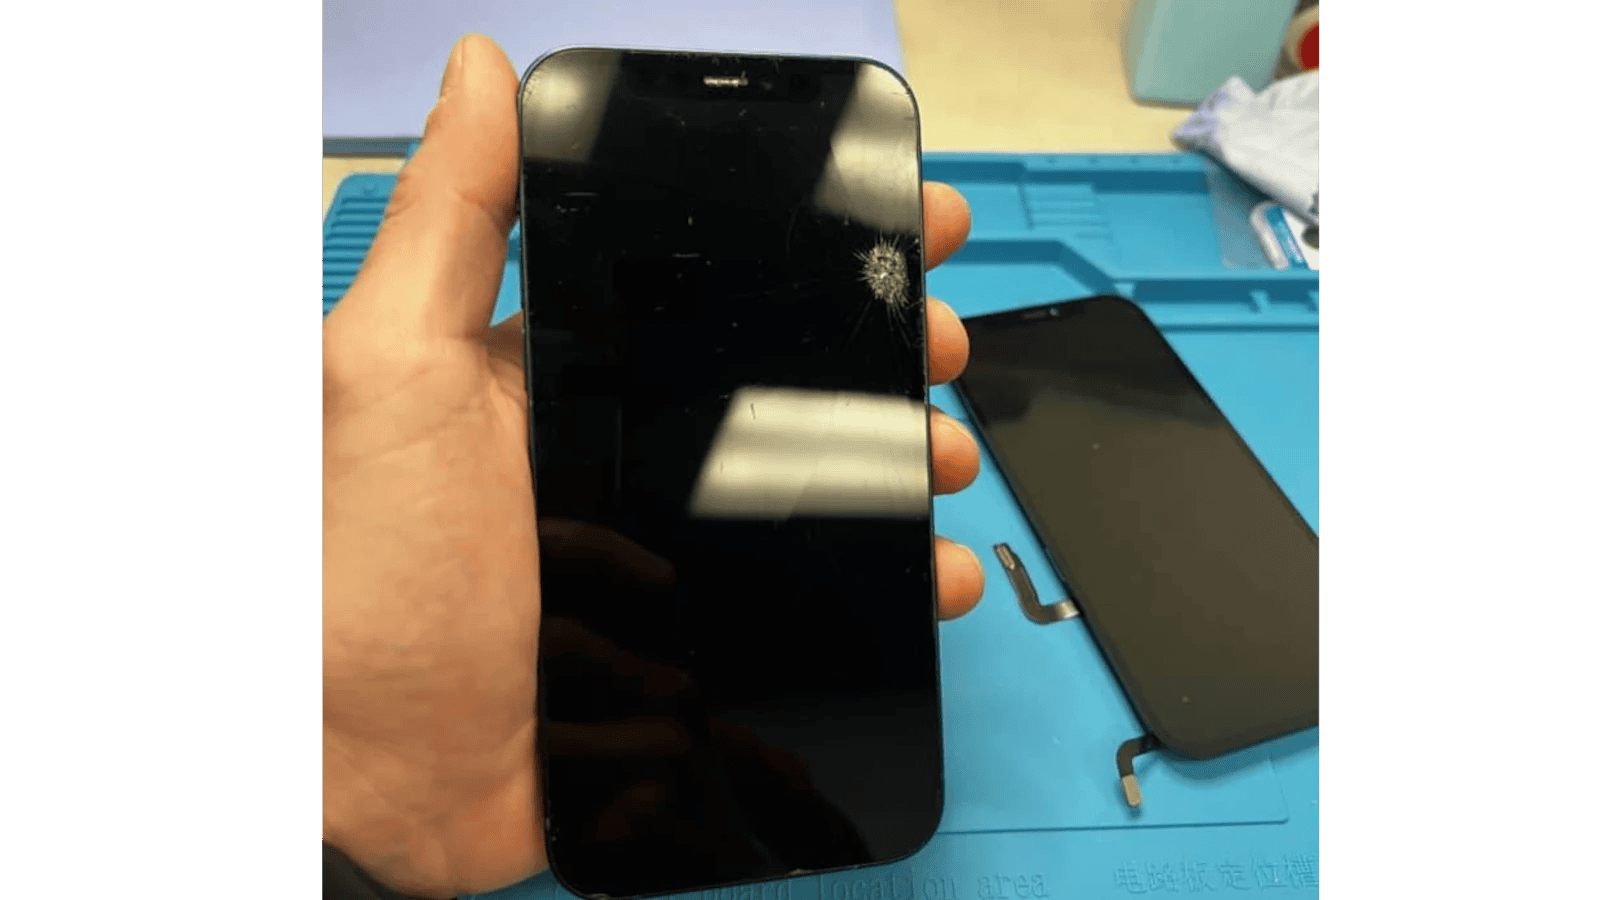
- Remove Screen: Carefully lift the screen away from the body of the iPhone.
Reassembly
- Clean Adhesive: Use isopropyl alcohol to remove any old adhesive from the frame and the new screen.
- Apply New Adhesive: Follow the instructions provided with your replacement screen to apply new adhesive.
- Reconnect Cables: Carefully reconnect the flex cables to the motherboard.
- Attach Screen: Gently press the screen back into place, ensuring it’s properly aligned.
- Replace Screws: Reinsert the two pentalobe screws at the bottom of the iPhone.
Tips for Success
- Take your time: Don’t rush the process. Rushing can lead to mistakes and damage.
- Be gentle: Apply even pressure when prying and avoid bending the screen.
- Watch tutorials: There are many helpful videos online demonstrating the process specific to your iPhone model.
- Consider professional help: If you’re unsure or uncomfortable with the process, consider taking your iPhone to a repair shop.
Troubleshooting
| Problem | Solution |
|---|---|
| Screen won’t lift | Apply more heat and try again. Be patient and use gentle pressure. |
| Flex cables won’t disconnect | Use a plastic spudger to gently pry the cables up. Be careful not to damage them. |
| Screen doesn’t fit properly after reassembly | Make sure all cables are properly connected and the screen is aligned correctly. |
Removing An iPhone Screen Without Damage
Removing an iPhone screen can be a delicate process, but with the right tools and techniques, it can be done safely and effectively. Here’s a table outlining the steps you can take:
| Step | Description | Tools |
|---|---|---|
| Preparation | 1. Power off your iPhone: Ensure your iPhone is completely shut down to avoid any electrical risks. 2. Gather your tools: You’ll need a heat gun, prying tools like iOpener or suction cups, tweezers, and a clean workspace with good lighting. 3. Protect your work surface: Lay down a soft, anti-static mat to prevent scratches or damage to your iPhone. | Heat gun, prying tools, tweezers, clean workspace |
| Heating | 1. Apply heat: Gently heat the edges of the screen with the heat gun, focusing on the adhesive holding the screen in place. Don’t overheat, as this can damage the internal components. 2. Test the adhesive: Once warm, try gently prying the screen up with a suction cup or iOpener. If it doesn’t budge easily, reapply heat and try again. | Heat gun |
| Prying and Separation | 1. Insert a prying tool: Carefully slide a thin prying tool (like a guitar pick) between the screen and the frame, avoiding the LCD panel. 2. Gently twist and slide: Slowly work your way around the edges of the screen, separating the adhesive without forcing it. Use multiple tools if needed. 3. Disconnect cables: Once the screen is mostly detached, locate and carefully disconnect any ribbon cables connecting it to the logic board. Use tweezers for precision. | Prying tools, tweezers |
| Removal and Cleaning | 1. Lift the screen: Gently lift the screen from the frame and lay it flat on the work surface. Avoid touching the LCD panel directly. 2. Clean any residue: Use a soft, lint-free cloth or isopropyl alcohol to remove any remaining adhesive from the frame and the back of the screen. | Soft cloth, isopropyl alcohol (optional) |
Important notes:
- This process can be challenging, especially for beginners. Consider professional repair if you’re unsure or uncomfortable.
- Always handle your iPhone with care to avoid accidental damage.
- Use genuine replacement parts if you’re replacing the screen.
- Consult your iPhone model’s specific repair guides for detailed instructions and troubleshooting tips.
Essential Safety Precautions
Before you start removing an iPhone screen, it’s important to follow these safety steps:
- Back up your data: Ensure your iPhone data is backed up to iCloud or iTunes, as removing the screen and disassembling the phone may potentially cause data loss.
- Turn off your device: This prevents accidental discharge or damage during the screen removal process.
- Discharge remaining battery: If the battery is damaged, it could present a hazard. To discharge it, let the phone run down naturally before starting.
- Work in a clean environment: Choose a well-lit, dust-free area to work in, avoiding carpets or static-prone materials.
The Right Tools for the Job
Having the right tools is important for safely removing your iPhone screen. Here’s what you’ll need:
- Heat source: A hairdryer, heat gun, or dedicated heating pad will soften the adhesive. Use with caution to avoid overheating the phone.
- Suction cup: This secures to the screen and lets you apply enough lift.
- Thin prying tools: Plastic spudgers or a razor blade are used to gently separate the screen. Avoid metal tools, which can scratch or damage components.
- Isopropyl alcohol (optional): This can be used in small amounts to further weaken adhesive.
Removing the iPhone Screen
Follow these steps carefully to remove your iPhone screen without damaging it:
- Apply heat: Evenly heat the perimeter of the screen for around 30 seconds. This softens the adhesive without overheating internal components.
- Apply the suction cup: Place it near the bottom of the screen, ensuring a solid seal.
- Create a gap: Gently pull the suction cup upwards while using a prying tool at the bottom of the screen to create a small gap. A razor blade may help for initial insertion.
- Work around the perimeter: Slowly slide your prying tool around the screen’s edges, separating it from the frame. Be extra careful in areas with flex cables.
- Apply isopropyl alcohol: If needed, lightly apply isopropyl alcohol to stubborn sections of adhesive.
- Disconnect the screen: Once all edges are free, gently open the phone like a book. Locate the screen connector(s) and carefully detach them.
Important Notes for Avoiding Damage
Throughout the process, follow these critical points:
| Tip | Description |
|---|---|
| Slow & Steady | Work slowly and methodically, using gentle force to avoid bending or cracking the screen. |
| Avoid Excessive Heat | Excessive heat can damage internal components, so apply it in short bursts. |
| Protect Flex Cables | Locate and avoid putting stress on delicate flex cables, which are prone to tearing. |
With patience and the right tools, you can successfully remove your iPhone screen without damage.
Key Takeaways
- Use the Right Tools: Select specialized tools like a heat pad, suction cup, and pry tools.
- Apply Heat Carefully: Use a heat pad to soften the adhesive, but avoid overheating.
- Gentle Prying: Start prying gently from the screen’s edge, using tools like iSesamo or a thin pry tool.
- Isopropyl Alcohol: Apply it to soften the adhesive further.
- Avoiding Damage to Face ID: Be extra cautious near the bottom of Face ID phones.
iPhone 13 Pro Screen Removal Video
iPhone 12 Pro Max Screen Removal
iPhone 15 Screen Removal Without Damaging It
Phone Screen Removal Tips & Tricks
Insights from Reddit
In a recent Reddit thread on r/mobilerepair, users shared their techniques for removing iPhone screens. The consensus emphasizes the use of heat, with many recommending a heat pad set to around 70°C. A popular method involves using a suction cup and a tool like the iSesamo or a jimmy to gently lift the screen. Some users suggest the addition of isopropyl alcohol to soften the adhesive further. One user mentioned the RL-601S Plus from Mobile Centrix as a potential tool, seeking community feedback on its effectiveness.
Professional Techniques: Online Expert Advice
Top online resources suggest a variety of methods. A common recommendation is to start by removing the two screws at the bottom of the phone. Using a razor blade or a similar thin tool to create an initial gap is advised, especially if a suction cup tool is not effective. It’s crucial to insert the tool carefully to avoid damaging the screen or the internal components.
Tools and Techniques: A Detailed Look
Heat Application
- Heat Pad: Set it to around 70°C to soften the adhesive.
- Duration: Leave the phone on the heat pad for a few minutes.
Opening the Screen
- Suction Cup: Use it to create an initial lift.
- Pry Tools: Tools like iSesamo or a thin pry tool can be inserted gently to start prying the screen off.
Softening the Adhesive
- Isopropyl Alcohol: Apply it along the edges to further soften the adhesive.
- Gentle Prying: Continue to gently pry the screen, being cautious around sensitive areas.
Special Considerations
- Face ID Phones: Be extra careful near the bottom to avoid damaging the Face ID cables.
- Broken Screens: For phones with damaged screens, use tools that can handle the broken glass without causing further damage.
Technological Advancements and Their Benefits
Advancements in screen removal tools have made the process more efficient and less risky. Tools like the RL-601S Plus offer more precision, reducing the likelihood of damage. The official Apple machine for opening iPhones has also been mentioned as a highly effective tool.
FAQs
What is the safest way to remove an iPhone screen?
The safest way involves using a heat pad to soften the adhesive, followed by gentle prying with a suction cup and a thin pry tool. Applying isopropyl alcohol can further soften the adhesive.
Can I remove an iPhone screen without a heat pad?
While a heat pad is recommended, you can start with a thin tool like a razor blade to create a gap. However, this method requires more caution to avoid damage.
What should I avoid when removing an iPhone screen?
Avoid applying excessive force, especially around the screen’s edges and the bottom of Face ID phones. Also, be cautious not to overheat the phone on the heat pad.


