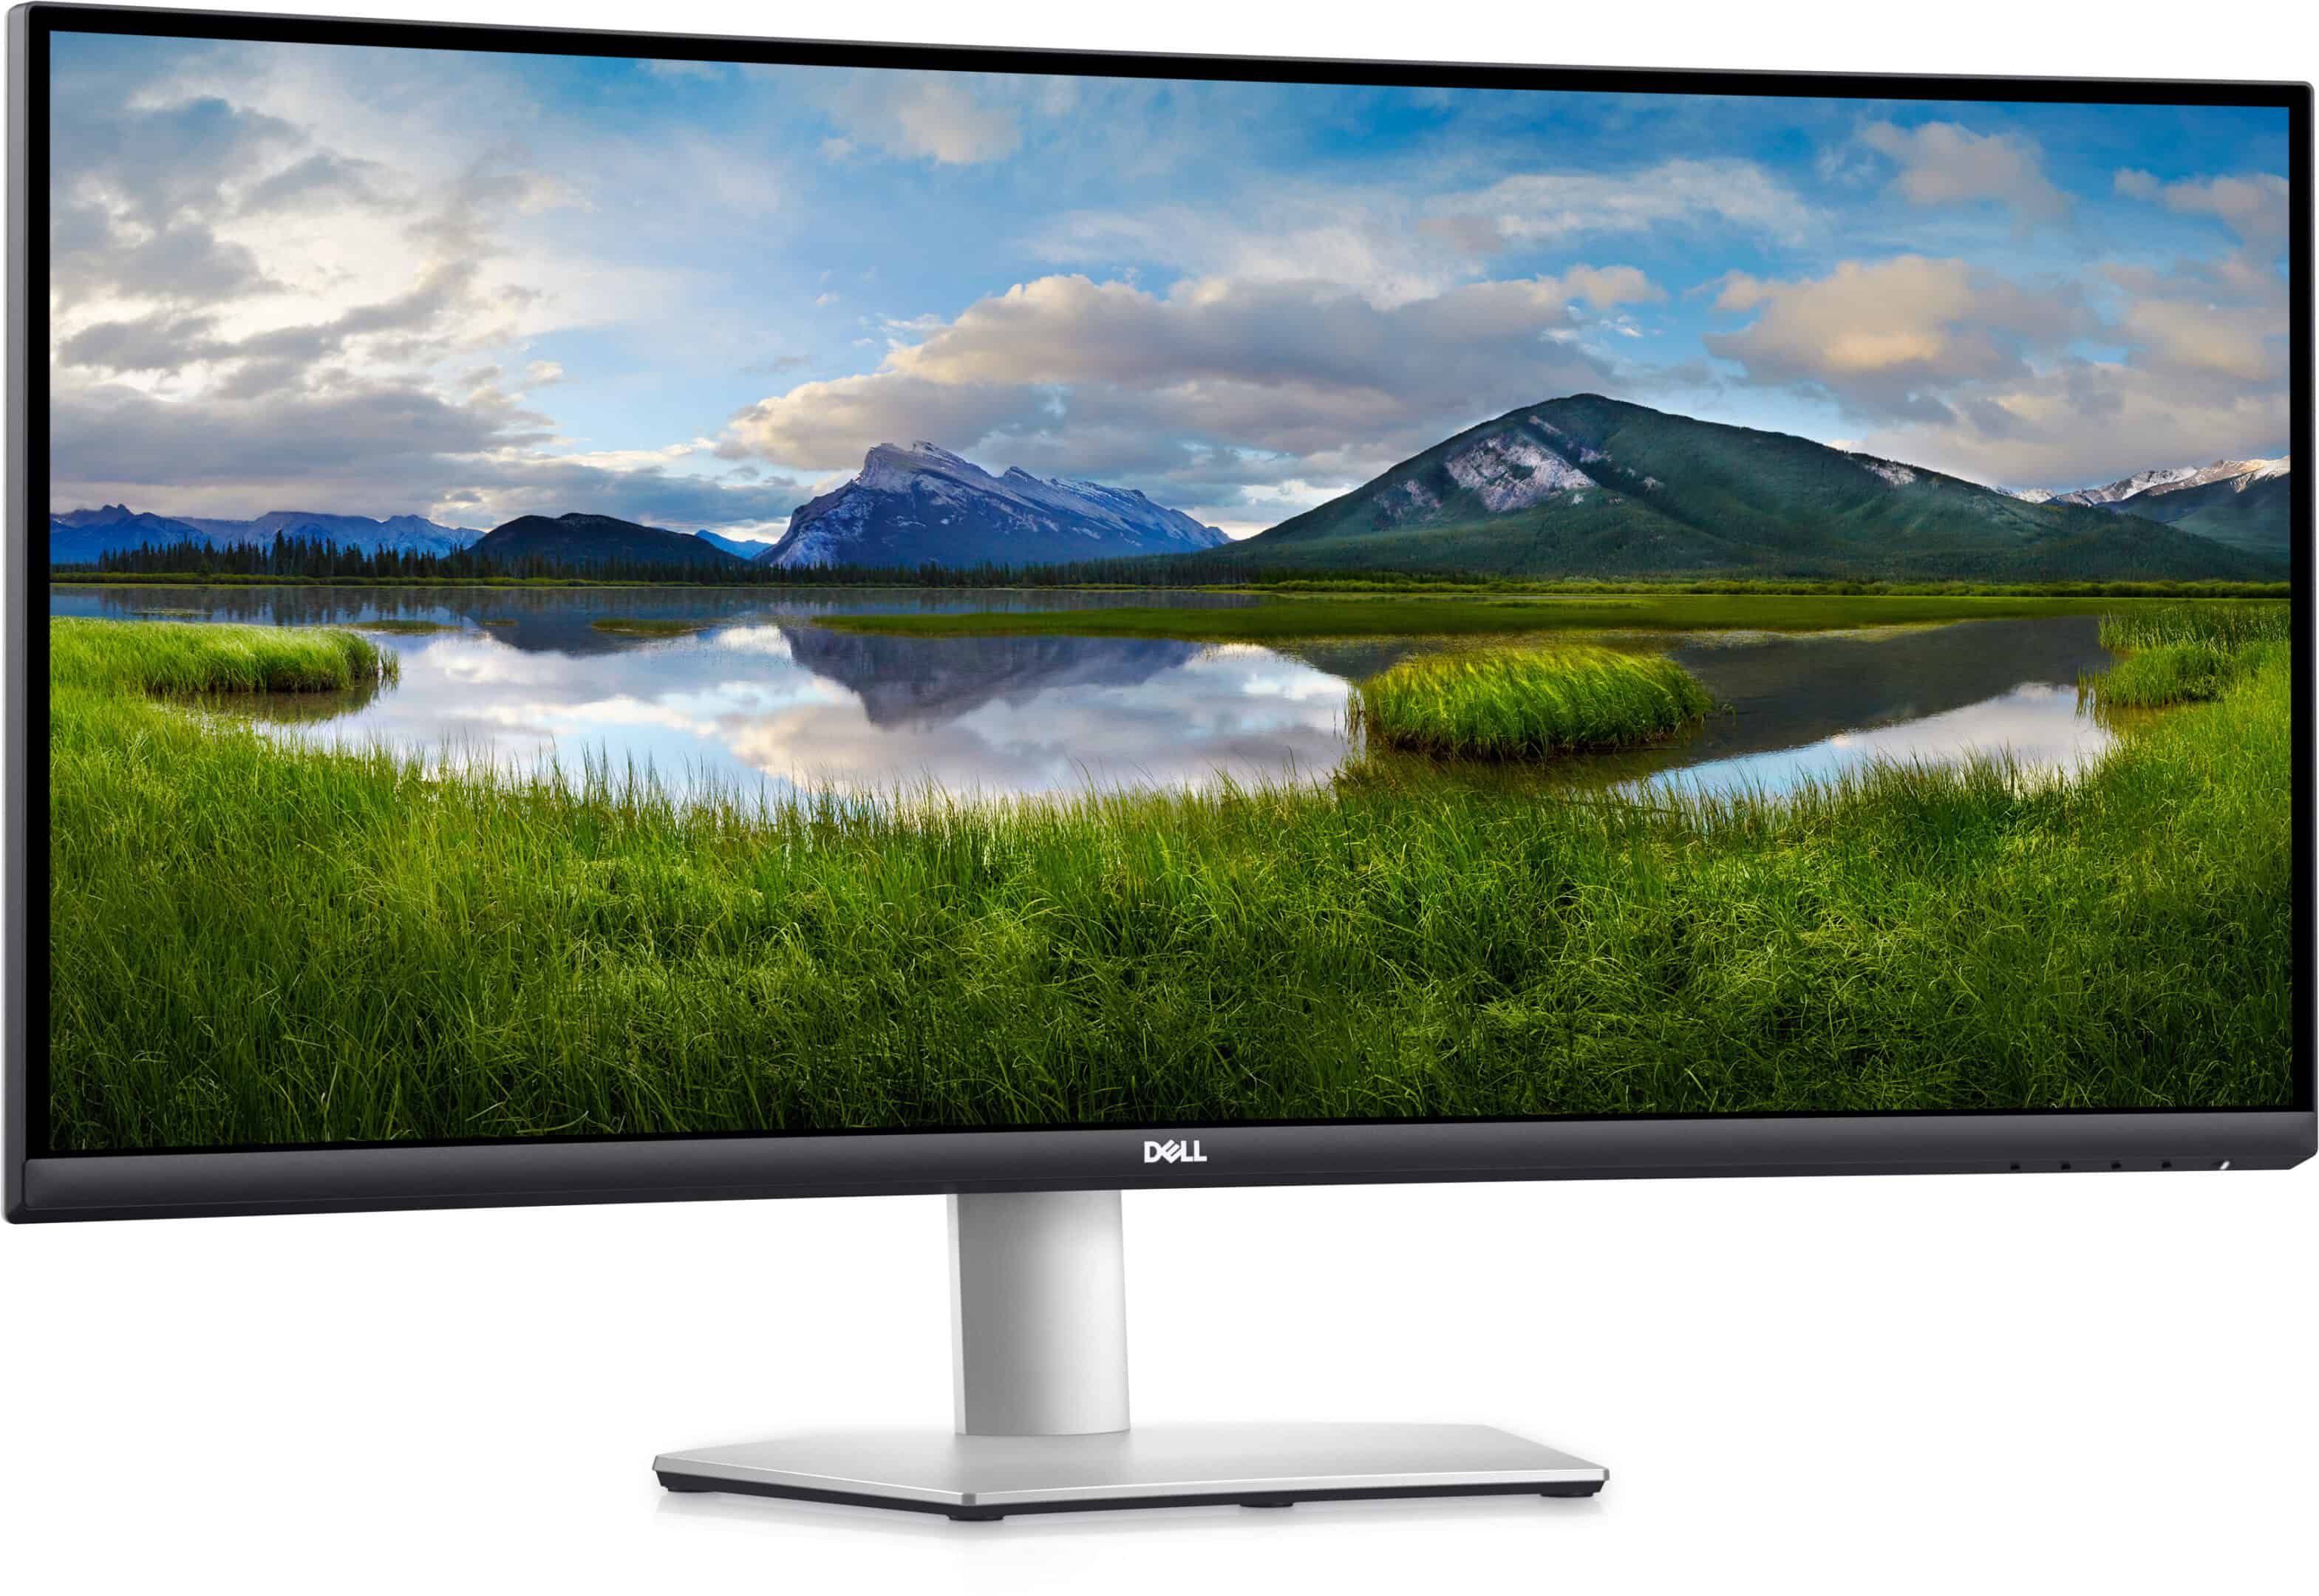
Dell monitor users often encounter the Self Test Feature Check, a diagnostic tool that can disrupt normal display. This feature activates when the monitor doesn’t detect a video signal, showing colored boxes on the screen. To stop the Dell monitor Self Test Feature Check, reconnect the video cable securely to both the monitor and computer, then restart both devices.
If the issue persists, check your computer’s display settings. Ensure the correct resolution is selected and the refresh rate matches your monitor’s specifications. Sometimes, outdated graphics drivers can cause this problem. Update your graphics card drivers to the latest version from the manufacturer’s website.
For stubborn cases, try using a different video cable or port. If available, switch from HDMI to DisplayPort or vice versa. This can rule out cable or port issues. Remember to check power connections too. A loose power cable can trigger the self-test mode.
| Common Causes | Quick Fixes |
|---|---|
| Loose cables | Reconnect securely |
| Wrong settings | Adjust resolution |
| Old drivers | Update graphics drivers |
| Faulty cable | Try different cable/port |
Stopping the Dell Monitor Self-Test Feature Check
The “Self-Test Feature Check” on a Dell monitor is a diagnostic tool that helps you determine if the monitor itself is working correctly. It usually appears as a floating box against a black background, cycling through colors like red, green, blue, and white. While it’s useful for troubleshooting, it can be annoying if it pops up unexpectedly. Here’s how to address it:
Understanding Why It Appears
The self-test typically appears when your monitor isn’t receiving a proper video signal from your computer. This could be due to several reasons:
- Cable Issues: A loose, damaged, or incorrect video cable (VGA, DVI, HDMI, DisplayPort) is a common culprit.
- No Input Source: The monitor might be turned on while the computer is off, or the input source on the monitor might not be set to the correct one (e.g., if your PC is connected to HDMI 1, but the monitor is set to HDMI 2).
- Power Saving Modes: Sometimes, power-saving modes or sleep settings can trigger the self-test if the monitor “thinks” it has lost the signal.
- Graphics Card Problems: In rare cases, a faulty graphics card in your computer could be the cause.
How to Stop It
- Check the Obvious:
- Power Cycle: Turn off both your monitor and computer. Unplug the power cords for both, wait a minute, and then plug them back in and power them on.
- Secure Connections: Ensure the video cable is securely plugged into both the monitor and your computer’s graphics card. Try a different cable if you have one.
- Correct Input Source: Use the buttons on your monitor to select the correct input source that matches where your computer is connected (e.g., HDMI 1, DisplayPort).
- Adjust Power Settings:
- Monitor Settings: Check your monitor’s on-screen display (OSD) menu for power-saving options. You might need to disable or adjust settings that turn off the display or put it in sleep mode after a period of inactivity.
- Computer Settings: In your computer’s operating system (Windows or macOS), adjust the power settings to prevent the display from sleeping or turning off too quickly.
- Investigate Further:
- Test with Another Device: If possible, connect the monitor to another computer or device (like a laptop or game console) to see if the self-test still appears. This helps isolate whether the issue is with the monitor or your computer.
- Update Graphics Drivers: Outdated or corrupted graphics drivers on your computer can sometimes cause display problems. Visit the website of your graphics card manufacturer (NVIDIA, AMD, or Intel) to download the latest drivers.
If you’ve tried these steps and the self-test persists, there might be a more serious problem with your monitor or computer. In this case, it’s best to contact Dell support or a qualified technician for further assistance.
Dell Monitor On-Screen Display (OSD)
The On-Screen Display (OSD) is your control panel for adjusting various settings on your Dell monitor. It’s accessed through buttons usually located on the bottom or side of the monitor. Here are some common settings you can find in the OSD:
- Brightness/Contrast: Adjust the overall brightness and contrast of the image.
- Color Settings: Fine-tune color temperature, saturation, and other color options.
- Input Source: Select the input source (VGA, DVI, HDMI, DisplayPort) that your computer is connected to.
- Aspect Ratio: Choose how the image is displayed on the screen (e.g., widescreen, 4:3).
- Power Management: Configure power-saving features like sleep mode and auto-off timers.
- Menu Settings: Customize the OSD language, menu timeout, and other display options.
Familiarize yourself with the OSD on your Dell monitor to optimize your viewing experience and access troubleshooting options.
Understanding Dell Monitor Self Test Feature
The Dell Monitor Self Test Feature is a diagnostic tool that helps identify display issues. It checks the monitor’s functionality independently of the computer system.
Purpose of the Self-Test Feature
The Self-Test Feature on Dell monitors serves as a quick way to check if the display is working correctly. It helps users and technicians pinpoint whether a visual problem stems from the monitor itself or other components.
When activated, the feature displays a series of color patterns and text. These test screens allow you to spot issues like dead pixels, color inaccuracies, or screen distortions. The built-in diagnostics can save time in troubleshooting by ruling out or confirming monitor-specific problems.
Dell Auto Detect technology works alongside the self-test. It checks which inputs (analog or digital) are active and switches to the correct one automatically.
Common Scenarios Triggering the Self-Test
The Self-Test Feature Check often appears when your computer fails to send a video signal to the monitor. This can happen due to various reasons:
- Your computer is off or in sleep mode
- The video cable is loose or disconnected
- Your graphics card is malfunctioning
Sometimes, the test activates if you’ve set your power settings to turn off the monitor after a certain period of inactivity. In rare cases, a corrupted system or BIOS settings can cause the self-test to appear unexpectedly.
To exit the self-test mode, ensure all connections are secure and your computer is sending a proper video signal to the monitor.
Initial Troubleshooting Steps
Before diving into specific solutions, it’s crucial to start with basic checks. These steps can often resolve the Dell monitor self-test feature issue quickly and easily.
Checking Cable Connections
Loose or faulty cables are common culprits for monitor issues. Start by inspecting all connections between your computer and monitor. Ensure the VGA, HDMI, DVI, or DisplayPort cable is firmly plugged in at both ends.
Unplug and reconnect each cable to ensure a solid connection. If you’re using an adapter, check that it’s securely attached. Try a different port on your computer if available.
Consider testing with a spare cable if you have one. This can help rule out cable damage as the cause.
Verifying Power Supply
A stable power supply is essential for proper monitor function. Check that your monitor’s power cable is securely plugged into both the monitor and a working electrical outlet.
Look for any signs of damage on the power cord. Frayed wires or bent prongs can cause issues.
Try plugging the monitor into a different outlet to rule out power source problems. If using a surge protector or power strip, plug directly into the wall to test.
Press the monitor’s power button. If it doesn’t turn on, the issue may be with the power supply or the monitor itself.
Inspecting for Hardware Damages
Physical damage can trigger the self-test feature. Carefully examine your monitor for any visible signs of damage.
| Area to Check | What to Look For |
|---|---|
| Screen | Cracks, dead pixels, discoloration |
| Casing | Dents, cracks, loose parts |
| Ports | Bent pins, debris |
| Buttons | Sticking or unresponsive |
Gently clean the monitor and ports with a soft, dry cloth to remove any dust or debris. Be careful not to apply pressure to the screen.
If you spot any damage, it may require professional repair or replacement.
Advanced Configuration and Settings
Optimizing your Dell monitor’s performance involves adjusting key settings. These tweaks can resolve self-test issues and enhance your display experience.
Adjusting Monitor Settings via On-Screen Display (OSD) Menu
The OSD menu offers direct control over your Dell monitor’s settings. Access it by pressing the menu button on your monitor. Navigate using the control buttons to find relevant options:
- Input Source: Ensure the correct input is selected
- Brightness/Contrast: Adjust for optimal visibility
- Color Settings: Calibrate color temperature and RGB values
- Display Settings: Modify aspect ratio and sharpness
Try resetting the monitor to factory defaults through the OSD menu. This often resolves persistent self-test messages. Look for a “Factory Reset” or “Restore Defaults” option in the main menu or under “Other Settings.”
Changing Resolution and Refresh Rate
Incorrect display settings can trigger self-test checks. Adjust these in Windows:
- Right-click on the desktop and select “Display settings”
- Scroll to “Display resolution” and choose the recommended option
- Click “Advanced display settings”
- Select “Display adapter properties”
- In the “Monitor” tab, set the screen refresh rate
Match these settings to your monitor’s specifications. Dell monitors typically support various resolutions and refresh rates. Consult your user manual for optimal values.
| Setting | Common Values |
|---|---|
| Resolution | 1920×1080, 2560×1440, 3840×2160 |
| Refresh Rate | 60Hz, 75Hz, 144Hz, 240Hz |
Updating Graphics Card Driver
Outdated or corrupted graphics drivers can cause display issues. Update your GPU driver:
- Open Device Manager
- Expand “Display adapters”
- Right-click your graphics card and select “Update driver”
- Choose “Search automatically for updated driver software”
For more control, visit your GPU manufacturer’s website (NVIDIA, AMD, or Intel) and download the latest driver. Install it manually for the most up-to-date version.
Restart your computer after driver updates. This ensures all changes take effect and can often resolve persistent self-test messages on Dell monitors.
Seeking Professional Support
When Dell monitor self-test issues persist, professional support can provide targeted solutions. Dell offers specialized tools and expert assistance to address complex problems.
Using Dell’s Diagnostic Tools
Dell provides diagnostic tools to identify and resolve monitor issues. Download the Dell SupportAssist application from the official website. This tool runs comprehensive tests on your monitor.
SupportAssist checks for hardware faults, driver issues, and firmware problems. It can detect dead pixels and other display anomalies. Follow these steps:
- Install SupportAssist on your computer
- Connect your Dell monitor
- Launch the application
- Select “Troubleshoot” then “Display”
- Run the full diagnostic scan
The tool generates a report with findings and suggested fixes. It may recommend driver updates or identify hardware faults needing repair.
Contacting Dell Support
If diagnostic tools don’t resolve the issue, contact Dell Support directly. Prepare your monitor’s service tag and model number before calling. You can find these on the back of the monitor.
Dell offers multiple support channels:
- Phone support: Speak with a technician for guided troubleshooting
- Live chat: Get real-time assistance on Dell’s website
- Email support: Describe your issue in detail for a response within 24-48 hours
For persistent self-test problems, request on-site service if your warranty covers it. A Dell technician will inspect and repair your monitor at your location.
| Support Option | Response Time | Best For |
|---|---|---|
| Phone | Immediate | Urgent issues |
| Live Chat | Quick | Step-by-step guidance |
| 24-48 hours | Detailed explanations | |
| On-site | Scheduled | Hardware repairs |
Remember to check your warranty status before contacting support. This affects the level of service you’re eligible for.
Frequently Asked Questions
Dell monitor self-test feature checks can be frustrating. Here are answers to common questions about managing this issue on your Dell monitor.
How do I disable the self-test feature check on my Dell monitor?
You can’t fully disable the self-test feature. It’s a built-in function to check monitor functionality. However, you can prevent it from activating by ensuring a stable video signal connection between your computer and monitor.
Why does my Dell monitor keep entering the self-test feature check?
Your monitor may enter self-test mode due to a loose cable connection, faulty video card, or incorrect power settings. Check that all cables are securely plugged in and your graphics drivers are up to date.
What steps can I take to fix a Dell monitor that is stuck on self-test feature check?
Try these steps:
- Unplug and replug the video cable
- Use a different video port if available
- Test with another computer
- Reset the monitor to factory settings
How long is the Dell monitor self-test supposed to last before it returns to normal operation?
The self-test should only last a few seconds. If it persists, there may be an issue with the video signal or monitor settings.
Is there a way to bypass the self-test feature check on Dell monitors?
There’s no way to bypass this feature entirely. It’s designed to diagnose problems. Focus on fixing the underlying issue causing the self-test to appear.
What do I do if my Dell monitor self-test feature check won’t stop even after I’ve tried the standard procedures?
If standard fixes don’t work:
- Update your graphics drivers
- Try a different video cable
- Contact Dell support for further assistance
| Possible Causes | Solutions |
|---|---|
| Loose cables | Reconnect all cables |
| Outdated drivers | Update graphics drivers |
| Monitor settings | Reset to factory defaults |
| Faulty hardware | Test with different computer/cable |


