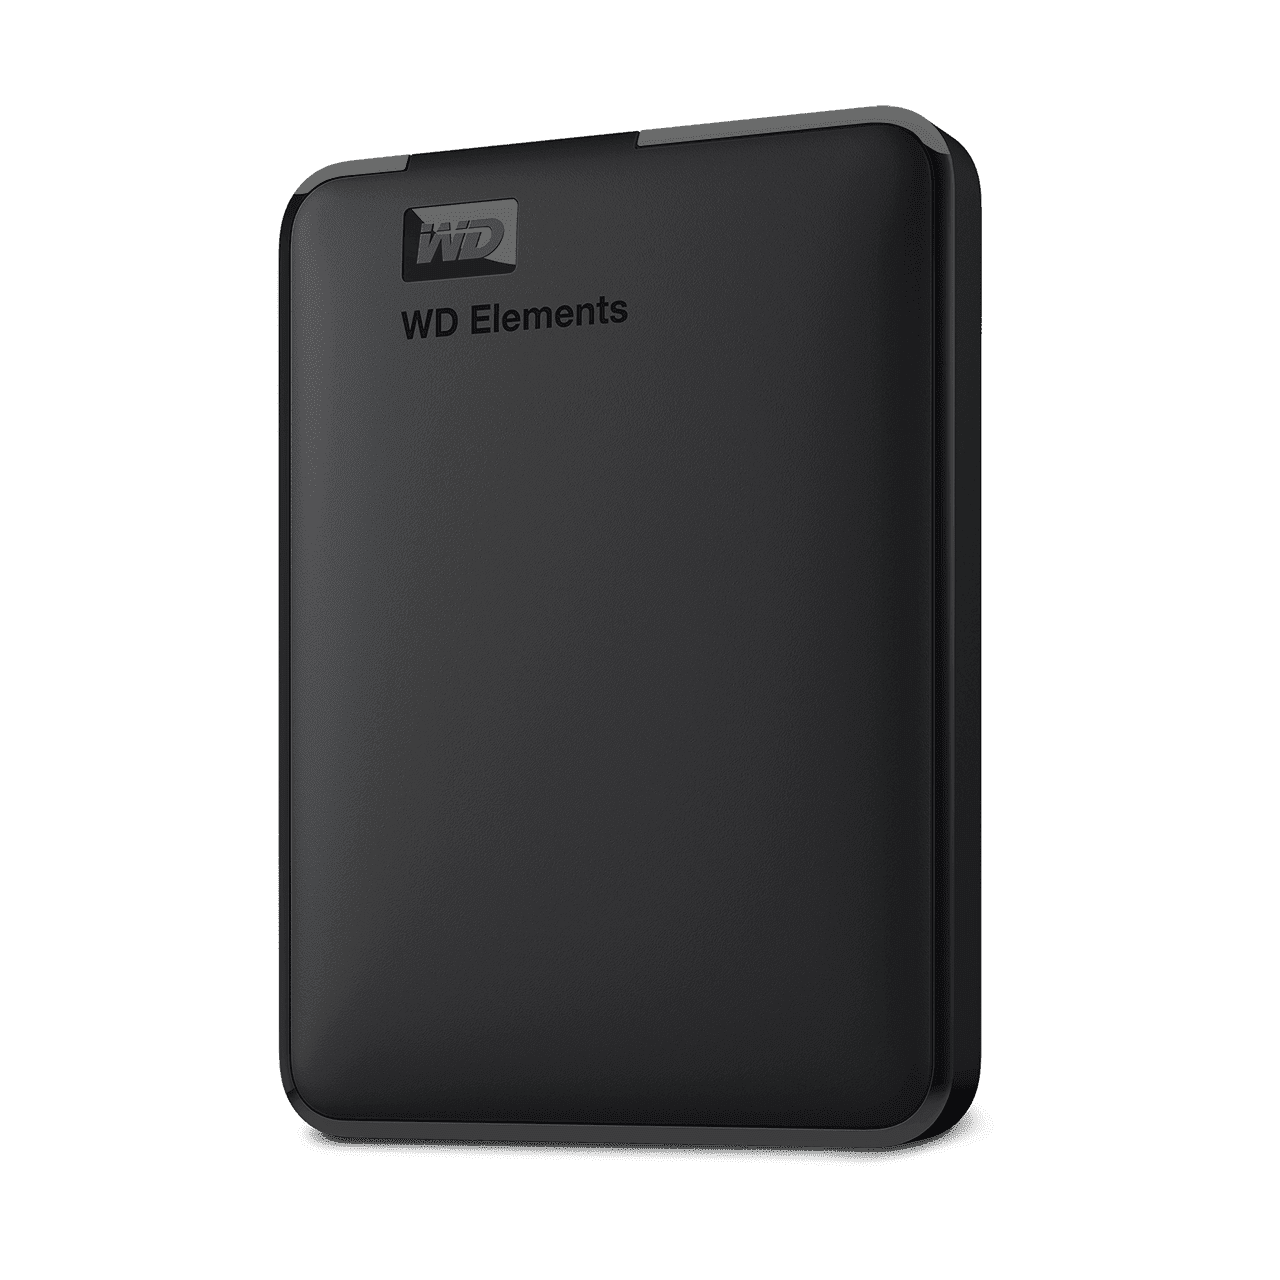
WD Elements external hard drives offer a simple way to expand your storage capacity. These portable devices connect easily to your computer via USB, providing extra space for files, photos, and backups. To use a WD Elements external hard drive, simply plug it into your computer’s USB port and it will appear as a new drive in File Explorer (Windows) or Finder (Mac).
Getting started with your WD Elements drive is quick and easy. Once connected, you can drag and drop files directly onto the drive or use it with your computer’s built-in backup software. The drive comes pre-formatted, so it’s ready to use right out of the box in most cases.
For optimal performance, it’s important to safely eject your WD Elements drive before unplugging it. This helps prevent data loss or corruption. You can also format the drive if needed, though this will erase all data on the device.
| Feature | Description |
|---|---|
| Capacity | Up to 5TB |
| Interface | USB 3.0 (backward compatible with USB 2.0) |
| Compatibility | Windows, Mac (may require reformatting) |
| Portability | Compact, no external power needed |
Setting Up Your WD Elements External Hard Drive
Setting up your WD Elements external hard drive is a straightforward process. Here’s a step-by-step guide to get you started:
Connecting the Drive
- Unbox your WD Elements drive. Inside, you should find the drive itself, a USB cable, and a quick install guide.
- Connect the USB cable to the drive and to a USB port on your computer.
- Power on the drive. The drive should spin up, and you’ll see a light indicating it’s powered on.
Formatting the Drive (if necessary)
Your WD Elements drive may come pre-formatted. If not, or if you want to change the format, follow these steps:
- Open Disk Management.
- Windows: Search for “Disk Management” in the Start Menu.
- Mac: Open “Disk Utility” from the Utilities folder.
- Locate the WD Elements drive. It will be listed with a drive letter (e.g., “E:”) in Windows or a disk name (e.g., “WD Elements”) on a Mac.
- Format the drive.
- Windows: Right-click on the drive and select “Format.” Choose a file system (NTFS for Windows, exFAT for compatibility with Windows and Mac) and follow the prompts.
- Mac: Select the drive and click the “Erase” tab. Choose a format (Mac OS Extended for Mac only, exFAT for compatibility with Windows and Mac) and click “Erase.”
Using the Drive
Once connected and formatted, you can use your WD Elements drive just like any other drive on your computer.
- Transfer files: Drag and drop files to and from the drive in your file explorer.
- Back up your data: Use your preferred backup software to back up your important files to the drive.
Tips for Using Your WD Elements Drive
- Eject the drive safely: Always use the “Safely Remove Hardware” option (Windows) or “Eject” (Mac) before disconnecting the drive to prevent data loss.
- Keep the drive in a safe place: Protect your drive from physical damage and extreme temperatures.
- Regularly back up your data: Don’t rely on a single backup. Create multiple backups on different devices for added security.
Understanding Different WD Elements Drives
WD Elements offers various external hard drives with different features and capacities. Here’s a comparison table to help you choose the right one:
| Feature | WD Elements Portable | WD Elements Desktop |
|---|---|---|
| Capacity | Up to 5TB | Up to 18TB |
| Portability | High | Low |
| Power Supply | USB powered | AC adapter |
| Speed | USB 3.0 | USB 3.0 |
| Ideal for | Travel, personal use | Home, office use |
Portable vs. Desktop Drives
WD Elements Portable drives are compact and easy to carry, making them ideal for travel and personal use. They are bus-powered, meaning they draw power from your computer’s USB port.
WD Elements Desktop drives offer higher capacities and are designed for stationary use. They require an AC adapter for power.
Choosing the Right Capacity
Consider your storage needs when choosing a capacity. If you need to back up large files or your entire computer, you’ll need a drive with a higher capacity.
Additional Features
Some WD Elements drives may offer additional features like password protection or hardware encryption. Check the product specifications before purchasing.
Troubleshooting Tips
If you encounter problems with your WD Elements drive, here are some troubleshooting tips:
- Check the connections: Ensure the USB cable is securely connected to both the drive and your computer.
- Try a different USB port: Some USB ports may provide more power than others.
- Restart your computer: This can sometimes resolve connection issues.
- Check Disk Management (Windows) or Disk Utility (Mac): Make sure the drive is recognized by your computer.
- Update your drivers: Outdated drivers can cause problems with external drives.
- Contact WD support: If you’re still having problems, WD’s support website and customer service can help.
Additional Resources
- WD support website: https://support.wdc.com/
Understanding WD Elements External Hard Drives
WD Elements external hard drives provide reliable storage for your files. These devices offer easy setup and broad compatibility with different operating systems.
Unboxing and Initial Setup
Your WD Elements external hard drive comes with the drive unit and a USB cable. Connect the cable to your computer’s USB port. Most WD Elements drives use USB 3.0 for fast data transfer.
Windows and Mac systems usually detect the drive automatically. No extra software is needed for basic use. The drive appears as a new storage device in File Explorer or Finder.
WD Elements drives are often pre-formatted with NTFS. This works well with Windows. For Mac users, reformatting may be needed for full read/write access.
| Feature | Specification |
|---|---|
| Interface | USB 3.0 |
| Default Format | NTFS |
| Capacity Options | 1TB to 18TB |
| Compatibility | Windows, Mac (may need reformatting) |
Exploring the File System and Compatibility
WD Elements drives use a simple file system structure. You can create folders and organize files just like on your computer’s internal drive.
These drives work with various file types. Documents, photos, videos, and music can all be stored and accessed easily.
For Windows users, the NTFS format allows for large file sizes and improved security. Mac users might prefer to reformat to exFAT for cross-platform compatibility.
WD Elements drives can also serve as a backup solution. Many backup software options recognize these drives automatically.
Remember to safely eject the drive before unplugging. This prevents data loss and ensures all files are properly saved.
Setting Up Your Drive
Properly configuring your WD Elements external hard drive ensures optimal performance and data security. Follow these steps to format your drive, transfer files efficiently, and utilize WD’s software tools.
Formatting for Windows or macOS
Connect your WD Elements drive to your computer using the provided USB cable. On Windows, open File Explorer and right-click the drive icon. Select “Format” from the menu. Choose NTFS for Windows-only use or exFAT for cross-platform compatibility.
For macOS, open Disk Utility. Select the WD Elements drive and click “Erase”. Choose either Mac OS Extended or exFAT as the format. Mac OS Extended works best for Apple-only systems while exFAT allows use on both Mac and Windows.
Formatting options may vary based on your specific needs and operating system version.
Data Transfer Fundamentals
To move files, simply drag and drop them from your computer to the WD Elements drive icon. For large transfers, use the built-in file management tools in Windows or macOS for better progress tracking and error handling.
On Windows, use File Explorer to copy files. On Mac, use Finder. Both allow you to see transfer speeds and estimated completion times.
Consider organizing your files into folders on the drive for easier management. Create separate folders for documents, photos, videos, and backups to keep your data structured.
Using WD Discovery Software
WD Discovery enhances your external drive experience. Download it from Western Digital’s website and install it on your computer. The software offers:
- Automatic backup scheduling
- Drive health monitoring
- Firmware updates
WD Discovery also provides easy access to WD Backup for Windows users. This tool creates automated backups of your important files to the WD Elements drive.
| Feature | Benefit |
|---|---|
| Backup scheduling | Ensures regular data protection |
| Health monitoring | Alerts you to potential drive issues |
| Firmware updates | Keeps your drive performing optimally |
Remember to eject your WD Elements drive safely before unplugging it to prevent data corruption.
Managing Your Data
Efficient data management is crucial when using your WD Elements external hard drive. Proper file transfer and automatic backups ensure your data stays safe and organized.
Transferring Files Effectively
To transfer files to your WD Elements drive, connect it to your computer using the provided USB cable. Open File Explorer on Windows or Finder on Mac. Locate your drive in the list of available devices.
Drag and drop files or use copy-paste to move data. For large transfers, consider these tips:
• Use USB 3.0 ports for faster speeds
• Transfer similar file types together
• Avoid moving too many files at once
Monitor transfer progress and don’t disconnect the drive until complete. Safely eject the drive when finished to prevent data corruption.
Implementing Automatic Backup
Setting up automatic backups protects your important files. Most operating systems have built-in backup tools you can use with your WD Elements drive.
On Windows:
- Open Settings > Update & Security > Backup
- Select “Add a drive” and choose your WD Elements
- Toggle on “Automatically back up my files”
For Mac:
- Go to System Preferences > Time Machine
- Click “Select Backup Disk” and pick your WD Elements
- Check “Back Up Automatically”
Choose which folders to include. Schedule backups during low-use times. Test your backup system regularly to ensure it works properly.
| Feature | Windows Backup | Time Machine (Mac) |
|---|---|---|
| Incremental backups | Yes | Yes |
| File versioning | Limited | Yes |
| Ease of setup | Moderate | Easy |
| Customization | Moderate | Limited |
Protecting Your Data
Data security is crucial when using a WD Elements external hard drive. You can password protect your drive using WD Security software. This adds an extra layer of protection against unauthorized access.
To set up password protection:
- Install WD Security software
- Connect your drive
- Open WD Security
- Click “Set password”
- Choose a strong password
Remember to create regular backups of your data. This guards against data loss due to drive failure or accidental deletion. Consider using the 3-2-1 backup strategy:
- 3 copies of your data
- 2 different storage types
- 1 copy stored off-site
Here’s a comparison of backup options:
| Method | Pros | Cons |
|---|---|---|
| Cloud storage | Easy access, automatic | Requires internet |
| Second hard drive | Fast, large capacity | Can be lost/damaged |
| Network storage | Central location | Initial setup needed |
To prevent data corruption, always safely eject your drive before unplugging it. This ensures all data transfers are complete.
Keep your drive in a safe place. Avoid extreme temperatures and moisture. Handle it gently to prevent physical damage.
Regularly check your drive’s health using Western Digital’s diagnostic tools. This can help you spot potential issues before they lead to data loss.
Frequently Asked Questions
Setting up and using a WD Elements external hard drive can vary depending on your operating system and specific needs. Here are answers to some common questions users have about these devices.
How can I set up my WD Elements external hard drive on a Mac?
To set up your WD Elements drive on a Mac:
- Plug the drive into a USB port on your Mac.
- Open Finder and look for the drive in the sidebar.
- If the drive isn’t formatted for Mac, use Disk Utility to format it as APFS or Mac OS Extended.
What are the steps for using a WD Elements external hard drive with Windows 11?
Using a WD Elements drive with Windows 11 is straightforward:
- Connect the drive to a USB port on your computer.
- Windows 11 should automatically detect and install the necessary drivers.
- Open File Explorer to access and use your drive.
How do I install and use my WD Elements external hard drive on Windows 10?
Installing a WD Elements drive on Windows 10 is similar to Windows 11:
- Plug the drive into an available USB port.
- Wait for Windows to recognize the device and install drivers.
- Open File Explorer to find and use your new drive.
Why is my WD Elements external hard drive not showing up and how can I fix it?
If your drive isn’t showing up:
- Try a different USB port or cable.
- Check Device Manager to see if Windows detects the drive.
- Update or reinstall the drive’s drivers if needed.
What should I do if my WD Elements external hard drive is not working?
When your WD Elements drive isn’t working:
- Ensure it’s properly connected and powered.
- Check for physical damage to the drive or cable.
- Try the drive on another computer to isolate the issue.
What are the initial steps to using an external hard drive for the first time?
When using an external hard drive for the first time:
- Connect it to your computer using the provided USB cable.
- Wait for your operating system to recognize the drive.
- Format the drive if necessary using your system’s disk management tools.
| Operating System | Recommended File System | Formatting Tool |
|---|---|---|
| Windows | NTFS | Disk Management |
| macOS | APFS or Mac OS Extended | Disk Utility |
| Linux | ext4 | GParted |


