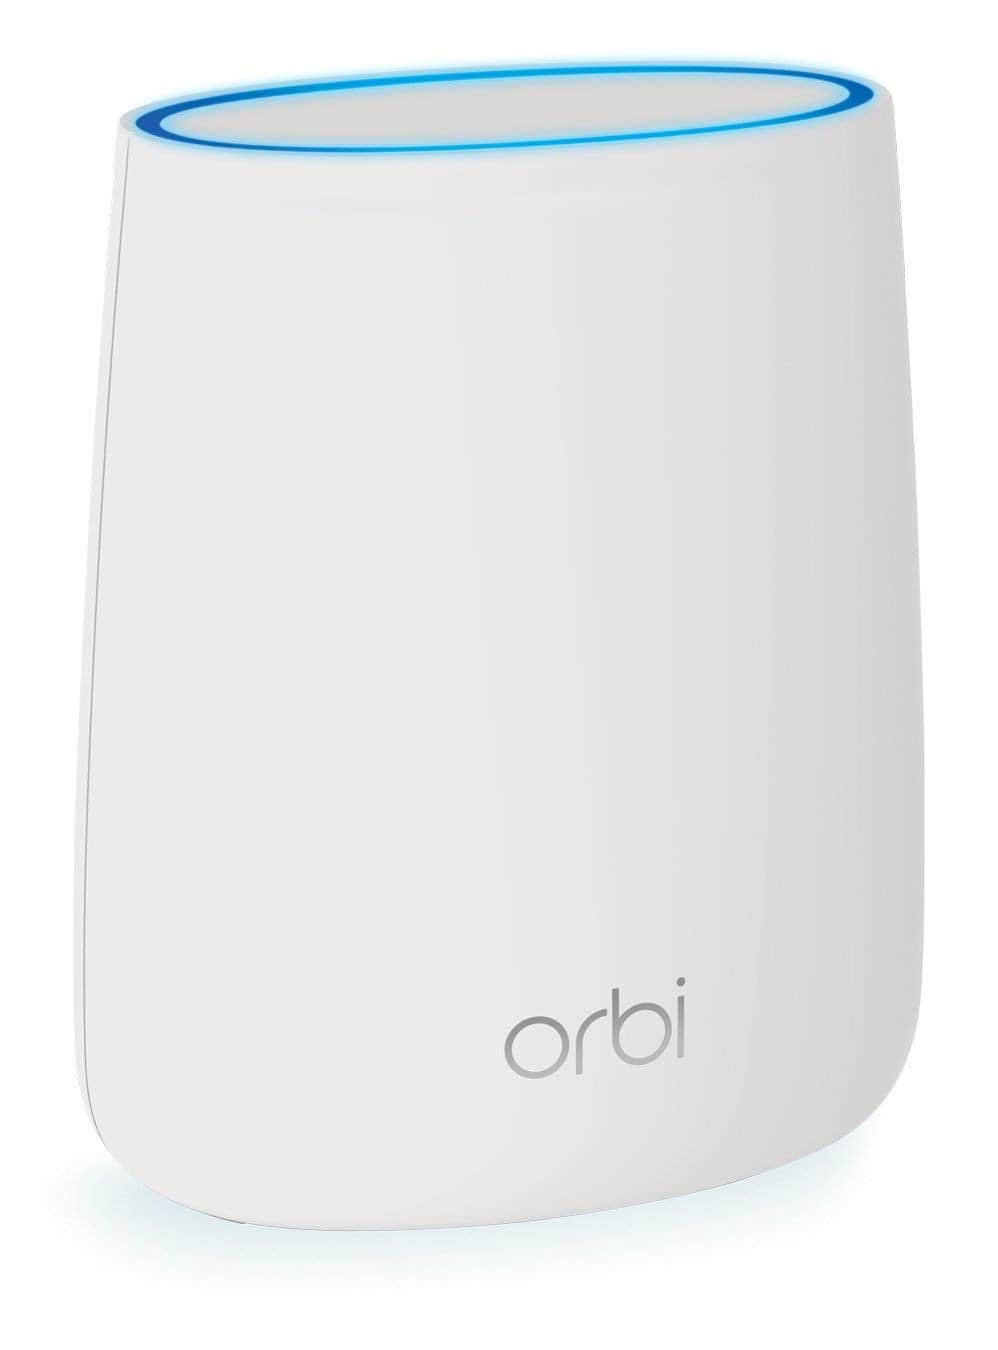
Reconnecting your Orbi satellite to your router can boost your WiFi coverage. To sync an Orbi satellite, press the Sync button on your router, then press the Sync button on your satellite within two minutes. This simple process ensures your Orbi WiFi system maintains a strong connection throughout your home.
If your Orbi satellite isn’t connecting, try moving it closer to the router. The ideal distance is about 30 feet. Make sure both devices are plugged in and powered on. If issues persist, a factory reset of both the router and satellite may be needed.
Orbi systems offer seamless WiFi coverage for homes of all sizes. By syncing your Orbi router and satellite, you can enjoy fast, reliable internet in every room. Remember to place satellites strategically for the best performance.
| Device | Sync Button Location | LED Indicator |
|---|---|---|
| Orbi Router | Back panel | Top LED |
| Orbi Satellite | Back panel | Bottom LED |
Preparing for Installation
Before reconnecting your Orbi satellite, proper preparation ensures a smooth process. Taking the time to understand your system, check compatibility, and gather necessary tools will set you up for success.
Understanding Your Orbi System
The Orbi system consists of a router and one or more satellites. The router connects to your modem and broadcasts the main WiFi signal. Satellites extend this signal to create a mesh network. Each Orbi device has a sync button for easy pairing.
Orbi routers typically have multiple Ethernet ports for wired connections. Satellites may have fewer ports but still allow for some wired devices. Both units have USB ports for external storage or printers.
Familiarize yourself with your specific Orbi model numbers. This info helps when troubleshooting or seeking support from Netgear.
Checking Compatibility
Ensure your Orbi router and satellite are compatible. Most Orbi devices work together, but some exceptions exist.
Check the Netgear website for a compatibility list. Match your router model with compatible satellites.
Firmware versions can affect compatibility. Update both router and satellite to the latest firmware before attempting to reconnect.
| Device | Compatible With |
|---|---|
| Orbi Router | Same series satellites |
| Orbi Satellite | Same series routers |
| Orbi WiFi 6 | Only WiFi 6 devices |
Gathering Required Tools and Information
Collect these items before starting:
- Orbi router and satellite power adapters
- Ethernet cable (for initial setup if needed)
- Mobile device with Orbi app installed
- Router and satellite model numbers
- Current WiFi network name and password
Write down your Orbi admin password. You’ll need this to access router settings.
Ensure you have a stable internet connection. This helps during the reconnection process.
Have the Netgear support website open on a device. It’s useful if you encounter any issues during setup.
Step-by-Step Setup Process
Reconnecting your Orbi satellite involves proper positioning, powering up, and using the Orbi app. Follow these steps to ensure a smooth setup process and optimal Wi-Fi coverage throughout your home.
Positioning Your Orbi Devices
Place your Orbi router in a central location. This helps maximize signal strength. Put the satellite in an area with weaker Wi-Fi coverage. Aim for about 30-50 feet between devices. Avoid obstacles like walls or large furniture.
Keep devices away from metal objects and electronics. These can interfere with the signal. Elevate the router and satellite if possible. Higher placement often improves coverage.
Consider your home’s layout when positioning. Multi-story homes may need a satellite on each floor. Large homes might require multiple satellites for full coverage.
Powering and Connecting Your Orbi Satellite
Start by plugging your Orbi satellite into a power outlet. Wait for the power LED to light up green. If it doesn’t, press the power button.
Next, sync the satellite with your router. Press the Sync button on your Orbi router. Within two minutes, press the Sync button on the satellite. The satellite’s ring LED will start pulsing white.
Wait for the LED to turn solid blue or magenta. Blue indicates a good connection. Magenta means the connection is fair. If it’s red, move the satellite closer to the router and try again.
Using the Orbi App for Installation
Download the Orbi app on your smartphone. It’s available for both iOS and Android devices. Open the app and create an account if you haven’t already.
Follow the in-app instructions to set up your network. The app will guide you through naming your network and setting a password. It also helps optimize your satellite placement.
Use the app’s built-in speed test to check your connection. This helps ensure your devices are working properly. The app also allows you to manage connected devices and set up parental controls.
| Feature | Orbi Router | Orbi Satellite |
|---|---|---|
| Placement | Central location | Areas with weak signal |
| Sync Button | Press first | Press within 2 minutes of router |
| LED Colors | N/A | Blue (good), Magenta (fair), Red (poor) |
| App Control | Yes | Yes |
Syncing Your Orbi Satellite
Syncing your Orbi satellite with the router is crucial for optimal mesh network performance. The process involves using the Sync buttons on both devices and watching for specific LED indicators.
The Syncing Process
To sync your Orbi router and satellite, follow these steps:
- Ensure both devices are powered on.
- Press the Sync button on your Orbi router.
- Within 2 minutes, press the Sync button on your satellite.
The Sync button location may vary by model. Check your device manual if unsure.
Watch the satellite’s LED during syncing:
- White pulsing: Attempting to sync
- Blue: Successful connection
- Amber: Weak connection
- Magenta: Failed to sync
Syncing typically takes about 6 minutes. Place your satellite closer to the router if it fails to connect.
Troubleshooting Sync Issues
If your Orbi satellite won’t sync, try these fixes:
- Move the devices closer. Start with them 6 feet apart in the same room.
- Power cycle both units. Unplug them, wait 30 seconds, then plug them back in.
- Check for firmware updates in the Orbi app or web interface.
- Reset the satellite to factory settings if all else fails.
| LED Color | Meaning | Action |
|---|---|---|
| Blue | Good connection | None needed |
| Amber | Fair connection | Move satellite closer |
| Magenta | Failed to sync | Retry sync process |
If problems persist, contact Netgear support for further assistance.
Advanced Settings and Management
Optimizing your Orbi WiFi system involves accessing advanced settings and customizing network options. These adjustments can enhance performance and tailor the system to your needs.
Accessing the Web Interface
To manage your Orbi router’s advanced settings, you’ll need to access the web interface. Open a browser and enter “orbilogin.com” or your router’s IP address. Log in with your admin credentials. If you haven’t changed them, use the default username “admin” and password printed on your router.
Once logged in, you’ll see a dashboard with various options. Look for the “Advanced” tab to find more detailed settings. This area lets you configure WiFi channels, security options, and network modes.
Remember to save changes after making adjustments. Some modifications may require a system restart to take effect.
Customizing Network Settings
In the advanced settings, you can fine-tune your network. Adjust the channel width to improve speed or reduce interference. For better coverage, try enabling beamforming and MIMO in the wireless settings.
You can also set up separate networks for different purposes. Create a guest network for visitors or an IoT network for smart home devices. This improves security by isolating less secure devices from your main network.
| Setting | Purpose | Recommendation |
|---|---|---|
| Channel | Signal clarity | Auto or least congested |
| Security | Network protection | WPA3 if supported |
| SSID | Network name | Unique, easy to identify |
Consider adjusting the transmit power of your Orbi router. Reducing it to 50% might help devices connect to satellites more often, improving overall coverage.
Frequently Asked Questions
Reconnecting Orbi satellites can be tricky. These common questions address key issues users face when syncing or troubleshooting their devices.
What are the steps to sync an Orbi satellite to the main router?
- Ensure both devices have power.
- Press the Sync button on the router.
- Within 2 minutes, press the Sync button on the satellite.
The satellite’s LED will indicate the connection status.
What does a flashing white light on an Orbi satellite indicate?
A flashing white light means the satellite is trying to connect to the router. This process can take up to 3 minutes.
If it turns solid blue, the connection is good. Magenta indicates a weak connection. You may need to move the satellite closer to the router.
How can I reconnect my Orbi satellite after a power outage?
After a power outage:
- Wait for the router to fully restart.
- Power on the satellite.
- The devices should reconnect automatically.
If they don’t, try the manual sync process described earlier.
How can I reset an Orbi satellite to factory settings?
To reset your Orbi satellite:
- Find the Reset button on the back.
- Press and hold it for about 7 seconds.
- Release when the Power LED starts flashing amber.
The satellite will reboot and reset to factory defaults.
What should I do if my Orbi satellite fails to connect?
If your satellite won’t connect:
- Move it closer to the router.
- Reboot both devices.
- Try manual sync again.
- Check for firmware updates.
If issues persist, consider a factory reset.
Can I use an Ethernet cable to connect an Orbi satellite, and if so, how?
Yes, you can use Ethernet for a wired backhaul:
- Connect an Ethernet cable from the router to the satellite.
- The satellite will automatically detect and use the wired connection.
This can improve speed and stability, especially in larger homes.
| Connection Type | Pros | Cons |
|---|---|---|
| Wireless | Easy setup, flexible placement | Can be affected by interference |
| Wired (Ethernet) | Faster, more stable connection | Requires cable installation |


